We’re accustomed to regular maintenance of our automobiles and homes. Our cameras benefit from the same idea. Here are some tips on how you can keep your camera in top-notch shape.
Surface Cleaning
This is easy. Get a clean dry microfibre cloth. Dampen it with tap water but do not soak it. You want it damp, not wet. Now gently wipe down all the external surfaces of the camera. No need to rub hard, water is a universal solvent over time so be gentle. You don’t want water accumulating on the surface of the camera.
Use a Q-Tip or similar thing to get dust and grime out of crevices. Wipe the camera dry with a fresh clean microfibre cloth. You can always wash these cloths if they get dirty but avoid fabric softeners as they can cause some of these cloths to fray and leave bits behind.
Some folks like a very soft brush to clean the crevices, but I prefer to just buy a bunch of soft toothbrushes and save the super soft brushes for removing dust from lens elements, viewfinders and filters.
Glass Cleaning
This applies to anything with a transparent surface, be it the viewfinder, the rear LCD or the front and rear lens elements, but NEVER the mirror in a DSLR camera or the sensor cover in any camera. You can clean your filters in the same way.
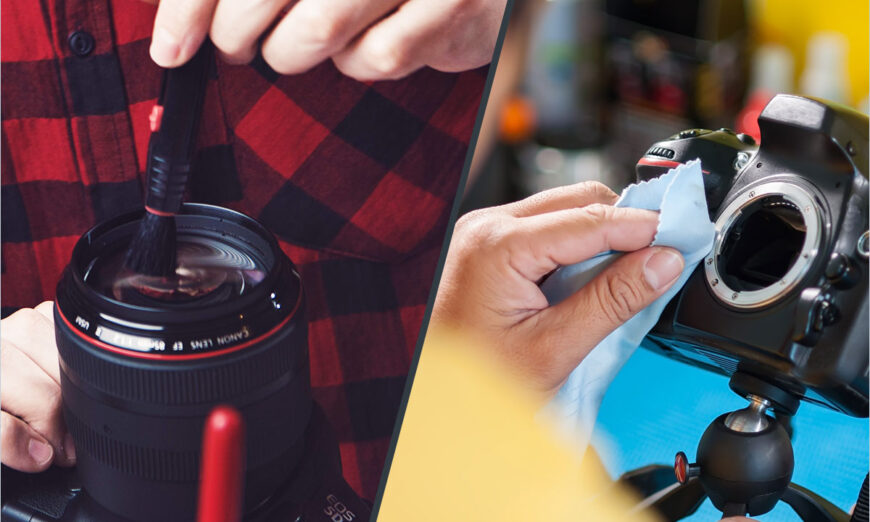
Here is where I am inclined to make a first pass with a really soft, long haired brush to move surface dirt out of the way. You can get nice soft brushes from Henry’s for this purpose although I admit that I overspent and got three different sizes of small camel hair paintbrushes because they leave nothing behind and do a good job of lifting away charged dust particles. You will have to clean them from time to time though. I use distilled water for this because the water where I live is very hard.
Use a clean, water dampened microfiber cloth to wipe these areas if needed. Go soft and make multiple passes. Never use cleaning tissues designed for eyeglasses. Avoid the use of chemical sprays of any kind and NEVER use window cleaner. The ammonia and other solvents in window cleaners will have a terrible effect on coated optics.
Wipe with a dry clean microfibre cloth and again, be gentle. Use a different piece of the cloth for each wipe.
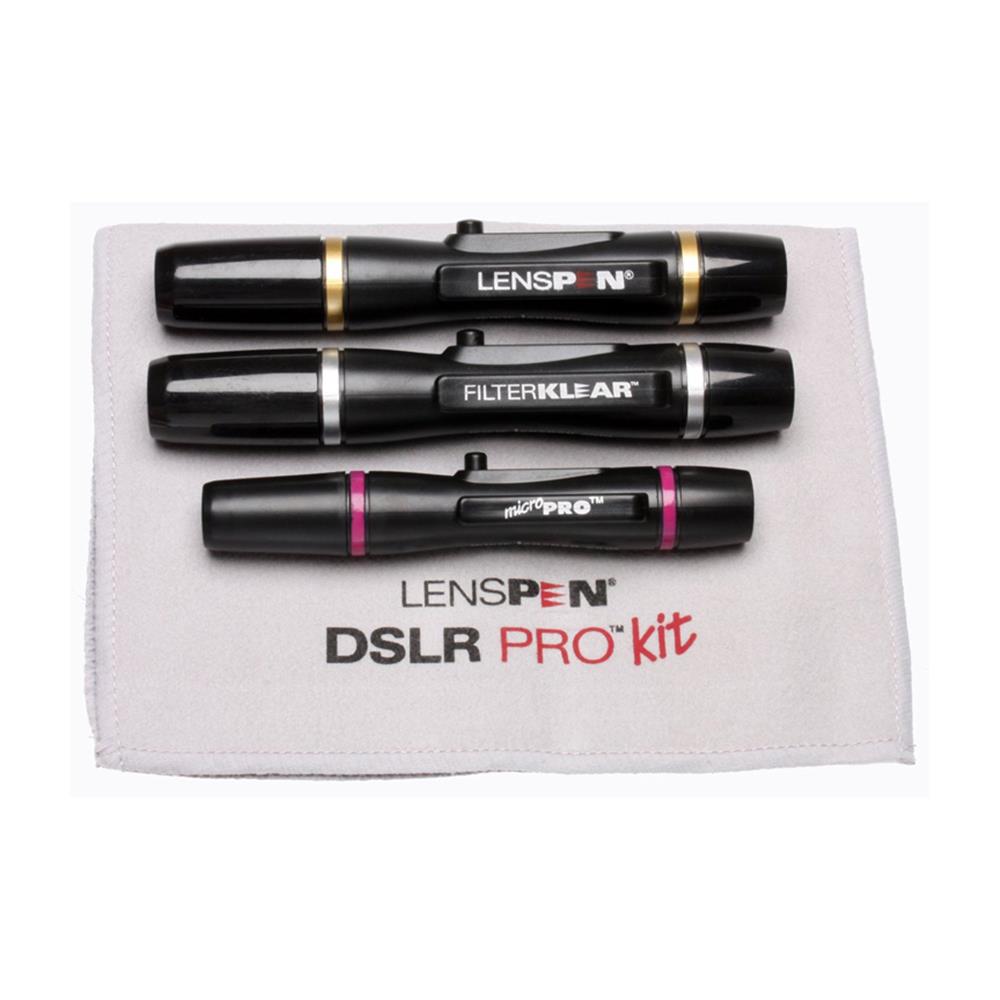
If you are looking for something quicker, that can also deal with fingerprints on lens elements and filters, you need go no further than a LensPen. I love these things and recommend this Optex DSLR Cleaning Kit. I like it because I get two regular LensPens (I loan them on shoots and they sometimes don’t make it back) plus a small one to use on the viewfinder eyepiece. It also has a small microfibre cloth.
There’s dust on the mirror or the sensor
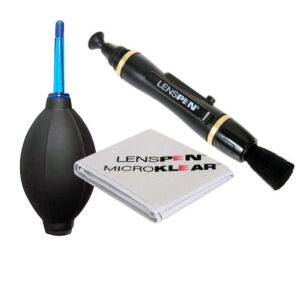
Hold the camera with the lens opening facing down. Use a manual air blower to gently dislodge the dust particles. Do not use compressed air. It may take many squeezes of the bulb of your air blower to make this work. The kit from LensPen shown at left includes a LensPen and proper Air Blower in addition to a microfibre cloth. Just DON’T use the cloth or LensPen on the mirror or sensor cover.
I recommend using an illuminated magnifier to inspect the sensor cover if you are worried about dust specks. There is a Sensor Klear Loupe Kit from LensPen that includes an illuminated magnifier. Do not touch the surface of the mirror or the sensor cover. If there is build up on the sensor cover that looks like a smear, there may be some internal lubricant on it.
You are best advised to have your sensor cleaned professionally. There are end user kits for this kind of work, but if you use one and something goes wrong, it’s all on you. Manufacturers will typically void warranties if they find that something has been used on the sensor cover. I keep saying sensor cover because the sensor is protected by a clear cover, you don’t actually get to the sensor itself.
Clean Your Lens Caps
When you take a lens cap, front or back, or the camera body cap off, where does it get stored? Your pocket? Pretty normal that, and also a storage location for all manner of cruft. Use the same damp cloth you use to clean the camera body to clean the inside of the caps. It’s pretty disgusting what accrues in there. Again, water is your friend, although, you can take these things to the sink and use hand soap and water if they get really dirty.
The Camera Strap
It might sound silly, but I use a damp microfibre cloth to wipe down straps regularly as well. Some folks spend money on really nice leather straps. Don’t use leather cleaners or worse, leather conditioners. These sit on the surface and get on your fingertips and rub onto the camera and become dirt magnets. If your strap is really in bad shape, throw it in the washing machine and then air dry it for a couple of days.
What About Lubrication
Modern cameras have no user serviceable points requiring lubrication.
Batteries
If your camera uses a rechargeable battery, you can choose to remove it when the camera is not in use, but this is not necessary. If you will not be using the camera for more than a month, pull the battery and place it beside the charger and leave the battery door on the camera open.
Recharge your battery the evening before a shooting day. It’s not a bad idea to run the battery down before topping it up. This is not the same problem as in the old days of Nickel Cadmium batteries but exercising your Lithium batteries does not hurt. If you use a speedlight or strobe that takes a battery remove them when the device is not in use.
Just remember to check the batteries before you go out!
Note that most cameras also have a second battery used to maintain the memory for the settings and the internal clock. These tend to last a really long time but when they go, you will need to replace this battery. On some cameras this is a user serviceable part and your manual will tell you how to do it, and on other cameras the device will need to go in for service.
A Reasonable and Quick Workflow
Wipe everything down before you go out. This way you know all the lens elements and finders are clean. It’s also a good time to check the charges on your batteries in case you did not recently charge them up.
Pack your gear into your gadget bag. There is no need to bundle your gear up in extra packing or clothing if you are using a quality camera bag. Remember — function before form with a bag — ALWAYS. A fashionable bag that lets rain run into it, or lets dye run onto your gear is a bad plan.
There are great bags available in your Henry’s store and in the online store if you need a better bag. I personally advocate the bags from Think Tank Photo as they have stood up to all manner of abuse over the last couple of decades, but there are many good choices. In bags, you do get what you pay for.
When going to a damp or sandy location, keep your gear in a plastic bag that is sealed except when using the camera. Dampness and particularly saltwater are bad for your camera. When photographing in wintertime, keep the camera and lenses sealed in a plastic bag when you go outside and let them reach the outdoor temperature to prevent internal condensation.
When you are ready to go back into the warm, put them back in the plastic bag and seal it up and let them come up to temperature while in the bag. You can get sealable heavy-duty plastic bags in a variety of sizes in numerous locations.
When you get home, take everything out of the gadget bag and clean it. The amount of time this takes will be dependent on where you were. If you had the gadget bag anywhere wet or dirty, use a damp cloth to wipe the inside panels after shaking all the gunk out of it over a trash can. Gadget bags can become garbage dumps over time.
For example, when I come home from shooting a rodeo or airshow where there is a ton of particulates in the air, I vacuum out the bag, then wipe down the interior dividers and the exterior with a damp cloth. I have had situations where I used a cleaning brush for car tires on the bag exterior to remove mud and other stuff thrown up by horses and cattle at a rodeo.
Avoid not checking your gear and bag when you return whenever possible.
On Cleaning Kits

Some folks want to have everything in one place to maintain their cameras. The Zeiss Lens Cleaning Kit is a good option for that. In the little case you get an air blower, lens cleaning fluid, pre-dampened wipes, a microfibre cloth and a small soft brush. If you do end up using a lens cleaning fluid, NEVER spray it directly on the glass, only spray it onto your microfibre cloth. If you are okay with just using water, the LensPen Cleaning Kit is a great choice, and also less expensive.
Storage Thoughts
Store your lenses with the front elements facing down. While unlikely anymore, in the event that the lubricants that are part of the focus mechanisms were to become thin and start running, this storage method reduces the probability of such things getting onto and gumming up the aperture blades.
Keep your camera and lenses in a closed gadget bag when not in use. Keep packets of silica gel or a desiccant pack in the bag. Humidity and moisture are not the friends of mechanical entities or electronics. If you’ve lost yours, you can buy them in bulk online. If you want to restore ones that you already have, a short cycle in the microwave can work, but why not just get a bag of new ones?
Conclusions
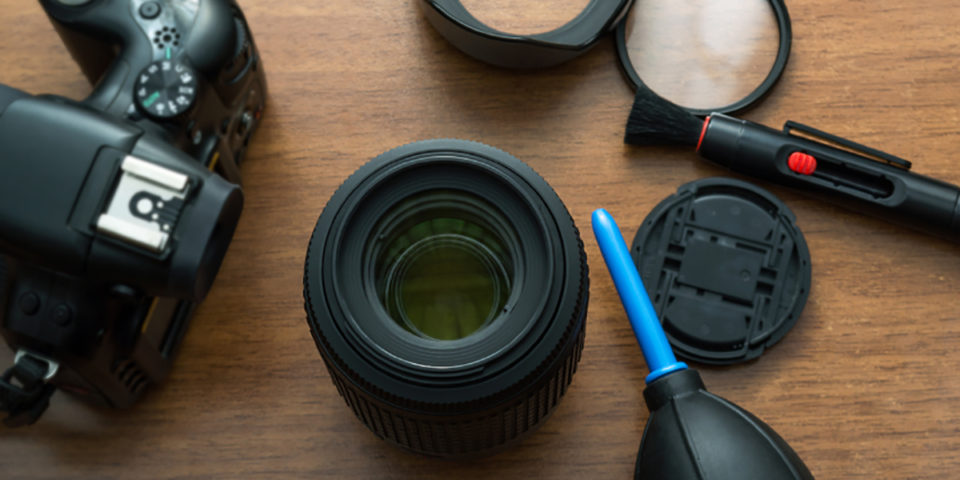
Readers will note that I have not recommended any particular liquids or solvents other than water. The simple reason is that they are unnecessary with proper regular maintenance. A good manual air blower and a package of microfibre cloths is pretty much all anyone needs.

COMMENT (1)
Pingback: Make a Photography Camp at Home for Your Kids this Summer | Photography and video news, reviews and tips | Henry's Camera