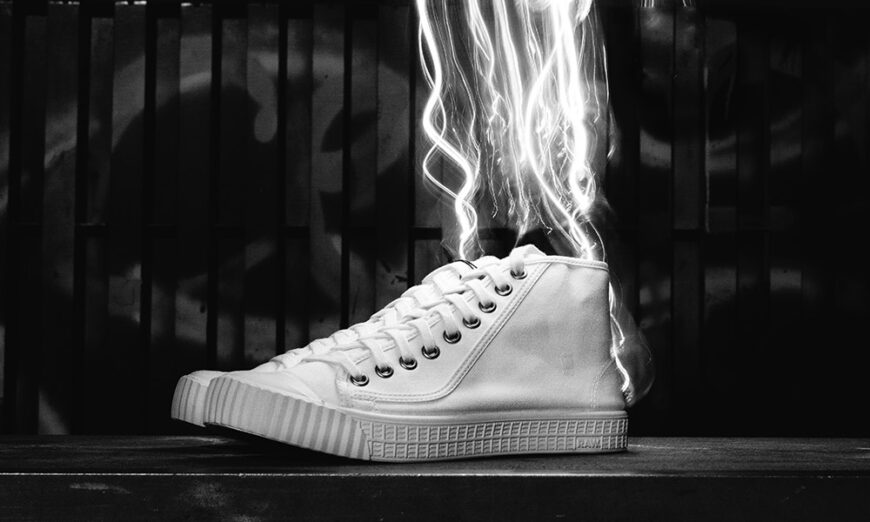
Most of us think of painting as being limited to a paintbrush and paint, but did you know there are other ways to ‘paint’? Light painting is a genre that defies the static rules of photography by using a moving light source while taking a long-exposure photograph.
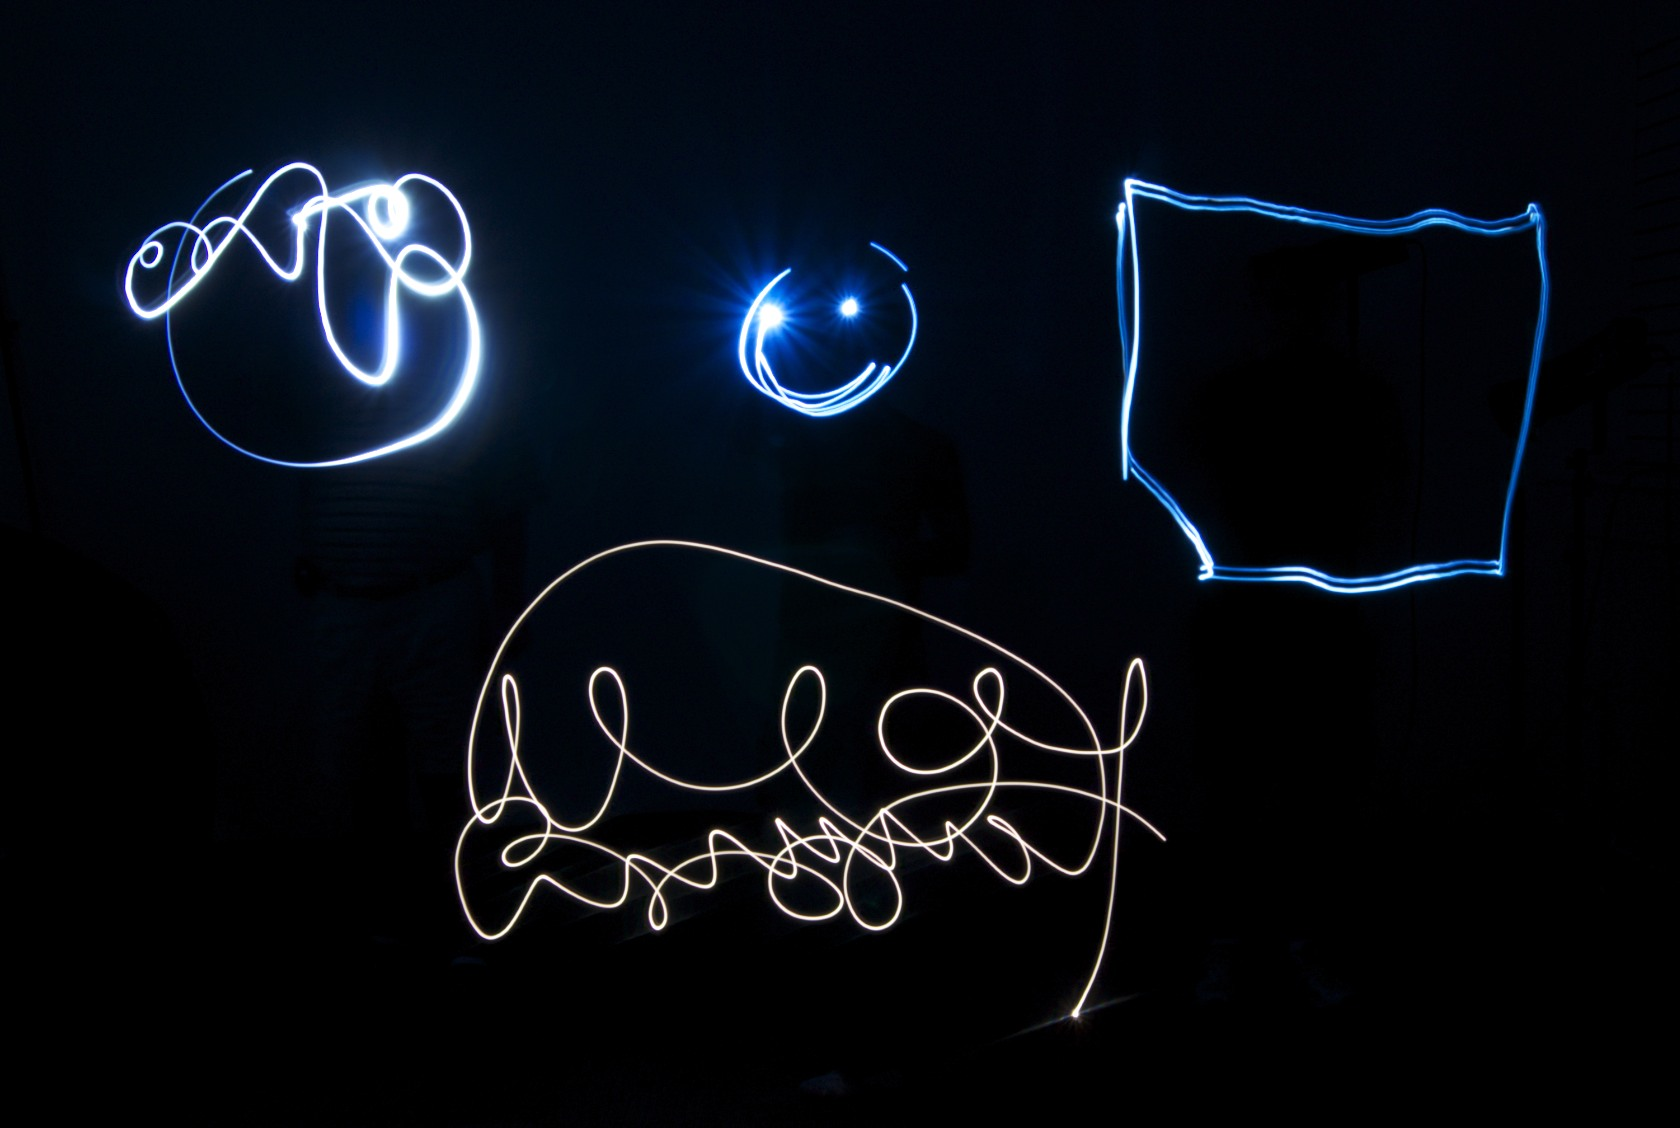
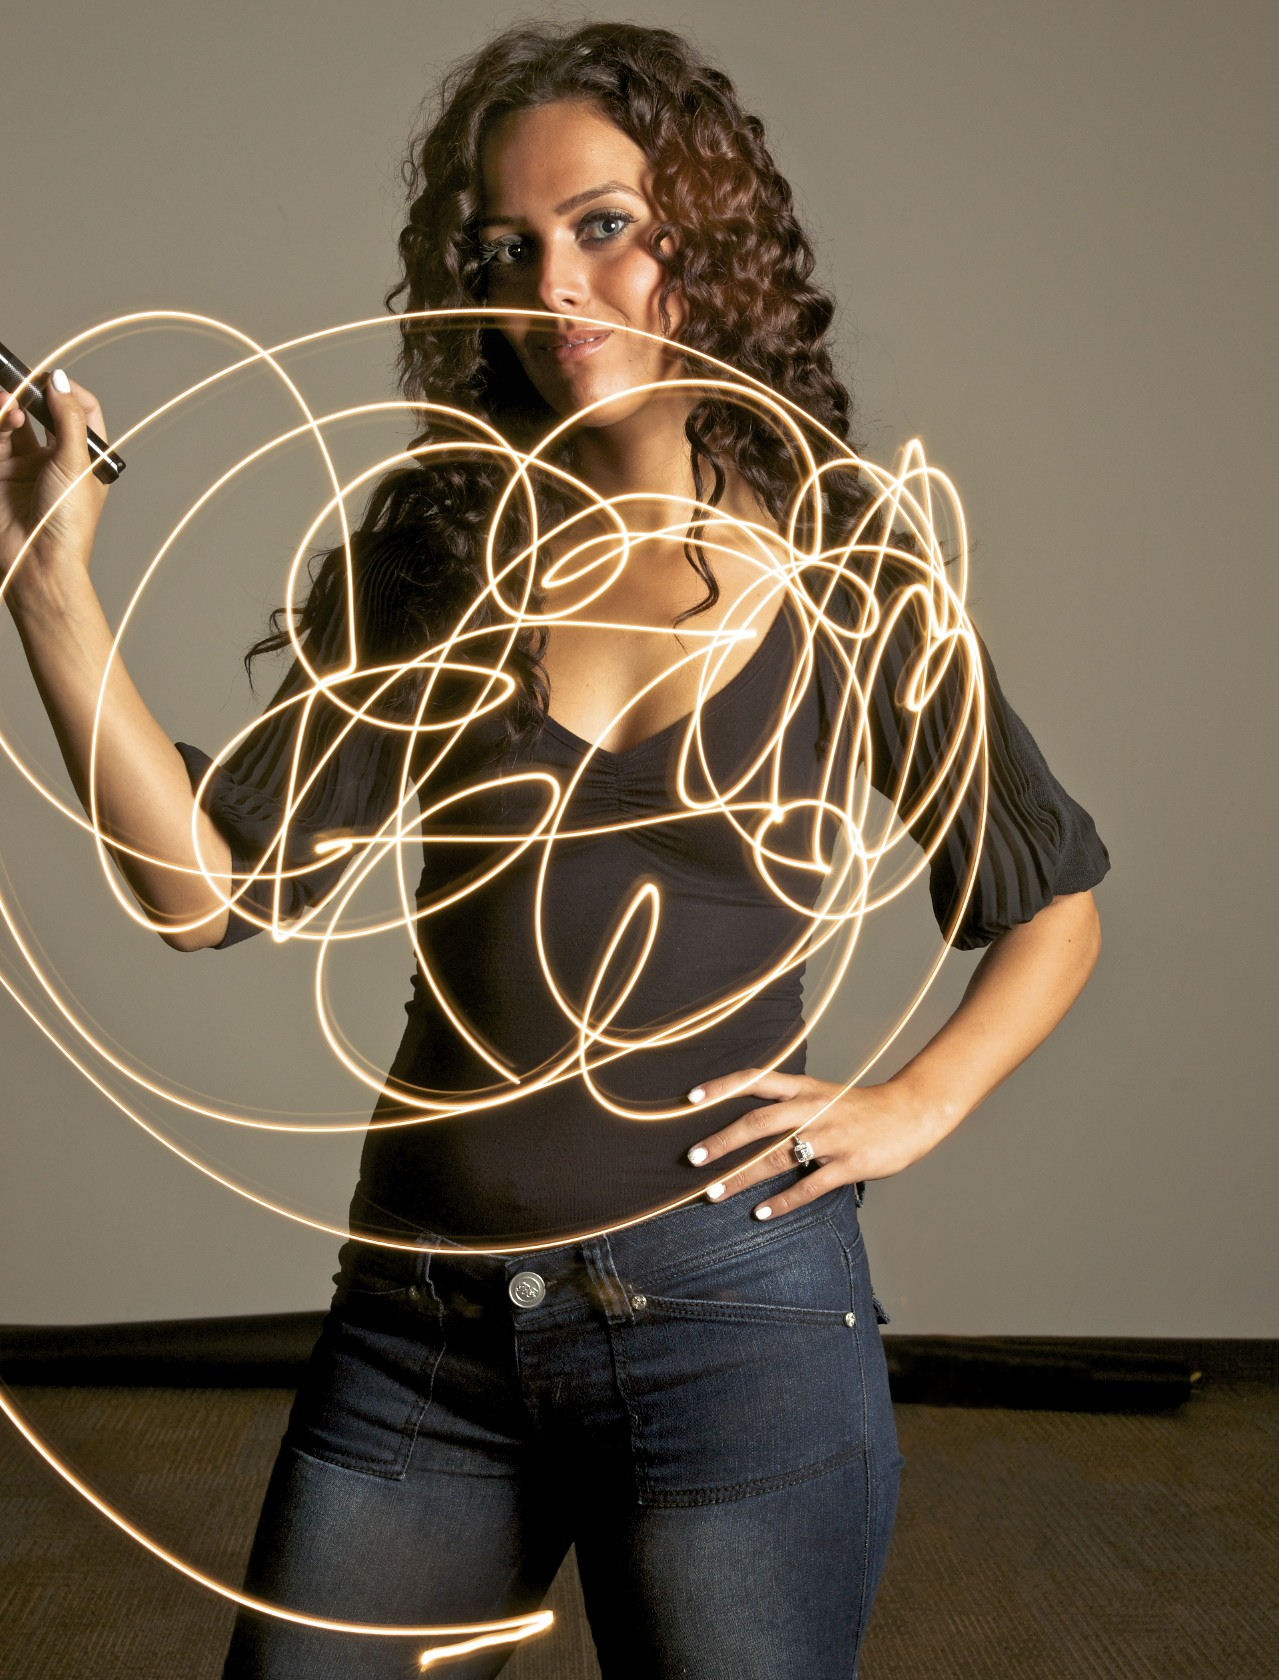
Example of ‘free form’ painting with light
The concept of painting with light is a photography style that employs long shutter speeds. These can range from a second or two to several minutes or more. The principles of ‘correct exposure’ are discarded and the goal of a unique artistic statement takes its place.
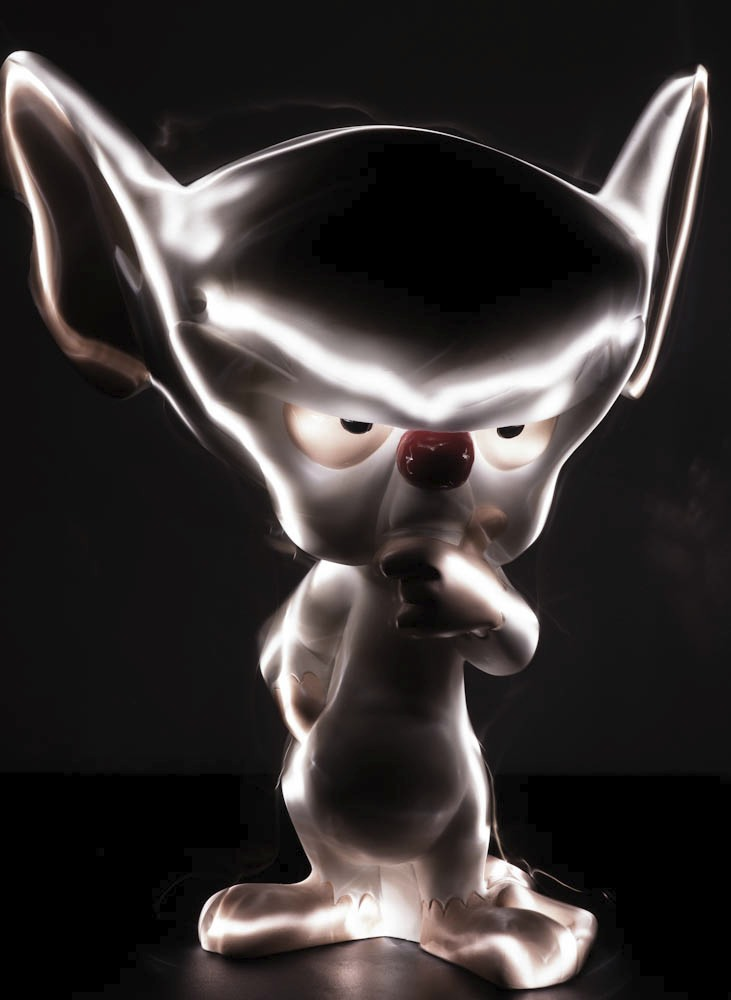
Light painting on a still life subject
The technical requisites are fairly basic. Typical painting with light employs a tripod, shooting in manual mode with a mid-sized aperture and long exposure. Typically these images are acquired in a dark room or outdoors at night with few, if any, existing ambient light sources. Manual mode is a must to take full control of aperture, shutter speed, and ISO. Virtually all interchangeable lens cameras feature this mode, as well as many hybrids and compacts. Look for ‘M’ on your mode dial or shooting mode menu.
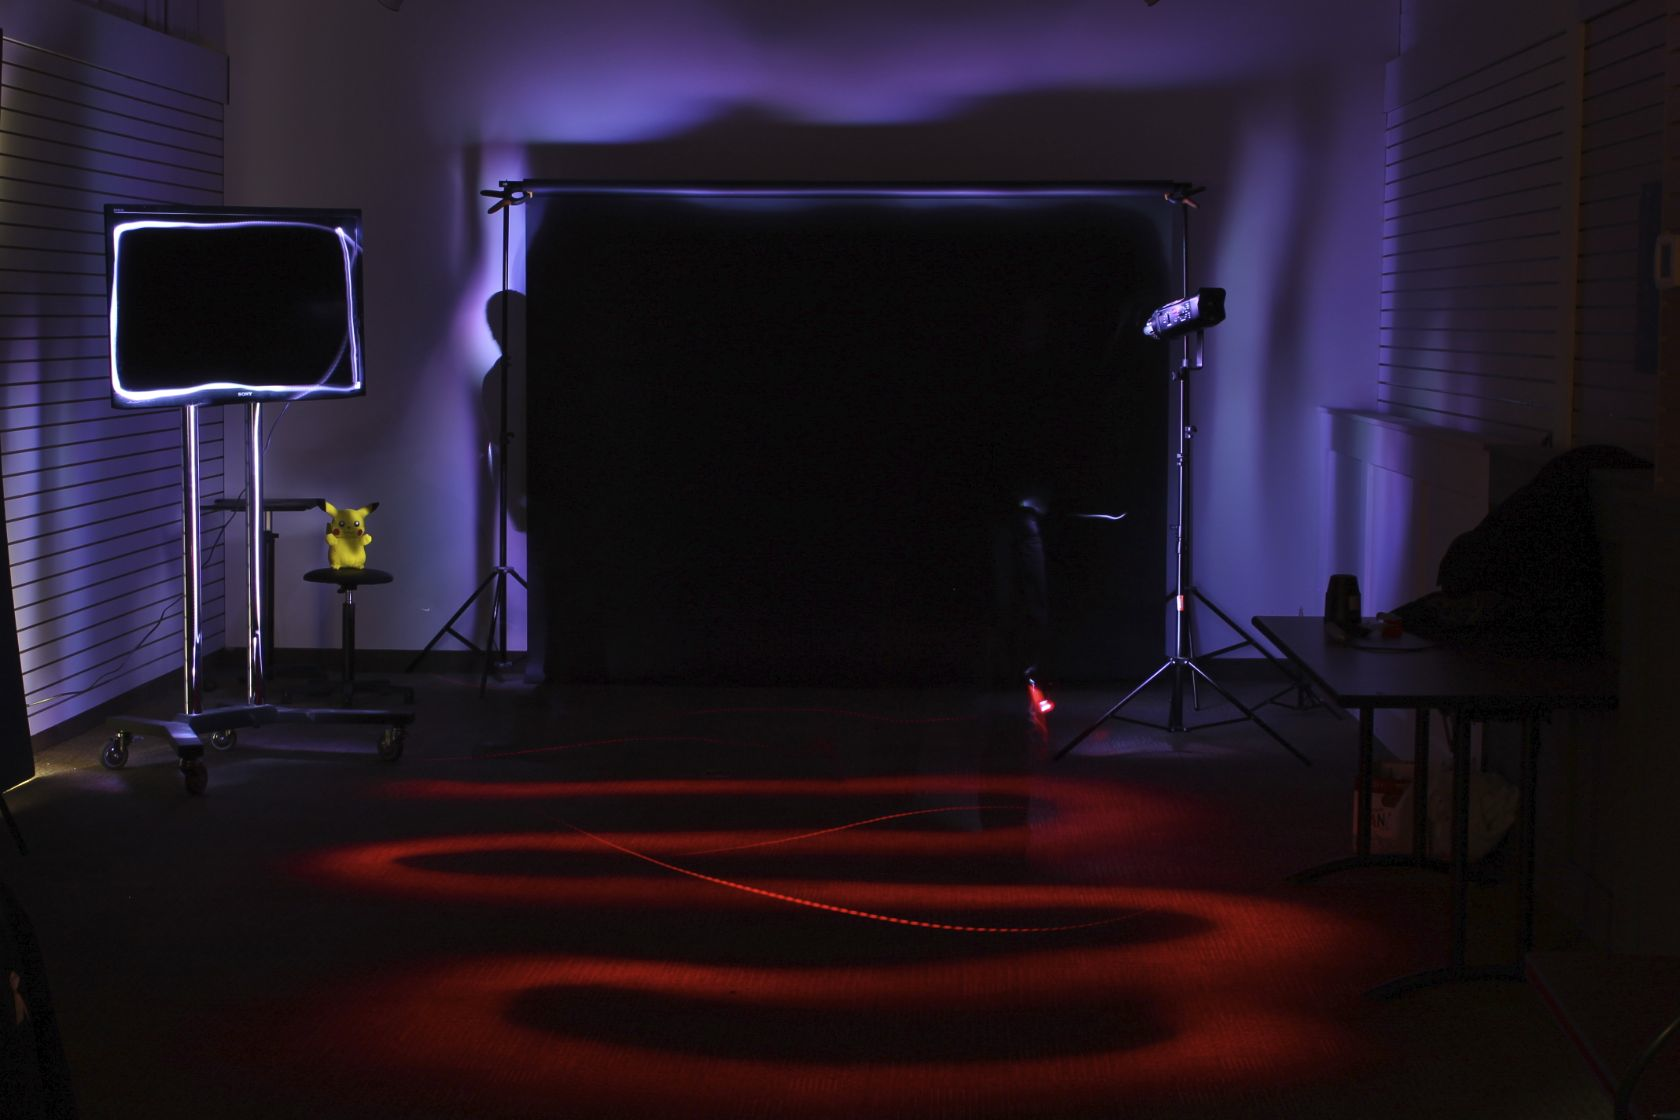
Light painting a room with multiple coloured lights – and the invisible people doing the painting
Once your camera is in place, you are free to apply light into your photographic frame in any number of creative ways. The use of simple light painting tools (pen lights, flashlights, cell phones, decorative lights, sparklers, etc) can be used to ‘etch’ light patterns into your finished frame.
Light can be applied free-form in the air to form abstract shapes and figures, or light can be ‘painted’ onto surfaces. The results will be almost impossible to duplicate, making the genre a truly vast playground for creativity. The achieved results are limited only by your imagination and willingness to experiment.
A very unique aspect of the creation process is the idea of subject invisibility. That is to say, you as the ‘painter’ can cause yourself to be completely invisible to the camera. In a room absent of light, the only light the camera will record is that which it sees from your light painting tools. So long as you do not point the light painting tools at yourself, you will remain completely invisible to your camera throughout the light painting process.
Slightly more advanced – mixing a burst of flash with a subject creating light trails
In spite of the requirement for manual mode, no previous experience with this mode is required to get started and explore. Some standard settings to get you started:
-
- Manual mode on your camera, camera on tripod
- ISO 100 or 200 (as low as your camera will go)
- f/8 aperture
- shutter speed of ten to twenty seconds
- Room should be completely dark when exposure begins
- a remote shutter release is handy to have but not absolutely essential
With the lights on, pre-focus on the subject you wish to paint. Once focus is achieved, disengage auto focus. This is essential to prevent the camera from attempting to focus when you turn the lights out and begin the exposure.
When you turn the lights out, begin your exposure by pressing the shutter button or employing a 2 or 10 second timer delay. Then, when the shutter opens, paint your subject with light using whatever patterns or methods you like.
Be aware that light is an additive element. That is, if you repeat brush strokes of light across the same surface multiple times, that area will become brighter and brighter. If painting a subject that is white, caution must be used to ensure that you don’t overdo it and create blown out highlights.
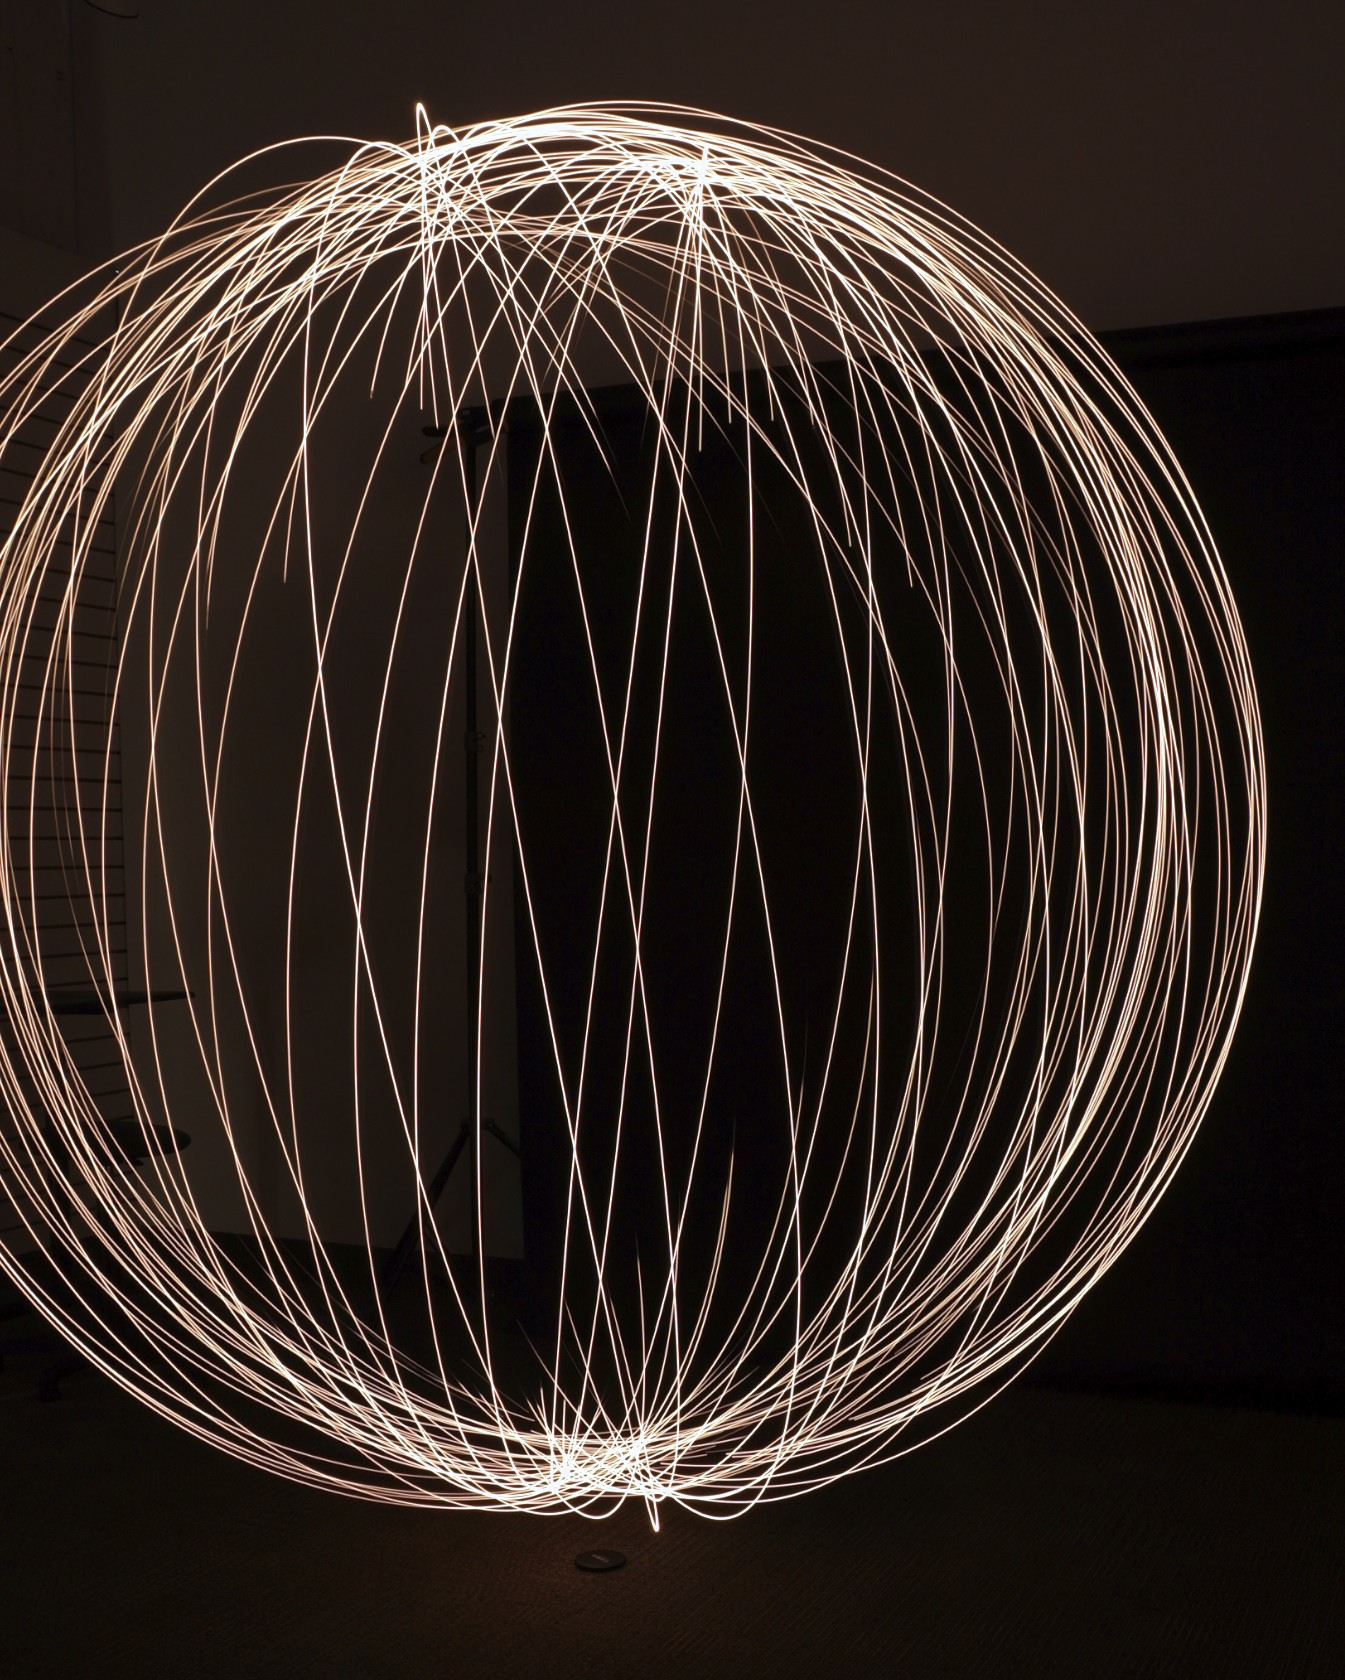
Sphere of light – another more advanced technique
Like any photographic endeavour, painting with light offers a great deal of room to grow. Some techniques are highly accessible and simple. Others are more complex and advanced, but all are based on the same technical principles and basic setup. Once you’ve mastered the basics, you can explore even more exotic and creative possibilities.
