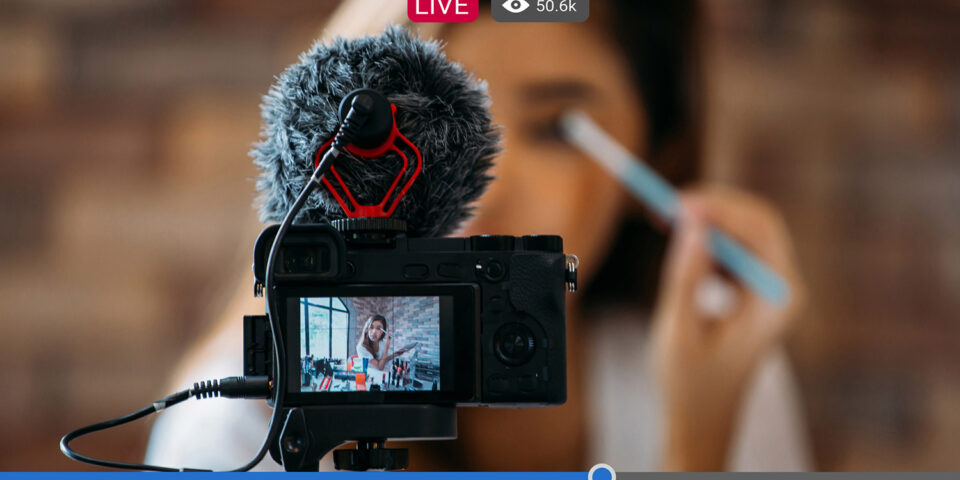
Vlogging is one of the most rapidly growing social media outreach mechanisms. Using your DSLR and mirrorless cameras to make a vlog produces a huge improvement in quality over a smartphone. This is something that most vloggers do to make sure their content is better for the viewers. Vlogging is becoming more and more popular lately as people try to build a career within social media.
When starting out as a vlogger, some people may be interested in getting more viewers to their channel by promoting their vlogs on other social media platforms, such as TikTok. That allows people to upload videos, making it ideal for people to promote their new vlog.
Video production is a delicate art that if done correctly can help you to make visual content that stands out from the competition. In the digital age, videos allow people to engage with your brand or business and get to know more about the products and services you offer in a contemporary way. For this reason, a lot of companies decide to contact some of the best video production companies to collaborate on compelling videos that get results. If you are tempted to learn more about how making high-quality videos can help you to reach your business goals, make sure to do some research online to find a video production specialist who understands your vision and ambitions.
We’ve written recently about choosing a microphone for your camera to deliver better quality audio, so this time let’s look at the challenge of lighting.
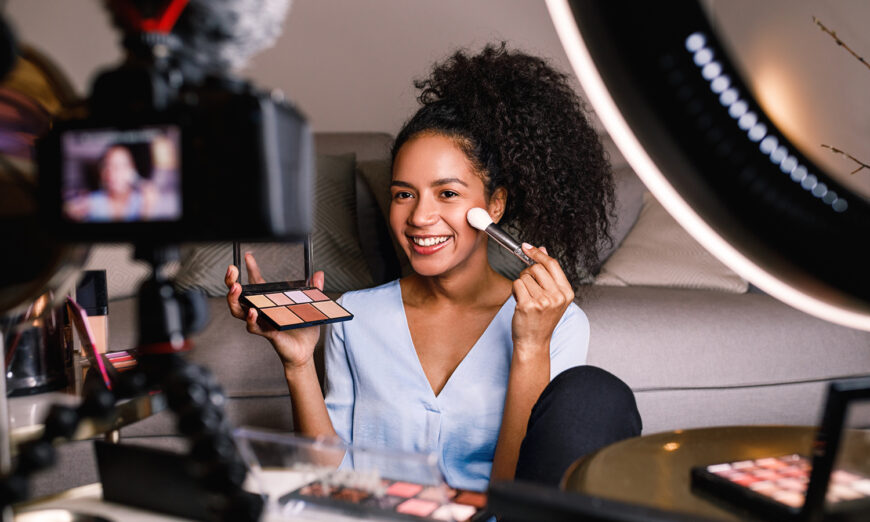
Using the ambient light for your vlog is convenient, but you may find it requires very high ISO settings. If you are shooting with audio, footage may have too much noise and colours that just don’t pop. The easy way to fix this is with a video light.
Types of Lighting
There exist three primary lighting types for video. They are all continuous lights, meaning that they are on all the time. The first is the old style “hot” light, typically a tungsten or halogen bulb. They throw lots of light but get very hot and require AC power with decent amperage. Plug a couple into the same circuit and you may end up blowing fuses. The second is the type based on fluorescent lights.
These are special fixtures designed to minimize the effects of flicker and to offer consistent colour temperature over a long period of time. They produce beautiful light, but the bulbs are fragile and they also need AC power. The third type of light is delivered by LED panels. These have decent brightness, consistent colour and many can run on either AC or battery power. Battery powered LED lights are very handy when you do a bit of ad hoc video, shooting whenever and wherever without a defined shooting space, although they work wonderfully in a fixed “studio” as well. We will spend our time in this article on LED lights and led lighting systems.
What Are We Talking About?
An LED, or Light Emitting Diode, is not a new idea. A diode is a very fast switching device that turns on and off at the frequency of the electric current. Here in North America, we have a 60Hz current, so that means that the LED switches 60 times a second. Better makers use specific power supplies to mitigate any flickering and modern panels do not generate enough flicker to be concerned about in most uses. Moreover, because an LED typically has hundreds of individual LEDs, they do not all switch at the same time by design. This makes for a really consistent level of light.
LEDs also have a colour temperature. We can find daylight, bi-colour (daylight and tungsten) and continuously variable colour temperature LEDs. Unless you are mixing multiple sources and are using gels and a colour meter to get the balance perfect, daylight balanced are a good way to go because they will cost less. LED lamps typically have a CRI rating. CRI means Colour Rendering Index and is a measure of the LED’s ability to faithfully render the colours of an object in comparison to a reference source, most often daylight. CRI becomes very important when you have to ensure that rendered colours match a product brand, such as those used in a corporate logo, but is less important for vlogging purposes, unless you are receiving compensation for endorsing a product.
Size and Placement
The larger the source, the softer the light. The closer the source, the softer the light. These are not marketing phrases, they express basic physics principles. Our goals are most often to have the softest light possible, because it looks the best. We want to emulate the soft light of a natural overcast sky, not the harsh light of a single bulb or direct sun.
LED panels come in various sizes, but you can make more of a small panel if you get it in close to the subject. We see very small panels that sit on the shoe or the cage of a camera that put out a decent amount of light that looks pretty nice when the panel is in close. That light tends to be very flat, so individuals with a greater concern for the look of their video, will use the light away from the camera. TV studios use 24″ square panels, and lots of them, to light a news set. You can likely get by with a couple of small-medium panels set just out of frame. The lights will look bright to your talent but will also provide beautiful illumination for your shoot.
The farther your lights must be placed, the larger and more powerful your lights will need to be. That’s physics and is known as the inverse square law. For every doubling of distance, we need to increase power by 4 times.
Diffusion
A small light can be made to act bigger through the use of diffusion material. You can order a roll of Savage’s Translum Backdrop in the 1 stop density, and just hang a piece a few feet in front of your light and very close to your subject to turn a small source into a larger one. You will lose some power through the Translum, but it could save you the cost of a larger light. To see if this approach will work with the lights that you have, buy white shower curtain liners and use them as diffusion panels. They are light, hang straight and you can gaffer tape them to the ceiling to make big panels. I know it sounds goofy, but it works and if you like the look, then you can replace them with the more durable Translum when you are ready.
How to Light
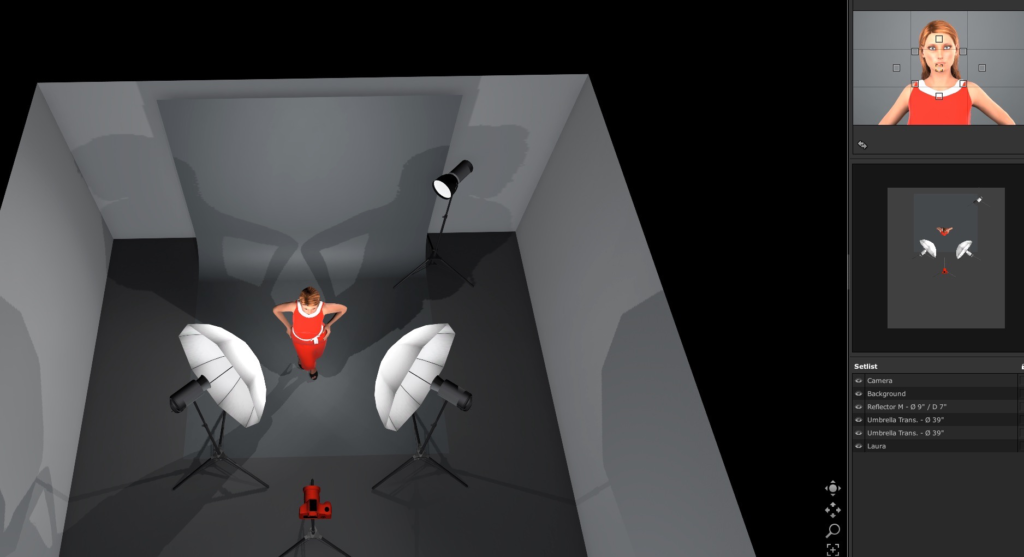
Broadcast has used a system called Three Point Lighting for decades. It’s simple to set up, easy to repeat and looks great.
Three Point Lighting
This sample graphic from a lighting design application shows the three light layout and a representation of what the light will look like on the subject. The example uses translucent umbrellas on the front lights, but any type of diffusion material will do the job.
Lighting will allow you to get more depth of field as you need it and will also give you more latitude in your available ISOs. (ISO: measures the camera’s sensitivity of the image sensor.)
Picking Lights
Choose lights that will deliver on your requirements. Better to get more, less powerful lights than one super powered light that doesn’t give you the flexibility of multiple lights.
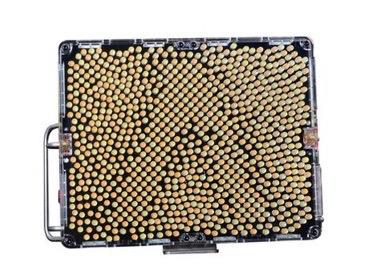
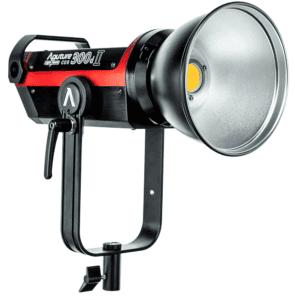
When you choose video lights, you can go with square or rectangular panels which tend to be flatter and more easily transported, but that do not take light shapers. Alternatively, you can go with LED lights that look more like studio strobes that are a bit bulkier, but can also use industry standard light shaping tools. If you anticipate using your video lights as continuous lights for still photography, especially product shot work, you might find the second type more useful to you.
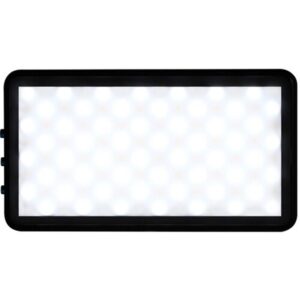
Here’s one of those hot shoe mount lights. If all you need is a smaller kicker to supplement the ambient, something like this may be perfect for your needs. Just remember you’re going to need to get in close for enough power and it may look a bit harsh because of the small size. I must admit that I love this little guy. It’s very small and I have one in my bag most of the time, if only to use as a kicker light for stills or videos, and especially for macro work.
This next example is a small-medium panel with very good output that can be operated off battery or AC power. It has a 25-degree angle of coverage and when pushed through diffusion still retains a tight pattern.
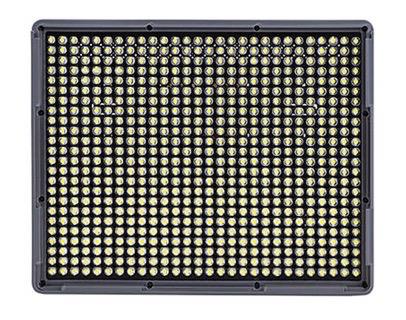
If you would prefer an LED system that takes standard light shaping tools, consider this one.
Wrapping Up
What do you think? Do you see how better lighting will improve your video work? Will the nominal extra set-up help you stand out from the other people doing videos? Please leave your thoughts in the comments. If you have questions on this topic, or suggestions for other topics, please leave us a comment.
COMMENTS (2)
Pingback: The best new camera for vlogging in 2019 | Photography and video news, reviews and tips | Henry's Camera
Pingback: The best Sony camera for vlogging | Photography and video news, reviews and tips | Henry's Camera