At some point all of us need to do some product work. This could be for a client, or just for yourself of something that you make, or want to sell. Your smartphone image may be ok, but it’s not going to capture attention on eBay or Kijiji.
You may also want to work on this as part of growing your own expertise level. It’s not exactly tough, but it is an exacting process.

Figure 1 : Yikes! It does not have to be this complicated!
Simple Matters
Amazon has set the stage for product shots and even tried to patent their white background methodology. Why? Simply it works. The viewer is not distracted by anything other than the product.
The Process
Shooting product is a process. You need a shooting space, lights, stands, a tripod and the right platform for your product.
Shoot from a tripod for maximum depth of field, triggering the shutter with a remote release or a self-timer. Successful product photography is not done handheld. It’s also not done from a rickety tripod.
Invest in dust-collecting cloths like a Swiffer, a bag of lint-free cloths, some distilled water, and cotton swabs. Clean the product fastidiously, or you will burn hours retouching in Photoshop to remove dust specks and other detritus. Spending 10 minutes doing a proper clean will save you over an hour in post. You will still need to use Photoshop, but you may not need to move in and make it your domicile.
You are going to need a roll of gaffer tape, and in this scenario, I recommend getting the white ones because most product work is done on white.

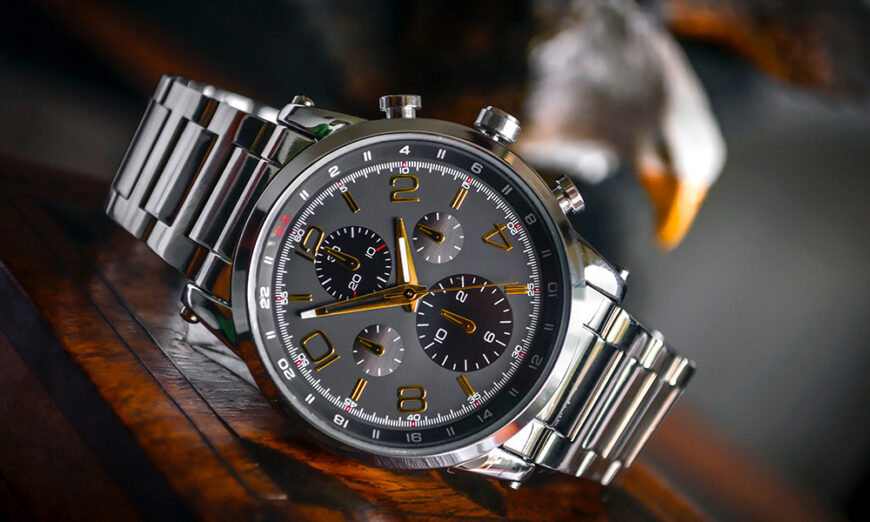
Figure 2 : Soft, flat lighting is key to success, as is managing the reflections of shiny surfaces
Lights
Let’s talk first about non-reflective subjects because they are easier. I recommend starting with a bowl of fruit because it will have different colours, different levels of shine and different textures.
Product photography means very flat, directionless light. The idea is not to have a lot of shadows or textures revealed. This is the opposite of most images and requires more planning.
The light must be very soft and that means getting the light in close and through a diffusion panel. You can get one of those collapsible product photo booths and they are okay for small subjects, but they typically come with only two lights and from my experience, you will need more. I find variable output LED panels to be ideal for this so long as you use a good diffusion provider between the lights and the subject.
Lights mean stands, and you want stable stands and mounts, and to make things efficient, I will suggest stands with boom arms. The Cameron LS65B is a pretty darn good boom stand, especially for flying a panel above your subject. You may go for small table top stands if you have space on your table for lights. The key idea here is to put a light on every side, even the front of your shooting box if you can.
Turn your lights on, and position them and adjust their output until your subject is lit very evenly. Your back light will not need to be as powerful as the top or side lights, for example. Take your time. Get the light right in camera, not in post processing.
Reflectors
You will need reflectors and the best and easiest to work with is white foamcore. You can tape two pieces together on an edge to make a V-Flat, it makes a great base for your product because it is reflective without being shiny and you can cut it with an X-Acto or even decent shears to make the shapes that you need. A small piece of foamcore, stood up behind a bottle will make the contents glow. It’s done all the time. Not rocket science, but a great trick.
My Secret Weapon
Over the years, every professional hits on some secrets that make a huge difference. This is my secret weapon for product work. It comes from the Savage company and is called Translum. Its entire purpose is to be both a background and a reflective surface. It is sturdy, durable plastic that can be wiped down, cut with scissors or shears, and taped or glued to anything. I have rolls of the stuff in my studio. For general use, I recommend the medium weight.
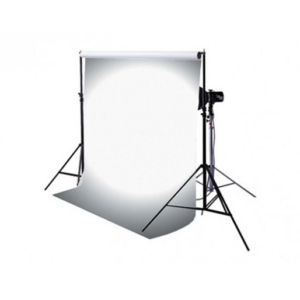
Figure 3 : My secret weapon, Savage Translum
I cut pieces to size to tape over the top of the LED panels to plastic frames to make translucent panels. My favourite trick is old window screen frames because they are rigid and you can find them in different sizes. Just cut out the screen material and tape on your Translum. I have a number of spring clamps that allow me to use stands to position these exactly where I need them to be. Then I put the LED panels pretty close and I get beautiful soft and flat light.
There are other materials that different folks use, and I have probably tried all of them. For me, Translum is the secret weapon.
Note that with Translum and foamcore that these are lightweight materials so if you are using a fan to make for some motion in your subject, tack down your Translum and foamcore or it will start flapping and flying.
Reflective Subjects
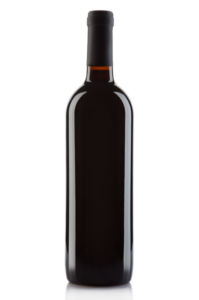
Figure 4 : Position lights and reflectors to accentuate the shape of reflective subjects
The trick here is to only inspect the light from the viewfinder. Many product photographers will run an HDMI cable out of the camera to a TV so they can see what the camera sees while they are moving lights, diffusion and reflectors. You want to make the reflections work for you, not against you, so proper positioning of lights and reflector cards is key. It’s time consuming and pretty unforgiving, but when you make it work, it really works.
This gets particularly difficult if your background is not a flat and boring one. If you are doing food work for example and want to show the restaurant behind the food, you are going to need a lot of black silks, also known as flags or gobos, to prevent reflections from elsewhere from hitting your subject.
Heavier silks are great because they block light but don’t weigh a lot, although you can use any plain black fabric that is not a dust magnet from the fabric store. Another option is to have a stack of all black foamcore handy to make your own flags. You will have to travel to an art store like DeSerres for this as the office supply store is unlikely to have completely black foamcore with no white interior or edges.
Conclusions
Good product photography is really challenging, but extremely fulfilling. Try it yourself using just some foamcore and a table lamp and see if you like it. If you do, there’s lot of room to grow with it.
If you have questions about this subject, please leave a comment below.
