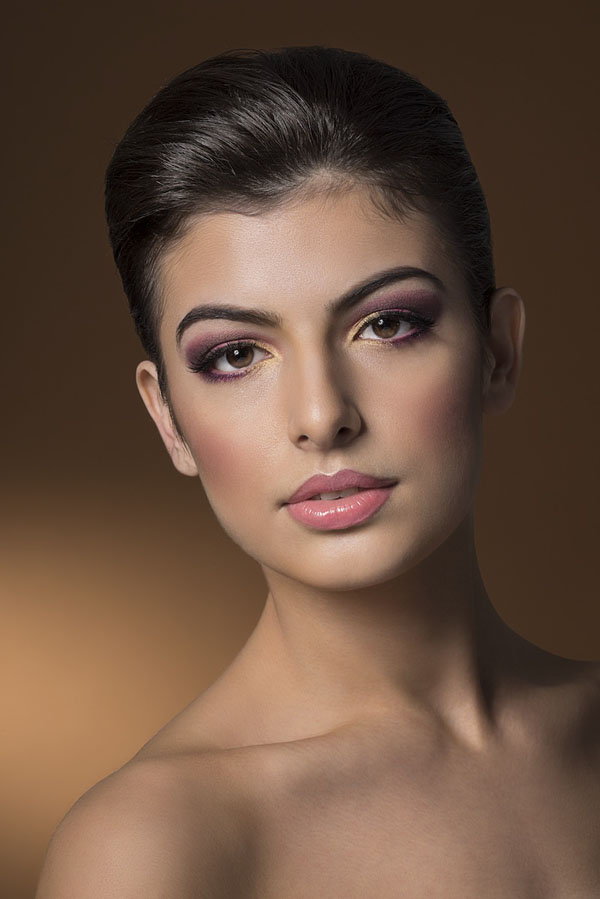
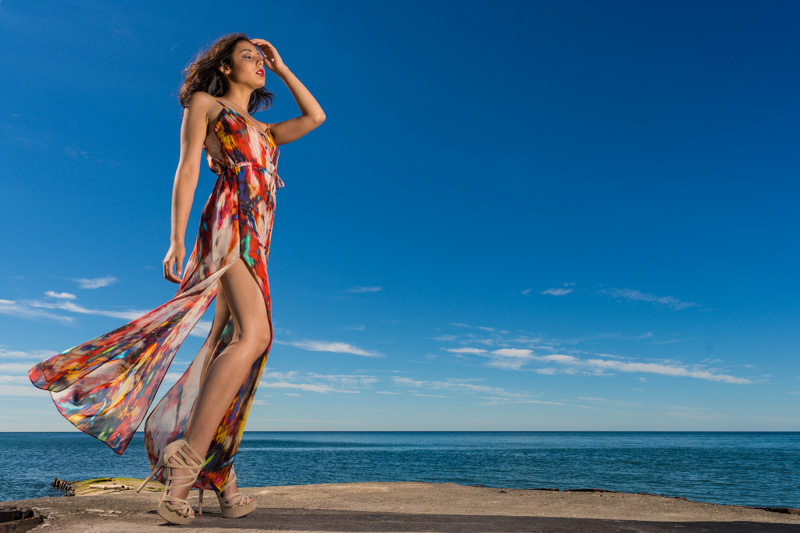
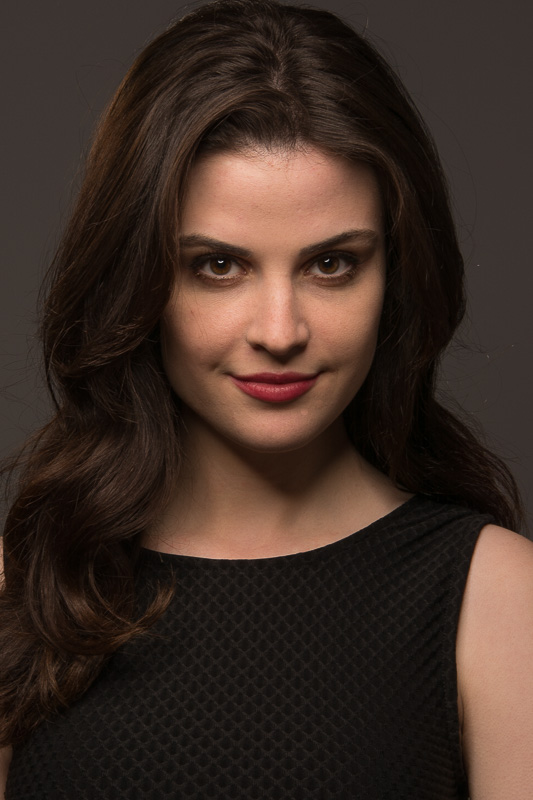
When I teach someone about how to use strobes for lighting a portrait, they always seem amazed as to how simple the technical hurdles are to getting started. One’s initial impression of a potentially difficult, complex and highly technical world becomes a fairly simple affair.
It’s easy to understand how someone can be led to believe that using strobe lighting is difficult. The various pieces of the puzzle can have an outward appearance of being technically complex and sophisticated. Taken one piece at a time, you can learn the essentials of lighting very quickly, after which it becomes a matter of practice with the lights themselves to get portraits that you love.
There are four commonly used pieces of gear that one would use in a typical simple portrait set-up. These pieces are the base essentials – once you understand setting up of these, you’re on your way. So let’s start with the first and most essential tool in the mix – your camera.
A camera that can be used effectively with strobe lighting requires a Manual mode setting (check your mode dial, if there’s an ‘M’ position, then you’ve got Manual mode). The very name ‘Manual’ suggests complete lack of automation, which in turn suggests something difficult. Let’s debunk that myth right now.
Even if you have no experience at all using manual mode on your camera, you can manage using it for lighting with strobes. There are three essential settings that you need to set on the cam-era when shooting in manual to ensure correct exposure. They are: shutter speed, aperture and ISO.
Your shutter speed must be set to your camera’s “sync” speed or slower. Your camera manual will tell you what that speed is. For most cameras it is somewhere between 1/125 and 1/250 of a second. If you set it to 1/125, I can virtually guarantee you’ll be good to go in the shutter speed department. If you’re curious about what “sync” speed means, it’s the speed at which the shutter can be guaranteed to remain fully open while your strobe flash units light their subject. These two things must be ‘synchronous’ (happening at the same time). So really, just choosing your camera’s published sync speed is fine. Once you set it, you never have to worry about it again to achieve correct exposure. Done!
Next, aperture. When setting your aperture you’re concerning yourself with an aperture that gives you desired depth of field. This simply means how much behind (and in front of) your subject you want to appear sharp. While this may be a slight oversimplification, a good aperture value to use to start is f/8. You can always change this if you have the need for deeper or shallower depth of field, but it’s a good ‘safe’ aperture to get started with and keep things simple. As you practice more you may wish to change this, but f/8 is a good start. Done!
Finally, ISO. ISO is a setting in the camera that determines the sensitivity of your cameras sensor to light. The higher the value, the more sensitive it becomes. This feature is useful when shooting in dim natural light where an increase in sensitivity helps you get good exposure. How-ever, when shooting with strobes you can adjust the strobe power to make the light very bright indeed. Changing the ISO should very rarely be necessary when using strobes. It’s also worth pointing out that increasing your ISO value can degrade the quality of the image by introducing noise and skewing colour data somewhat. Keeping the ISO at factory default of between 100-200 is the best way to go, and once you set this setting you should not need to change it. Done!
With your camera set to manual mode, 1/125 sec shutter speed, aperture of f/8 and your ISO between 100 and 200, you’ve conquered the evil and frightening manual mode. So, what’s the next hurdle? The very next hurdle is the strobes themselves.
A strobe light has several controls. Each control is fairly simple and has a very straightforward purpose. The general breakdown is this: controls for the power setting (increase or decrease light intensity), modeling lamp control (to allow you to see for focusing before the flash goes off), and a few others that you may need to set once. Let’s keep it simple.
The most important setting on your strobe light is the power. The name of the game is to adjust the power to that when your flash fires, the exposure of your subject is ‘correct’. That is, not too bright or dark. But the power dials on your strobe are just numbers, like a volume control. Where do you set them?
Even the answer to this question is simpler than you may think. The essential thing to understand is that the further you place the light from the subject, the brighter your flash needs to be. The closer you place the light, the less power you need. There are two methods you can use to get the power setting ‘right’.
First you can try a light meter (which coincidentally is the next ‘simple but complex looking’ device in the mix). A light meter is really designed to tell you one thing: whether you need to raise or lower the power on your strobes! That’s really it. You simply punch two numbers into the light meter that you set your camera for (shutter speed and ISO). Then you ‘fire’ your strobe light while holding the light meter in front of your subject.
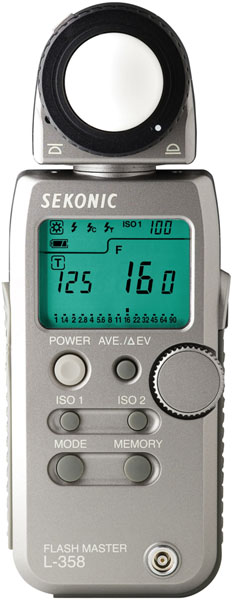
The light meter will display an aperture number. You want your light meter to tell you ‘f/8’ be-cause that’s what you set your camera for. If the light meter displays a value below f/8, you in-crease the strobe power. If the light meter displays a value above f/8, you turn the power down. That’s it! You can keep adjusting the power until the meter tells you that you’ve hit the f/8 mark. Once this is done, you know that your exposure will be correct.
If you do not wish to purchase a light meter, you can simply take photos and observe the results on your cameras LCD screen. You will know right away if the photo came out too bright or too dark, and you can simply adjust the strobe power based on the results you see. You will become better at this with practice naturally. The advantage of the light meter is the ability to get the strobe power set correctly before you take your first picture, which is a much quicker way to go about it. Either way works.
The final piece of the puzzle is the actual pointing of the camera towards your subject and taking the photo. There is one more very minor piece of gear needed to make this happen. Your camera somehow needs to tell the strobe light precisely when to flash. Your camera can accomplish this in one of two ways. You can attach a wireless ‘trigger’ to your camera that communicates with the strobe light to instruct the flash to go off. This happens automatically when you press the shutter release button to take a photo. That’s all the radio trigger knows how to do, making it a very simple device.
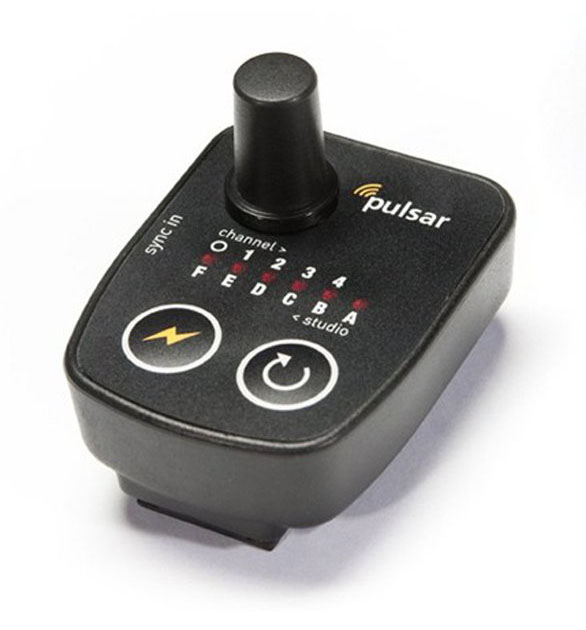
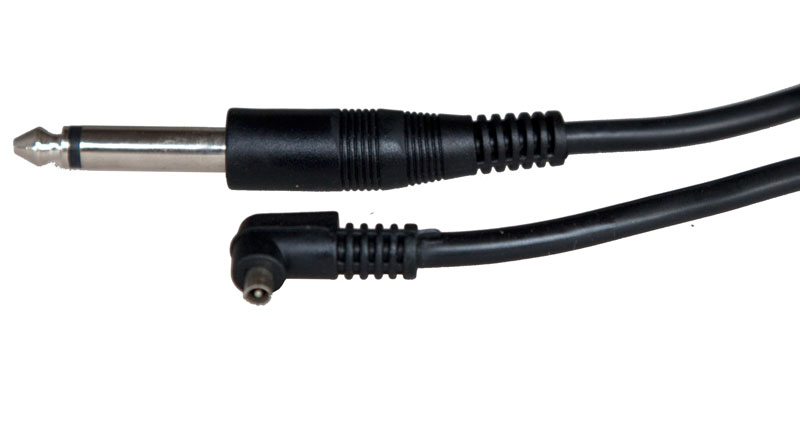
The alternative to this would be to connect your camera to the strobe via a ‘sync cable’. For this to work your camera needs to have a PC sync port, or you can add a sync port to your camera by attaching an accessory to your cameras hot shoe. The wireless option is by far the most popular and practical as it eliminates a cumbersome and sometimes ‘trip happy’ wire.
I encourage people starting out with portrait lighting to think more about the look of the light they are creating, rather than focusing on technical details like camera settings. Yes, there will be times where the settings we have discussed here may need some tweaks and adjustments. By the time you find yourself needing to do so, you will be more than comfortable with the how and why on making those adjustments.
Happy trails on The Road to Great Light!