We left off last time with the shoot workflow and a promise this time to dig into the gear used to make product photography work for you. If you missed Part 1, check out the blog at Product Photography: Part 1 for the previous article.
Gear
Let’s drill into some of the items recommended in Part 1 to understand the whys.
Interchangeable Lens Camera-Set to Shoot in RAW
Simply put, a camera with interchangeable lenses is going to give you the greatest level of flexibility in placement and viewpoint. You should shoot in RAW because JPEGs use destructive compression, and you want the highest quality file for post-processing, because you WILL be post-processing. Brand is not relevant, ease of use and functional delivery is.
Appropriate Lenses
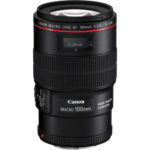
For product photography, I tend to suggest shooting with a macro lens in a fixed focal length, if you can. It means moving the camera and tripod to change viewpoints, but it also means that you will be able to get closer to the product in general and even get close enough for product detail shots. If your camera uses an APS-C or Micro 4/3 sensor, a 60mm focal length is a good choice. If you are using a full-frame sensor, I strongly advocate for a lens in the 100mm range. You are less concerned about a large maximum aperture than about edge-to edge-lens quality. We are talking about desktop product work, not cars or motorcycles, and thus a wide-angle is not needed. Kit zooms can work, but are not optimal.
Tripod with Ball Head
Product shots cannot suffer from any microshake blur and not all lighting is going to give shake-stopping shutter speeds at low ISOs. A tripod is a necessity and I recommend a ball head because it is easily oriented to your requirements and also doesn’t have a bunch of lever arms sticking out to get in the way. Flipping to a vertical orientation is also simple. I strongly recommend carbon fibre legs over aluminum, but check to see that the complete package is rated for at least 4 times the weight of your camera and lens. There are carbon fibre tripod kits where the legs are so skinny they bend in a gentle breeze. Don’t go there. For more information on How to Choose a Tripod, look back at my article on the Henry’s blog.
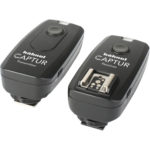
Figure 3: Hahnel Captur Radio Trigger System. Inexpensive, reliable and available for multiple camera types.
Remote Trigger
Odds are good that by the time you get the product, backdrop, lighting, tripod and camera all placed properly, there will be some awkward bending and positioning required of you. Avoid placing yourself in an uncomfortable position, particularly if getting into or out of position runs the risk of bumping into any part of your set. A simple wired remote is inexpensive and is perfect to allow simple firing of the shutter. You can buy wireless if you like, but it’s much more expensive and you won’t be that far from the camera anyway.
Shooting Table
You can certainly shoot off of your kitchen table, but I really do recommend one of those plastic-topped folding tables with the metal legs. I like the ones where the legs can be locked at different heights. They are inexpensive, take up little space, clean up easily and are large enough to take a rolled backdrop or set plate.
Lights
Whatever light system you select, get three of the same lights. Working with multiple configurations is annoying and increases the likelihood that something is going to go wrong. For static product shots, I like continuous lighting. It allows the photographer to see in the viewfinder, exactly what the product is going to look like in the shot-a luxury that flash does not deliver. Some people find it useful to use a lightbox in this situation so they can have a white background, making it easy to edit in post-production. If you were interested in getting a lightbox yourself you can find a decent list by polaroidfotobar.com. However, if the subject can move, flash is superior. Note that for enough depth of field with continuous lights, your shutter speeds are going to be quite long. Flash solves this problem, but you will be limited by the power of the flash head. Once you reach full power on the flash, there is no simple way to get more light on the subject without more flashes and some math.
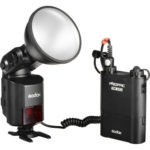
Figure 5: Godox AD360 II Flash and extended battery pack. Power, endurance and TTL capability.
Translum
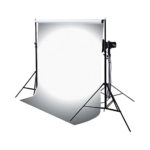
Savage Translum is like gold for the product photographer. It’s thick enough that it doesn’t flop around, and flexible enough that you can cut pieces to fit and then roll them up for reuse when you are done. You can hang it by using gaffer tape, or simply clamp it to the boom arm of a C stand. It’s lightweight and you can get it in very close to your subject.
Soft Box for Overhead Light
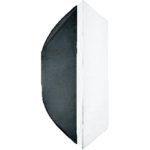
You can certainly use soft boxes if you have them for side lighting, but for overhead, the soft box is the best option. See my following note on stands to prevent disaster. I recommend a soft box large enough to cover the entire table area from about 3 feet above it. This creates a large soft source and can be masked off if you need to control spill. A single big box is much more versatile than several small ones.
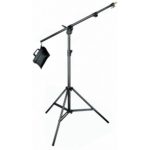
Figure 8: A solid boom for speedlights and LED panels, consider the Manfrotto 420B kit or the Cameron LS-65.
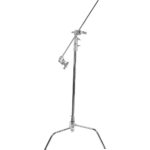
Figure 9: A C Stand Complete, with turtle base, riser, boom arm and two knuckles. Stability defined.
Light Stands with Booms and Sandbags
Light / Flash Meter
As noted in Part 1, you are going to be shooting in Manual mode, because the practice says the lighting does not change from shot to shot unless you make it so. Your in-camera reflected light meter could work fine, but if your subject is highly reflective, is mostly dark or mostly white, you are going to get readings that are not optimal. For this reason, you want a hand-held incident light meter if using continuous lights and a flash meter if using flash. You could work without one, using the guess, try, and repeat model, but a light/flash meter gets you on target with a single test. There is a minor learning curve with a hand-held meter, but it will pay you back enormously over time.
Backgrounds
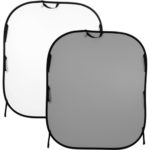
I have seen too many great ideas go to pieces because the wrong background was used. Choose a background that is opaque, so lighting cannot pass through it. Choose a background that is easily kept clean or a new section made available or you will spend forever retouching. Be cautious in the use of velvet or flocked materials. They pick up and hold a static charge and become dust magnets. Muslins are wrinkle monsters. Sheets of heavy vinyl, wood, including a package of slat floor glued together, as well as paper rolls, brick panelling, and such make good backgrounds. If you know that you will be separating the subject off the background to insert a different background in post, do not under any circumstances use chroma green or chroma blue as your background. You will get horrible spill back on your subject and you will never get rid of that colour fringe in post-processing. If separation is your goal, use a neutral background that creates a lot of contrast with the subject so the selection for clipping is easy to make.Whatever background you use, be certain it is well secured, and cannot fall over hitting the subject, your lights, your camera or yourself.
Grey Card or ColorChecker
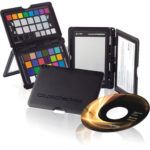
You need this to get your white balance right in post. Do not waste time playing with white balance in camera. You are shooting in RAW and the white balance setting only informs the JPEG on the LCD. At the simplest level you use the white balance eyedropper in your photo editing application and click on the grey card. This sets the white balance for that set-up and you synchronize that setting across all the other shots in the session. If getting the colours bang on is important, you must use an X-Rite ColorChecker Passport or Datacolor SpyderCHECKR and their delivered software in order to create a scene perfect colour profile. More work to be sure, but terrific results.
Display Calibration
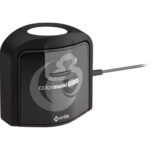
Most all displays come from the factory set too saturated, too bright and too punchy. A display calibrator is not required, but if you want good work, it is. The ColorMunki Display or Spyder5PRO are excellent entry level calibration devices.
Other Stuff
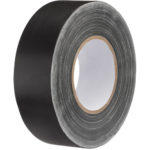
I listed a number of other items including gaffer tape, a collection of foam core to use as reflectors, light masks or gobos, and A clamps to hold things in place amongst other pieces. Suffice it to say that product photography of all types will create the need to put things in odd places and make sure it stays there. Having a bag of this kind of thing will just make your life a lot easier. Pick pieces up as you go along to add to your kit. Gaffer tape is not like duct tape. It holds, but also comes off without leaving residue. You can order it in all kinds of colours, but if you only get yourself a roll of black, you’re probably well set.
Post-Processing
As much work as goes into getting the best shot possible, product photography is going to require a fair bit of time in post-processing for best results. Adobe Lightroom is a great image management system and also provides for some excellent processing tools. That said, for serious level retouching, you are going to need Photoshop and some basic skills in that area. Adobe makes available the Photographer’s Bundle at $9.99USD per month as a subscription. There are alternatives to Lightroom, but nothing else beats Photoshop, not just for function, but for the availability of learning tools to help you get going quickly. We offer basic Lightroom training at select Henry’s Learning Labs, but if that’s not convenient or you want to learn at your own pace, on your own time, nothing beats a Pro membership at KelbyOne.com You can purchase an All-Access Pass at your local Henry’s store or online.
Time to Shoot
In Part 1, we covered the workflow, and the steps to do your own product photography. This is a wonderful skill that you will build over time. The next question is where to start?
Start at Home
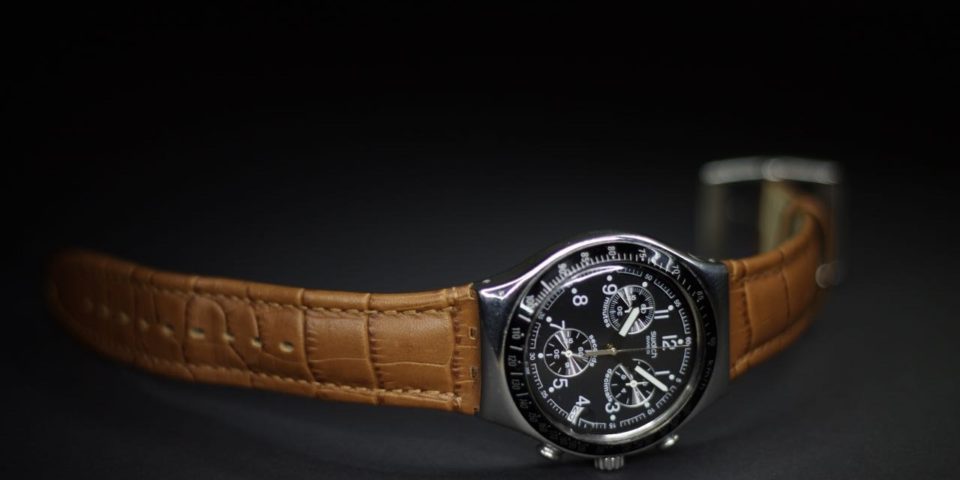
Our homes have all manner of products that we can practice on. There will be figurines, cosmetic bottles, kids toys (did your kids start pretending to play with their toys along with a video?), packaged foods, jewellery, place settings, utensils, small appliances, computer mice, watches; I could go on and on. The good thing about starting with products that you already have is that you can take your time, and your costs are minimal. Moreover, all these things will have different qualities in terms of texture, colour, reflectance and even transparency or translucency. Each of these characteristics brings new challenges and new skills.
This is a game of light and shadow. Try shots, move the lights a bit, play with the background, write yourself a story goal and try to accomplish it.
Here’s a satirical shot that I made a few years ago, using product photography processes and home props to create a story.

Thanks!
I hope that you found this 2-part tutorial of use and are trying simple product photography with the kit that you have.
What other photographic or video tutorials might you want to see? Share your thoughts in the Comments, or if you have questions on this or any other subject.
Until next time, peace.
