Motion. One of the most overused and under appreciated aspects in our day-to-day lives. As easy as it is to get to our feet and move around, capturing a moment motion in a photography is not as easy. In fact, what you capture in the end is usually just a blur – and no, not the English alternative rock band. For something as simple as capturing a jogger in mid-stride, it encompasses several skills and techniques that alter that final picture in many ways.
To get the desired results in motion photography, one must know and be comfortable with all the useful mechanics of today’s hand-held cameras. Shutter speed, lighting, the stillness of the camera, and where the picture is taken from all have a unique effect on the final picture and can affect the image in different ways.
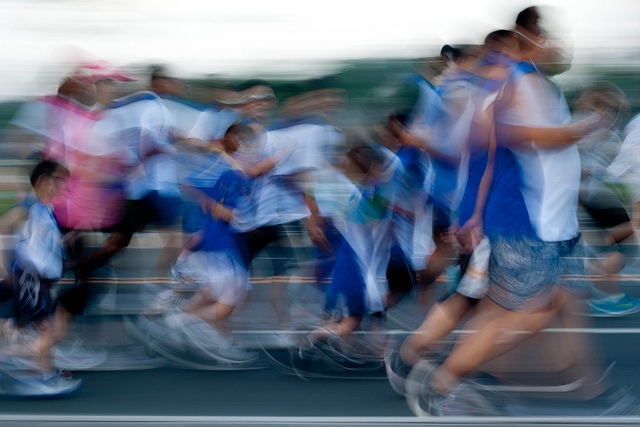 Shutter speed is a crucial operation that determines how long the camera’s imaging sensor is exposed to light. To explain further, let’s say we’re taking a picture of the scenery in a park, where is a jogger is moving through the foreground. With a long shutter speed (3-5 seconds) the jogger’s blur would stretch entirely from one side of the image to the other. In fact, it wouldn’t be very easy to recognize that the huge blur is in fact a human being. With a shorter shutter speed (1/2000th of a second or more) it would be much clearer to see the limbs and full body of the jogger, while still having a slight blurring effect, depending on the lighting conditions.
Lighting, while it is responsible for amazing sights from dawn till dusk and beyond (thanks to artificial light), is not a motion photographer’s best friend. It can distract from the main focus of the picture or even affect the exposure, making it harder to discern any details. Most examples of blurred photography are taken at night or in a dark setting, with a light or some kind of emphasis placed on a particular subject. Likewise, during the day a photographer can use the darker areas of an image to emphasize movement, such as placing a moving subject in an area of shadow and dragging the shutter.
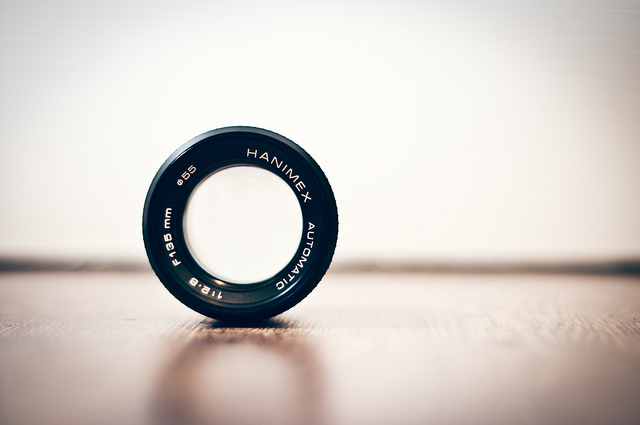 Aperture is a value on your lens that determines how large or small the hole is that allows light to pass through the lens and to his your camera’s sensor. With a smaller setting (indicated by a larger number – f/22 is a smaller aperture than f/4) you will find your images are darker without adjusting any of the camera’s other settings. You may also notice that your depth of field – or size of the area in focus – in your images is affected. Generally, the smaller your aperture gets, the more depth of field you can achieve, and vice versa.
While aperture is an important function of your camera to know, its effect on motion blur in photography works in relation to your shutter speed. On this note, some people will use the camera’s shutter priority mode (often indicated as “S” or “Tv” on the mode dial) to let the camera make some of those decisions for them. Shutter priority allows you choose your shutter speed, and the camera aligns the aperture to the correct value for a proper exposure. You can always set both of these manually, experimenting with the effects you can achieve. In this way, you can discover your own unique settings for capturing motion vs. blocking light. You’ll be amazed how much adding a few seconds or taking away a half second can affect your final image.
 Finally, the stillness of the camera plays a vital role in successfully capturing a moving object. How can you capture the movement of an object across the frame if your camera is moving as well? Borrowing form our jogger example from before, it is helpful to anticipate the movement and be prepared for what is about to happen in your viewfinder. With your camera set up on a tripod, you can be ready to capture the jogger moving through the image and not have to worry about moving the camera too much – a wireless or wired shutter release is even more helpful to reduce camera shake.
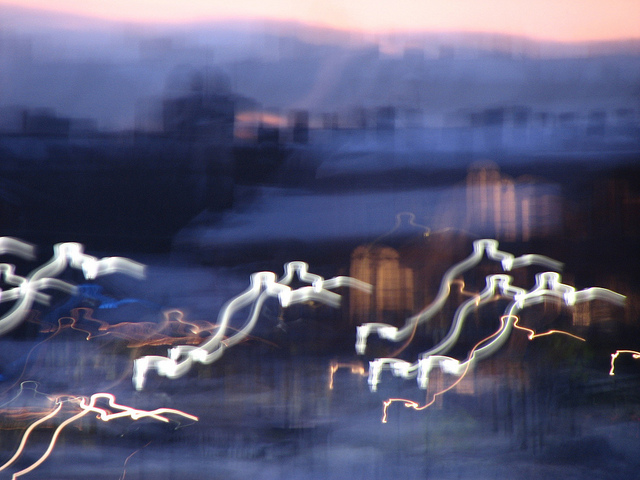
If you’re having some trouble grasping the whole idea, imagine a picture being taken on Earth, with the photographer and camera moving along with the spinning Earth. Simply put, as they’re all moving together, there’s no apparent motion recorded, other than what’s moving in the frame. Now, imagine that camera is stationary and does not move with the spinning earth. With a long enough shutter speed, you would capture the blurred lines of everything moving while you stay motionless. Taken to the extreme, the photographers orbiting the Earth in the International Space Station used this same principle to capture the trails of city lights from high up above.

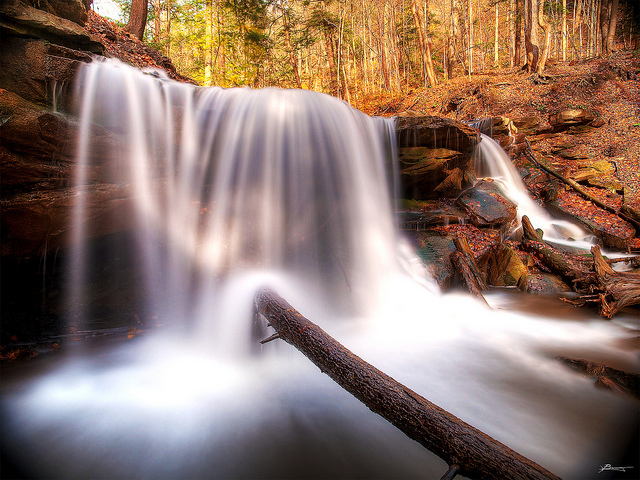 These principles of motion are much the same for many other types of photography, including long exposure photography. You may recall seeing beautiful images of waterfalls in the past, and one of the most common traits of a well executed waterfall image is that silky smooth look to the water. While performing a long exposure to that extent in broad daylight will often require a Neutral Density or Circular Polarizing filter – think sunglasses for your lens – doing so allows you to capture the elements of motion captured in naturally flowing water, rather than simply a snapshot of the water standing still.
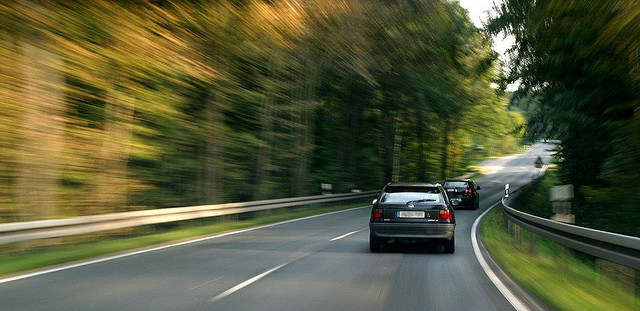
Perhaps some keen readers out there are wondering if it is possible to experiment with this further, and to change how the blur in your image looks. By changing whether or not the camera moves, you can radically change the picture. This is the difference between subject motion and camera motion. With subject motion, the camera would stay perfectly still, causing foreground objects and other moving elements in the image to appear blurred. With camera motion, you would pick a subject to follow, and with some luck, your foreground subject should be relatively sharp, while all of the background elements have blurred around the camera.
So, how about a little challenge for those who feel up to the call? Try experimenting with not just the motion of the camera, but also with the perspective of the camera. Try it with a stationary camera as well as with a moving camera. How about trying to take pictures from the window of a moving car (safely, of course), or from a helmet-mounted camera on a bicyclist. Let’s see what you can do!
Images in this post from the following sources:
Image 1: The Good Run by ace_alejandre with CC BY-NC 2.0
Image 2: Shallow! by Callum Baker with CC BY-NC-SA 2.0
Image 3: architectural • blur by Don Shall with CC BY-NC-ND 2.0
Image 4: jsc2012e052675 by NASA_JSC_Photo with CC BY-NC-SA 2.0
Image 5: cascada by Paul Bica with CC BY 2.0
Image 6: Motion blur by äquinoktium with CC BY 2.0