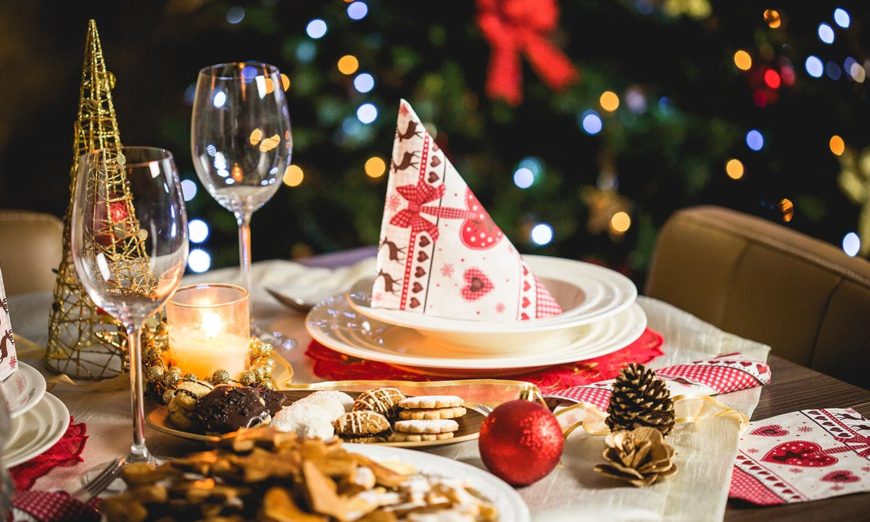
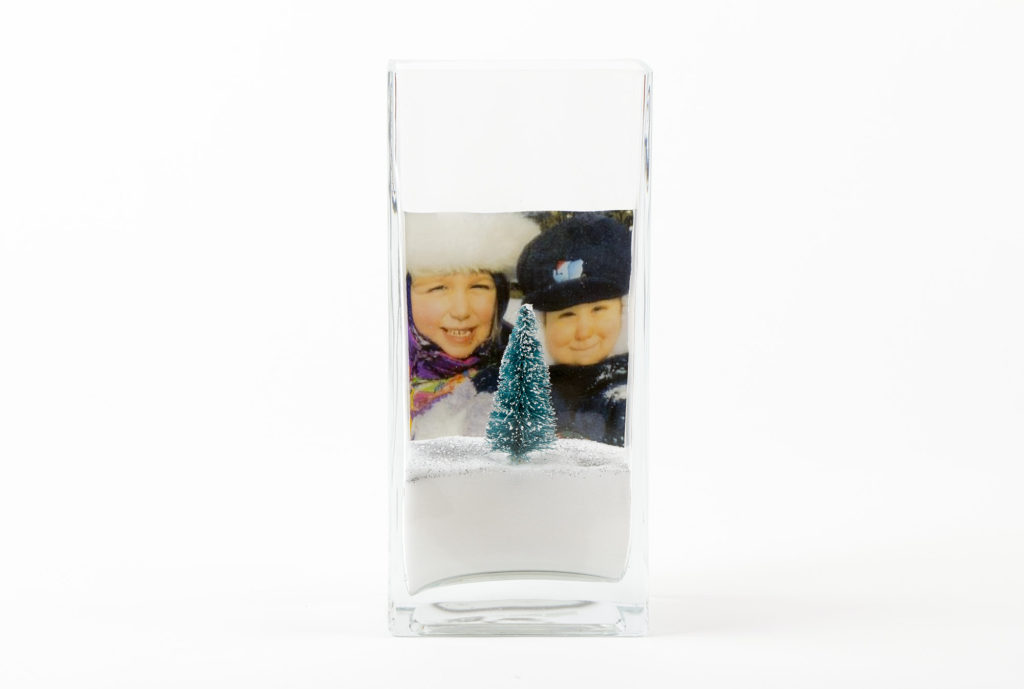
With the holidays fast approaching, what better time of year to enhance your still life photography skills and share the beauty of the season on a holiday card or photo gift.
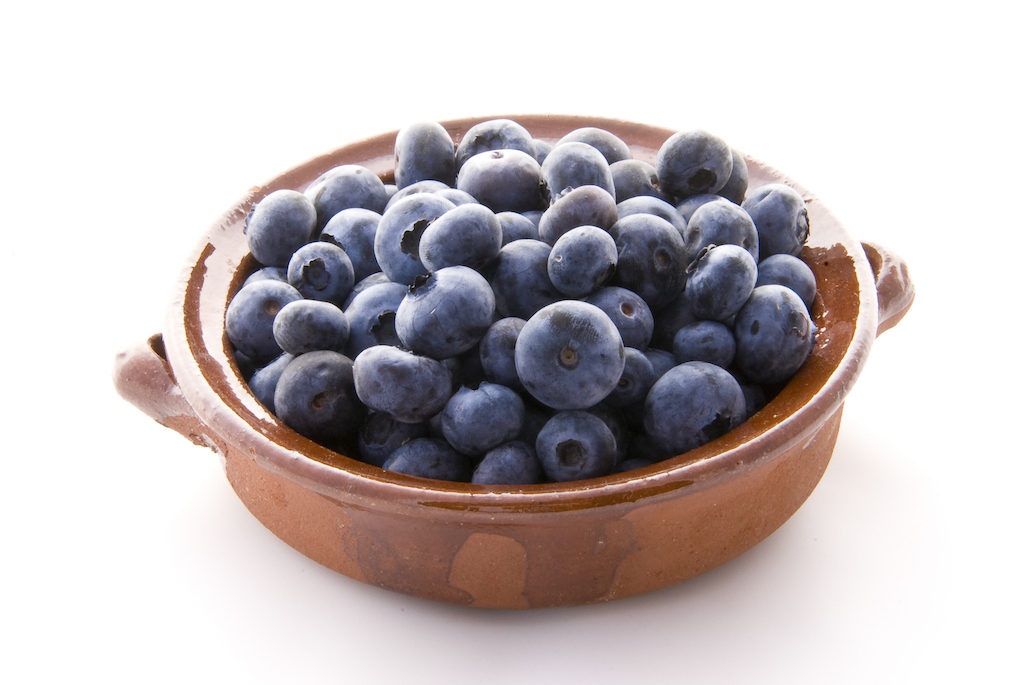
The still life image is a very classic art form and a fabulous teaching tool. It is a wonderful opportunity to learn about light and shadow, tint and hue, reflection and saturation in a very controlled environment. For students in my advanced lighting programs, one of their assignments is “Bowl of Fruit”. It’s quite consistent that I get the eyeroll when it is assigned and also very consistent that when the assignment is submitted, that the individual tells me how surprised how challenging it was and how much they learned.
For our readers, I want to make it pretty simple.
There are a few basic guidelines for still life.
- The subject should have the capacity to show a range of tones or hues, and to show areas of light and shadow. Dimensionality is very important to success.
- When starting out, try to avoid highly reflective or transparent subjects as shooting them well is an advanced skill and can be frustrating for creatives new to the art form.
- A Still Life should have only one subject and the background should not be impactful at all.
From a gear perspective, you don’t need a lot to get started. Depending on the amount you want to spend, you can get a still life box kit, or if you are moderately handy, you can make your own cheaply. The rest of the kit can be serious or hobbyist. Here’s my starter list.
- Camera
- General purpose lens – such as the 18-55 kit lens or a 50-100mm short zoom. Any lens that gets this range is fine. You do not need a dedicated macro lens, although they work well
- Shooting location – usually a table so you aren’t crawling on the ground, capable of holding your shooting box and some small lamps
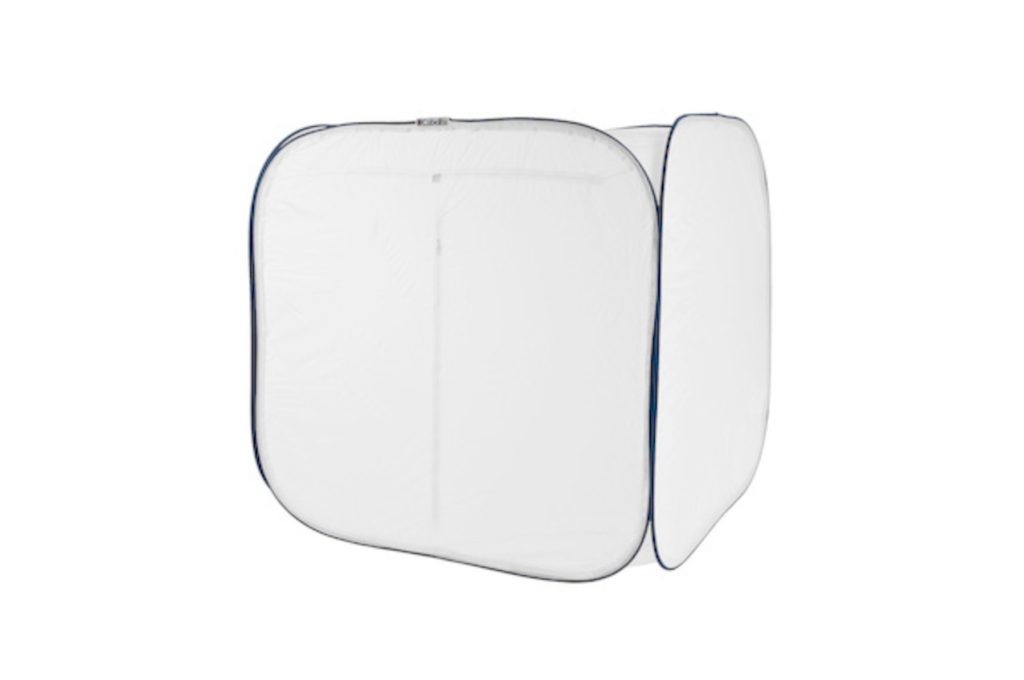
- Shooting box aka Light tent (purchased or constructed) – I will take you through how to make your own, but you may find a purchased box more portable and convenient
- Lamps or Lamp kits – you can use one of those gooseneck antique desk lamps or go with a “photo kit”. I prefer continuous light for still life work because you see exactly what is happening in real time. I do recommend buying compact fluorescent daylight lamps rather than generic CFLs because you want a consistent white balance.
- Remote Cable Release – it frees you from being bent over behind the camera and helps avoid camera shake
- Black tape – used to cover the eyepiece when your eye is not there to prevent wrong exposures
Making your own Shooting Box
What you’ll need:
- Shower curtain liner if making your own box
- Dowels and corners if making your own box
- White gaffer tape or duct tape if making your own box
- X-Acto or razor knife if making your own box
With some wooden dowel, a hand saw, some pipe connectors and some glue you can make a very usable shooting box very inexpensively. You can get plastic or copper three holed corners at the hardware store in a variety of diameters – I find ½’ to be good. Then get enough ½ inch wooden dowels to make the lengths that you need, ending with four lengths for the bottom, four lengths for the top and four risers.
- Cut the dowels to length with a hand saw.
- Dry fit them into the corner pieces and make the box.
- When you are happy, use some glue to fit the box together. I like Gorilla Glue because it holds well. Some folks glue the top pieces and the bottom pieces but don’t glue the risers so they can disassemble the box for storage.
- Cut a shower curtain liner to fit the top and the bottom sections. Tape the cut pieces to the bottom and top frames with the white tape.
- Wrap the sides of the box with shower curtain liner and tape in place so the box is fully enclosed.
- Take a razor knife and cut a horizontal slit in the middle of one side about six inches long and at the centre line. Cut two vertical slits, one at each end of the horizontal line. You will end up with two flaps, one that flips up, one that flips down.
- Your custom shooting box is done.
Setting up your Shooting Box
The idea is to create a very softly lit environment that keeps extraneous light to a minimum and that is very flexible to the position of the lights.
- Place your box on the table with the opening facing the edge so you can get your camera and tripod in close.
- You will need at least two, possibly three lamp kits. I find that desktop gooseneck style lamps with white painted reflectors are ideal and very inexpensive. You can of course go with true photo lights using the CFL bulbs in a fixture with a bowl. You can get the fixtures, bulbs and bowls at Henry’s if you go that route, but you will have to rig small stands for them. Start with a light on each side about 6 inches away, positioned so all its light hits the side of the box.
- Arrange your subject in the box and, with the lights turned on, check to see that you are getting the light and shadow interplay, and/or colour tints and hues that you are looking for. Small adjustments of the subject will make big differences, so feel free to experiment. What’s right is what looks good to you.
- If you would like more light from the top, use your third light and control its effect by manipulating its distance from the top. You can do this power control on the sides as well, no need to spend money on dimmer systems for basic work.
- If you want the background to be solid white, use a light behind the box. You will have to play with it a bit so it doesn’t silhouette your subject, again using distance to control the brightness.
- Start shooting. Try different lighting positions. Shoot some more. Try with more or fewer lights. The shooting box is internally reflective so you won’t get super high contrast and the dominance of the white surfaces will have a nice hit on reflective materials without imparting a colour.
- If you find your images a bit dark, use your exposure compensation to add exposure, remember there is a lot of white in that box
- Remember, the easiest and quickest way to change the look of the subject is to move the lights and to alter their distance from the shooting box. This is a faster and more flexible method than trying to rearrange the subject.
- You are fairly close to the subject, so minor changes in the height of the camera relative to the subject will change the look a lot as well. That’s why we made those panel openings. I like to keep the opening as small as possible, using scraps of scrim to block out extra space with bits of tape.
Shooting a still life well is both challenging and empowering. As noted at the beginning, many creatives are stunned by how much they can learn with this very simple exercise.
There are certainly more options for illuminating your subject. A roll of white and a roll of black backdrop paper will last a long time and give you lots of flexibility. I like to use white foamcore board taped together to make small V-flats to use as reflectors and point the lights into the flat to bounce back onto the subject. Old fence boards, cutting boards and the like can also be nice shooting surfaces but keep to neutral colours to avoid colour casts on your subjects. If I am not pushing the lamp light through a scrim or curtain liner, I might tape a piece of white parchment paper over the bowl to diffuse the light. This is why I only use CFL bulbs, they don’t get hot like tungsten or halogen bulbs.
Every year I have students who tell me that they feel hey have hit a wall in their creative growth. Still life projects invariably help them move ahead.
