Printing photos used to be the only way we could view them (asides from shooting with slide film and using a projector). Nowadays, photos that are not printed are often dead. Social media lifetimes are so short that while the internet keeps everything, no one sees anything about five minutes after it’s posted. Worse are the millions of images left alone in the dark on hard drives.
The only way to preserve memories with any kind of chance of success is to make prints.
The Wayback Machine
For those who do not know the origin of that phrase, it comes from a series of stories about a time-travelling dog and his boy. Printed photographs are your personal Wayback Machine. For years we had photo albums or little folders that came with our photos when we picked them up from the photofinisher.
Having been involved in the industry for a long time, I recall how important getting those little albums was to people, and how much of the photofinishing retailers’ shelves were devoted to albums. Digital brought forward many positive developments, but the number of people making prints declined.
Why Should You Make Prints?
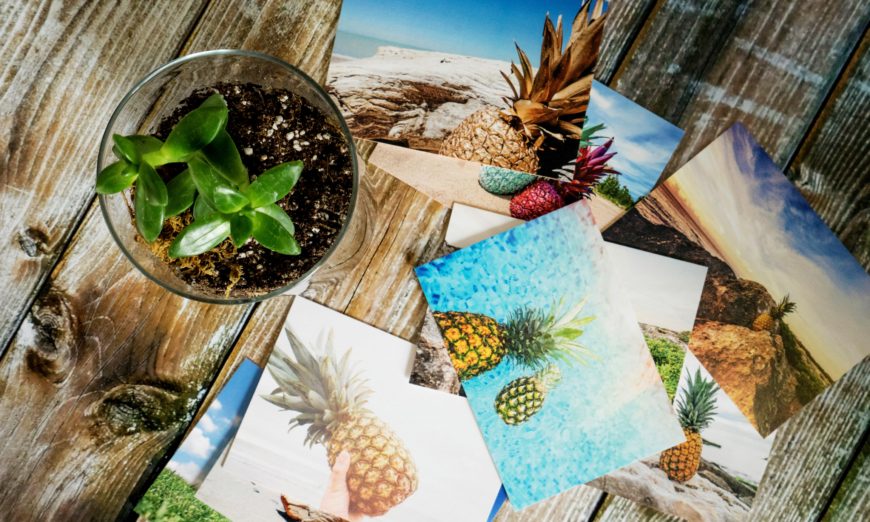
A print is many things – it’s tangible, tactile, easy to access, larger than the microscreen on a smartphone, and easier for multiple people to view at once. A print is real. If you are not making prints, you are losing your most important moments.
Will you print every picture that you snap? No. You will print the ones that matter to you. The people who see your prints and can touch them will actually appreciate them.
Printing Photos at Home is Easy
You can certainly get yourself an all-in-one printer for your home-office that can produce some decent looking prints, of a quality similar to what you will get from a photo machine, and perhaps even better. For a really great print, you will want a printer that is designed for photos first, not as an afterthought.
What Does This Mean?
A dedicated photo printer is simply a printer designed with more than four ink tanks and that is built to handle the thicker stock of photo paper.
Most dedicated photo printers these days can handle paper up to 13? wide, but even if you will not be making a number of large prints, these printers do an amazing job on the very popular 4″ x 6″ prints. A printer of this type will have six or more ink tanks. While this sounds more expensive, it’s actually more efficient in the long run because you will use some inks more than others. It also allows for finer colour controls because there are more inks to call upon.
A general photo printer in this space will have base CMYK inks, that we know as Cyan, Magenta, Yellow, and Black. These are your minimum inks, but a photo printer will typically add greys or additional colours. The additional inks are critical to really nice-looking prints and a step up from the dye-transfer-based film methods used in the kiosk machines.
These photo printers use dye-based inks rather than transfer films and so give greater dynamic range and better colour. Dye inks are very stable and dry very quickly. A dye ink print on photo paper will avoid fading for over thirty years in an album and look great on the wall behind UV glass for a long time as well. This is a function of the ink itself, that you will not find in the generic all-in-one printers.
A benefit of dye inks is that they are coloured but clear and have no particulates to create the colour. This means that if you are not printing regularly, the likelihood of the printer developing a clogged print head is quite a bit less than with the more expensive but finer control of a pigment printer. Pros will use pigment printers but accept that they must be running their printers very regularly to prevent clogged heads. An interesting development – as far as pigment inks go – in the industrial sector is heat-resistant inks (https://www.printingnews.com/home/press-release/12423445/paul-leibinger-leibinger-is-introducing-new-pigment-inks-for-industrial-component-marking-with-cij-printers) that are able to provide a clear typeface even at 1000° C, making it ideal for use in component marking and the manufacturing process of many products. In conjunction with a CIJ printer, this solution is likely not to be found outside of industrial use but it’s interesting to mention, nonetheless.
Inks, once opened in the printer, are rated to last just over six months. Colour acuity starts dropping after that, but as these are closed systems, it’s actually pretty hard to see any degradation.
In the past, we only used dye-based inks on what we called resin-coated papers, because the inks did not cope well with higher end fibre-based papers. This is no longer the case. Today’s entry level dye-based printers do a lovely job even on very high-end fibre papers and some can even handle printing on canvas.
Get Printing
These days, you bring your printer, the starter ink set, and some photo paper home and follow the unboxing and set-up instructions. As part of that process, particularly with modern operating systems, you simply power up the printer and connect it to your computer, usually over USB.
Many of today’s printers offer Wi-Fi support as well. I find that printing really slows down over Wi-Fi, so if you can connect via USB, it’s typically faster. The OS will often detect the new printer and install the drivers automatically. Printer makers also provide additional utilities that you can install from CD, or download from their sites, if your computer no longer has a CD/DVD player.
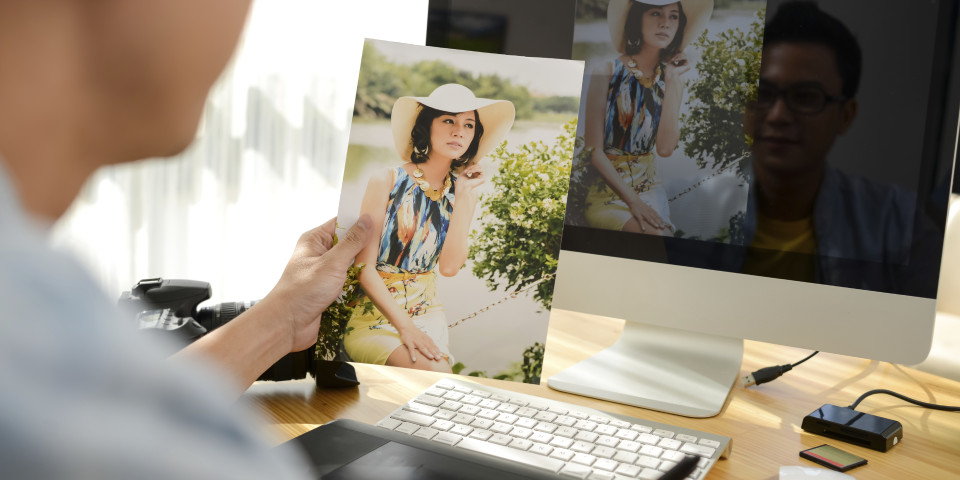
Set your photo editing software to print to the photo printer, pick a paper size and paper type and let it rip. Many people today shoot JPEGs to avoid doing significant post-processing and to facilitate quick sharing. Printing a JPEG is easy because the print is going to look very close to the onscreen image, so long as you take into account that the screen is projecting light and the print is reflecting light.
Photo Printing Paper
As a Fine Art printer, I have all manner of different papers for different looks and moods, but you might find a single surface that fits your needs perfectly. These days, I find that most people like the look of lustre paper. It’s not incredibly shiny like gloss, so it still looks nice in a frame, but has more life and punch than a pure matte finish. If you do not know where to start, start with lustre.
Best Photo Printers to Consider
I recommend against all-in-one printers because they are not designed primarily for photos.
For the person getting into printing, but who wants a good life cycle out of the device as well, you should look to a printer from either Epson or Canon. Both make excellent printing products at a variety of levels from home user to professional print shop. Let’s have a quick look at two options.
Epson Expression Photo HD XP-15000

Figure 1: Epson’s 6 ink tank XP-15000 printer
This is a six-ink tank dye-based printer capable of handling sheets of photo paper up to 13″ x 19″ borderless and as small as 4″ x 6″. It uses Epson’s latest Claria HD inks which produce superb colour, fast drying and very good longevity. Inks are Cyan, Magenta, Yellow, Black, Grey and Red. Resolution is up to 5760 x 1440 dpi and it generates an 8″ x 10″ colour print in under one minute. It has a 50-sheet photo paper capacity front tray and a 50-sheet capacity rear tray. Connectivity is via USB, Wireless or Ethernet. There is a large LCD screen on the front for simple control.
Epson also sells a number of papers under their own brand and driver support is built-in for these printers. A good paper to start with is Epson Ultra Premium Luster.
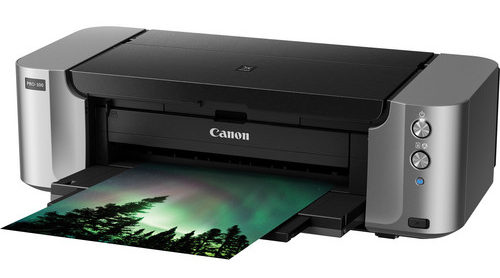
Canon PIXMA PRO-100

Figure 2: Canon PIXMA PRO-100, a powerful 8 tank printer
The PIXMA PRO-100 offers 8 tanks of dye-based inks, two of them specifically for beautiful black and white prints. By adding grey and light grey tanks, a wider tonal range is possible in B&W printing. Inks are Cyan, Magenta, Yellow, Photo Cyan, Photo Magenta, Grey, and Light Grey. Canon’s ChromaLife 100+ inks produce beautiful results on cut sheets up to 13″ x 19″. The printer produces up to a 4800 x 2400 dpi 8″ x 10″ print in about 51 seconds. Feed is from the top, or from the rear for heavier papers. Connectivity is via USB, Wireless or Ethernet.
Canon also offers a number of photo papers under their own brand. I recommend starting with Canon Photo Paper Pro Luster.
Conclusions
A print is real, and it’s a memory that lasts. It’s not a dark hole like the Internet or your hard drive. Not only can you have nice photos for desktops and a mantlepiece, these printers can also produce beautiful enlargements, up to 13″ x 19″ in our examples. The question is not about whether you should print, but how much you are missing by not printing.
If you have questions about this or any other subject, please leave a comment below.
Until next time, peace.


