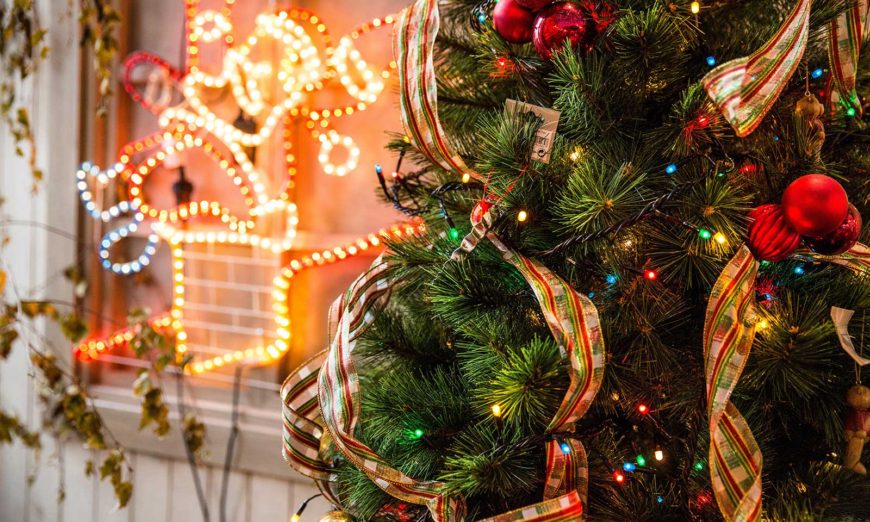
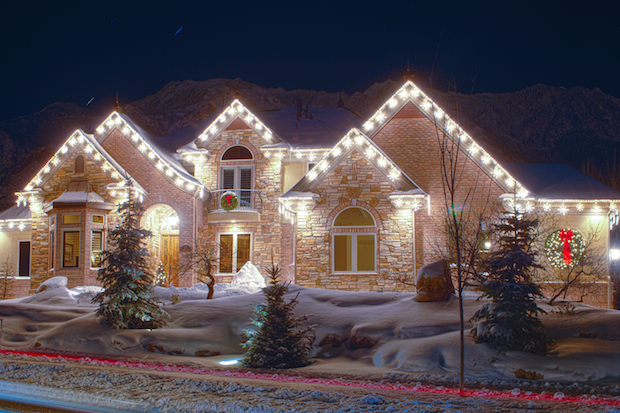
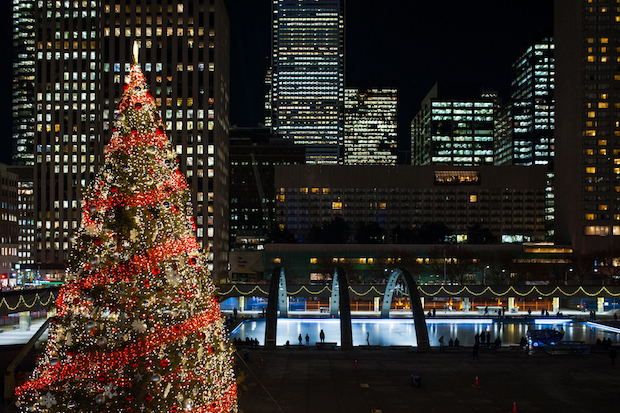
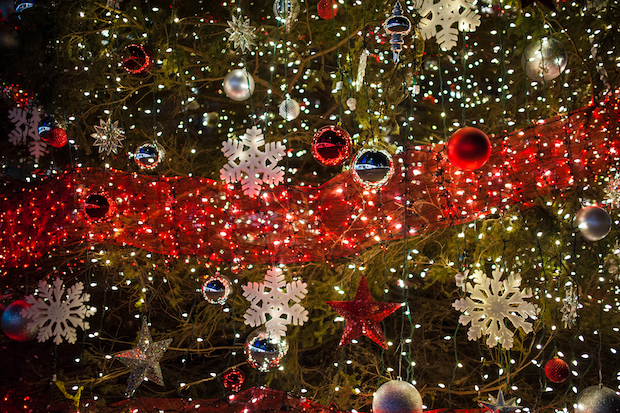
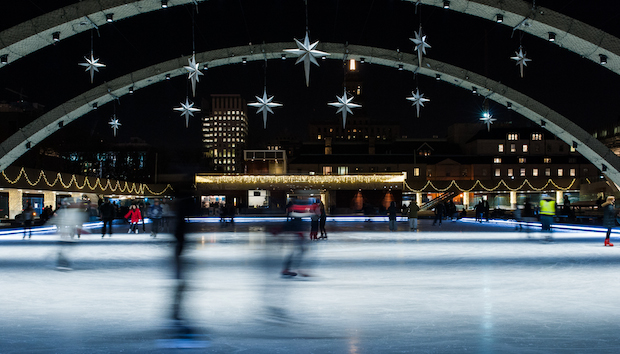
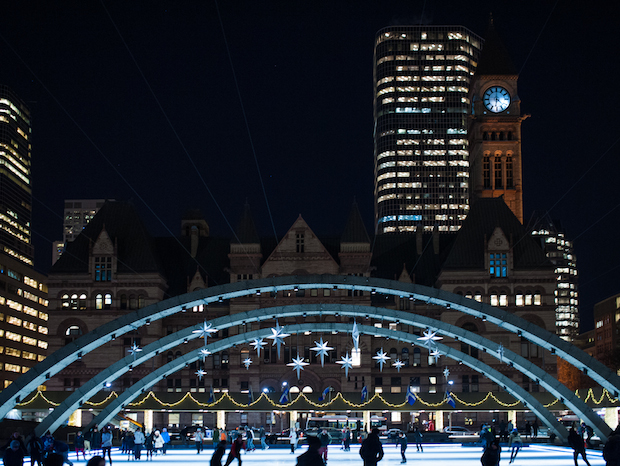
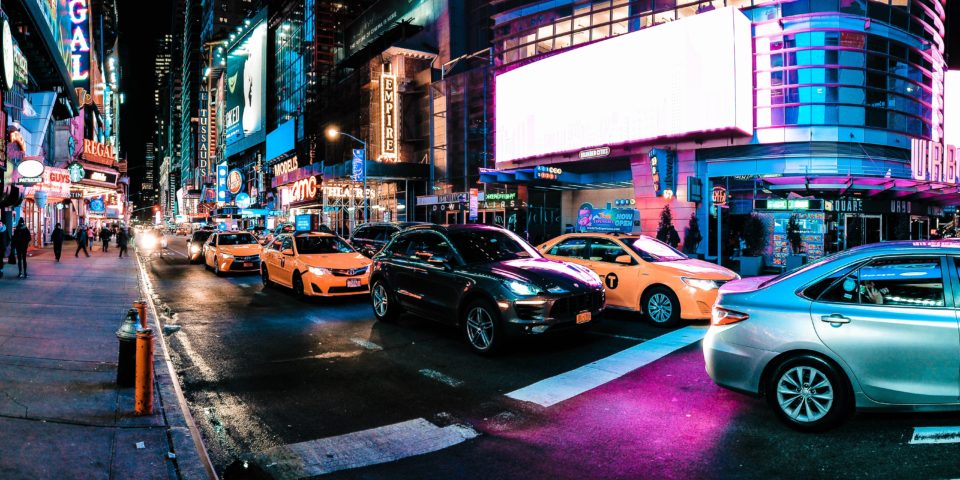
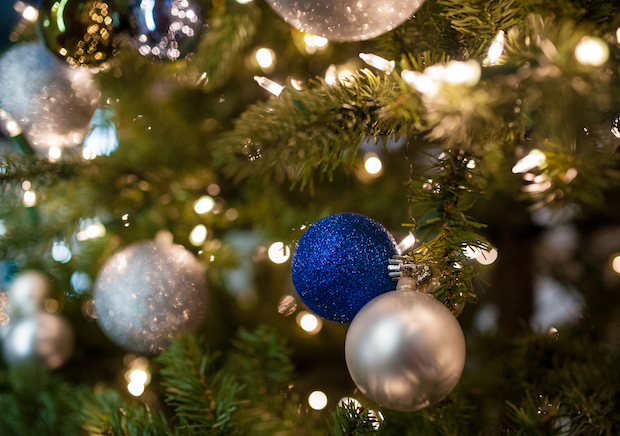
The Christmas Season brings with it incredible photo opportunities for shooting Christmas lights. The display of shining lights will be easy to find around nearly every corner you turn and in every city park.
Over the years I have been having fun with lights, especially around this time of year, so I wanted to prepare you for your next light capture outing.
The first thing you need to remember is to stabilize Your Camera. Use a tripod or monopod if you are out walking about, or, brace yourself against a tree, building or fence.
I prefer the darkest part of the evening for shooting lights, but others enjoy the image results when going out at or very shortly after dusk… you get golden color skies or that blue night sky. This allows you to get the Christmas lights just as they are coming on along with some details of the buildings.
When it comes to setting your white balance, it’s really a personal preference, but it is always good to try things and see which will be most pleasant to you. For example, when you do change your white balance to tungsten, the lights will also be color corrected and not have a yellow or greenish colour cast. If you are shooting a DSLR and it has the ability to shoot in “raw” then you can always set your white balance later. That way you can determine what your personal preference with a click of a button. But remember, if you decide to change your white balance to do Christmas lights, be sure you remember to change it back at the end of the evening.
For the shooting of lights, I will either use Aperture Priority (AP) mode or Manual (M) mode. If you are new to photography… Don’t be afraid to move away from the auto or program settings. Before you go out, take a look at that camera manual and learn how to work the camera in Aperture (AP) in the Manual (M) mode. What buttons do you need to adjust to make it work for you? Play around with your settings until you get what looks good to you. The only way you will get to know your camera is to work with it and practice.
In regards to lenses, I like using a wide angle lens so I can capture the entire scene. Also, most yards aren’t that deep, so you usually are fairly close to the lights.
When selecting ISO, You can experiment a little bit but I prefer a low ISO to minimize digital noise.
When I shoot in manual mode, I keep my shutter speed in a range that allows me to either hand-hold the camera or use a means of stabilization with the tripod I suggested using, while still achieving a sharp image. I begin around 1/125 of a second and adjust the shutter speed either up or down depending on whether the results are too light or too dark. If they are too dark, then I might slow down the shutter to allow more light to enter the lens … say to 1/30 of a second. And if the result is too bright, then I will move my shutter speed up accordingly. The shutter speed is something that can be adjusted as the light changes from dusk to dark or if the lights of a particular display are overly bright.
Since we are working primarily with a wider angle lens, there shouldn’t be any problems with depth of field issues. But, again depending on the light and the results, I tend to select an aperture setting of around F5.6 or F 8, but sometimes I go to the widest setting and on my lens that would be an F 2.8. Again, a little fun experimentation really helps here.
Note that you will get truer glow when using an aperture of f2.8 and get more or a starburst effect when using apertures upwards of f20.
Another question I get is about using flash. I rarely use a flash unless there is a person in the photo that I want to light. But for almost all my Christmas light photography, I keep the flash off.
Photos courtesy of Mike Last Photo
All photos (except second in article) shot with Nikon D700 + Sigma 35mm f/1.4
