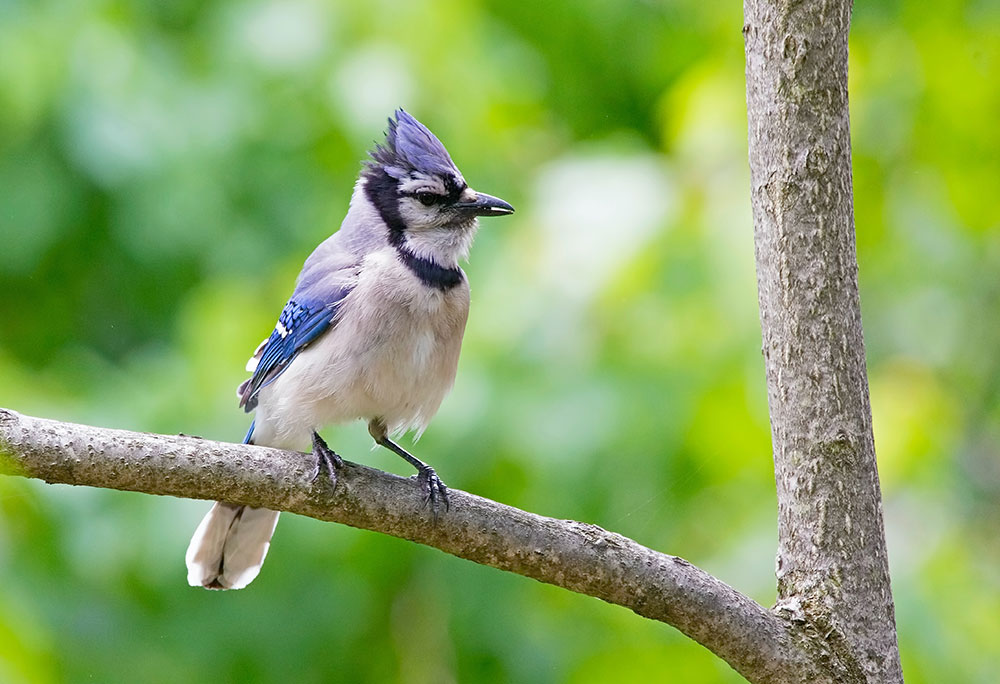
Serious birdwatchers are a very talented group of folks. Photographing birds in the wild can be fun but is also challenging. In this article we’ll talk about some gear and tips from my past experiences that will help you make more powerful birding shots.
What’s Your Goal?
I admit that initially I wanted nothing more than a frame filled with a bird, with nothing else to create any distractions. I was never able to get that close, lacking the prepared knowledge of the bird’s biology and the patience to sit in a photo blind for hours. It’s important to understand one’s limitations up front. Bird photography is serious work and the birders that I know spend a lot of time studying their subjects and sitting very still to get the images that they make.
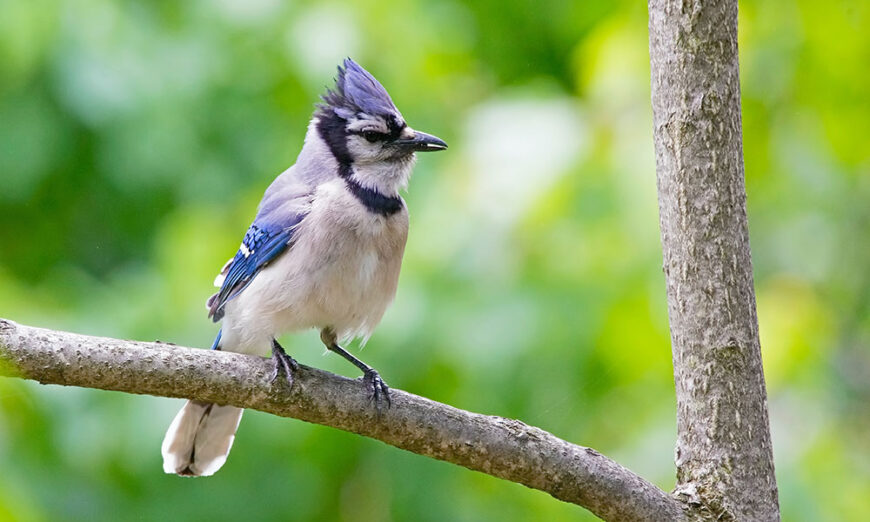
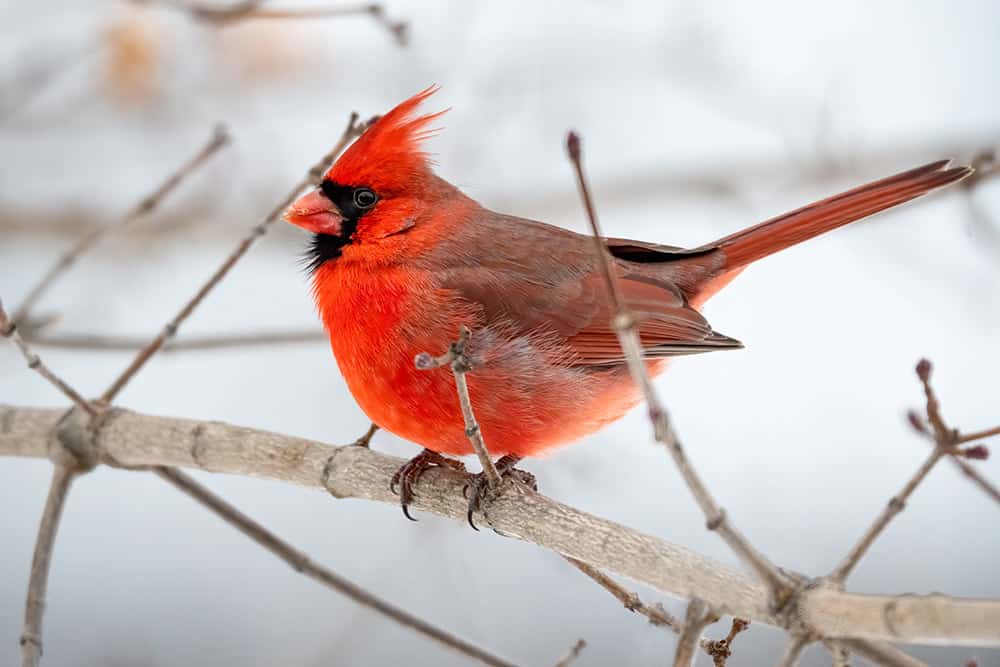
My goals weren’t working, so I had a conversation with eminent photographer Moose Peterson at Photoshop World and he proposed taking a different approach. Instead of being what he calls an “eyeball photographer”, why not work on images showing the bird in its environment? It sounded like it might be more my style, so I have given it a go. By resetting my goal, I am having a lot more fun and enjoying bird photography more. Moose teaches to see the scene and shoot for the environment. That means no cropping for him, and very minimal cropping for me because I still have a lot of practice ahead of me.
Gear
Let’s not kid ourselves. Most birds are rather small and have an understandable mistrust of larger critters that could hurt them. This means that even for environmental portraits you are going to need long glass. If you are not prepared to spend time in a photo blind, this is true, even more so.
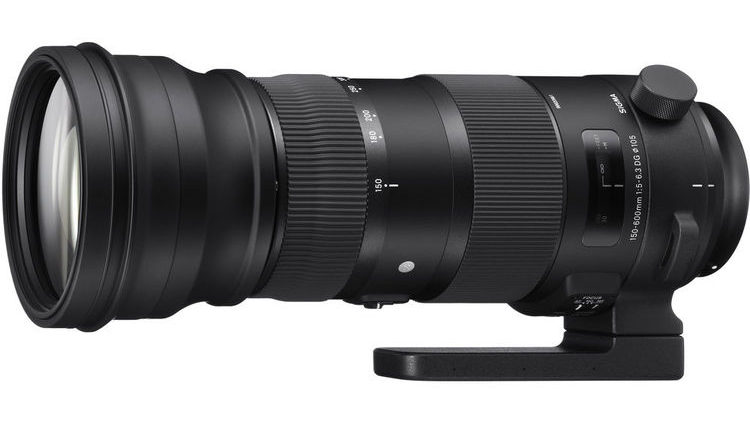
There are some very popular long telephoto zoom lenses available at pretty reasonable cost these days, such as the 150-600mm lenses from Tamron and Sigma. These work on both full-frame and crop sensor cameras.
You can also go with very fast prime lenses. Folks shooting Micro Four Thirds can get the Olympus 300mm F4 lens which has the same field of view as a 600mm on full frame.
With the exception of the Olympus lens, nothing here is particularly lightweight and hand-holding a long lens can get tiring very quickly. If you can set up for a bit using a solid carbon fibre tripod leg set along with a gimbal head, you can balance your kit and make smooth pan and tilt movements.
When we need lots of reach, a high-quality crop sensor or a full-frame sensor in crop mode can be a real asset. For a previous outing, I decided to take my Canon 7D Mark II (APS-C Crop Sensor). In this instance, it provided the same angle of view using the 500mm (Canon 500mm f/4 L) as an 800mm would deliver on a full-frame body. Since I don’t have a 800mm lens and the kit to go with it, this worked out very well. (I’m not sure that I could wield one effectively anyways.)
Shooting Settings
Moose Peterson recommends that you keep your ISO as low as possible and because of the distances involved, not to get too wrapped up in worrying about too much depth of field. Obviously, you also want to be able to avoid camera shake, and the usual guidelines go a bit sideways when the lens is really heavy. For the 800mm full-frame equivalent, I wanted to keep my shutter speed at 1/1250 of a second or higher.
I shot mostly in Shutter Priority mode and set the ISO to AUTO to encourage the camera to keep the lens as wide open as possible. Another route is to build a Custom or User mode, but not all cameras offer this. It worked for me in the last third of the shooting day.
If you can get reasonable separation between the bird and the background, Moose suggests letting the camera choose the focus zone. I never do this, so I thought it would be an interesting thing to try. So long as the background was well isolated, it worked, but when things got cluttered I went to a nine-point group. Autofocus was set to continuous mode, so a tap of the back button or holding it allowed me to grab either statics or birds in flight.
Dealing as we were with wild birds, I set the drive mode to continuous low and restrained myself from over shooting. I found, as Moose proposes, that the middle shots in a burst of 4-5 were the sharpest. I use the same practice for aviation albeit with a higher burst rate and it works very consistently.
Let’s Talk Cropping In for a Minute
I want to come back to Moose’s point about not cropping a lot away. We spend serious money on sensors and sensor resolution and every time we crop we are throwing pixels and final resolution into the trash can. While there are situations where a very loose crop in the viewfinder or on the LCD may make sense, in general, you are throwing away a lot of quality. The thing that I have learned from most of my own attendance in classes is that while most images will benefit from minor cropping, major cropping should be avoided because of the significant quality loss.
I really want you to think about this, so I have the following example. Let’s suppose that you bought yourself at no small investment, Nikon’s awesome D850 which delivers 45.7 megapixels of resolution with image pixel dimensions of 8256 x 5520 pixels. Now suppose that we choose to crop out half of the capture area. This leaves us with pixel density of 4128 x 2760 which is just over 11 megapixels, meaning that the 50% crop threw away over 75% of the resolution. That’s huge. Cropping is handy, but too much cropping will result in images that are lower in quality.
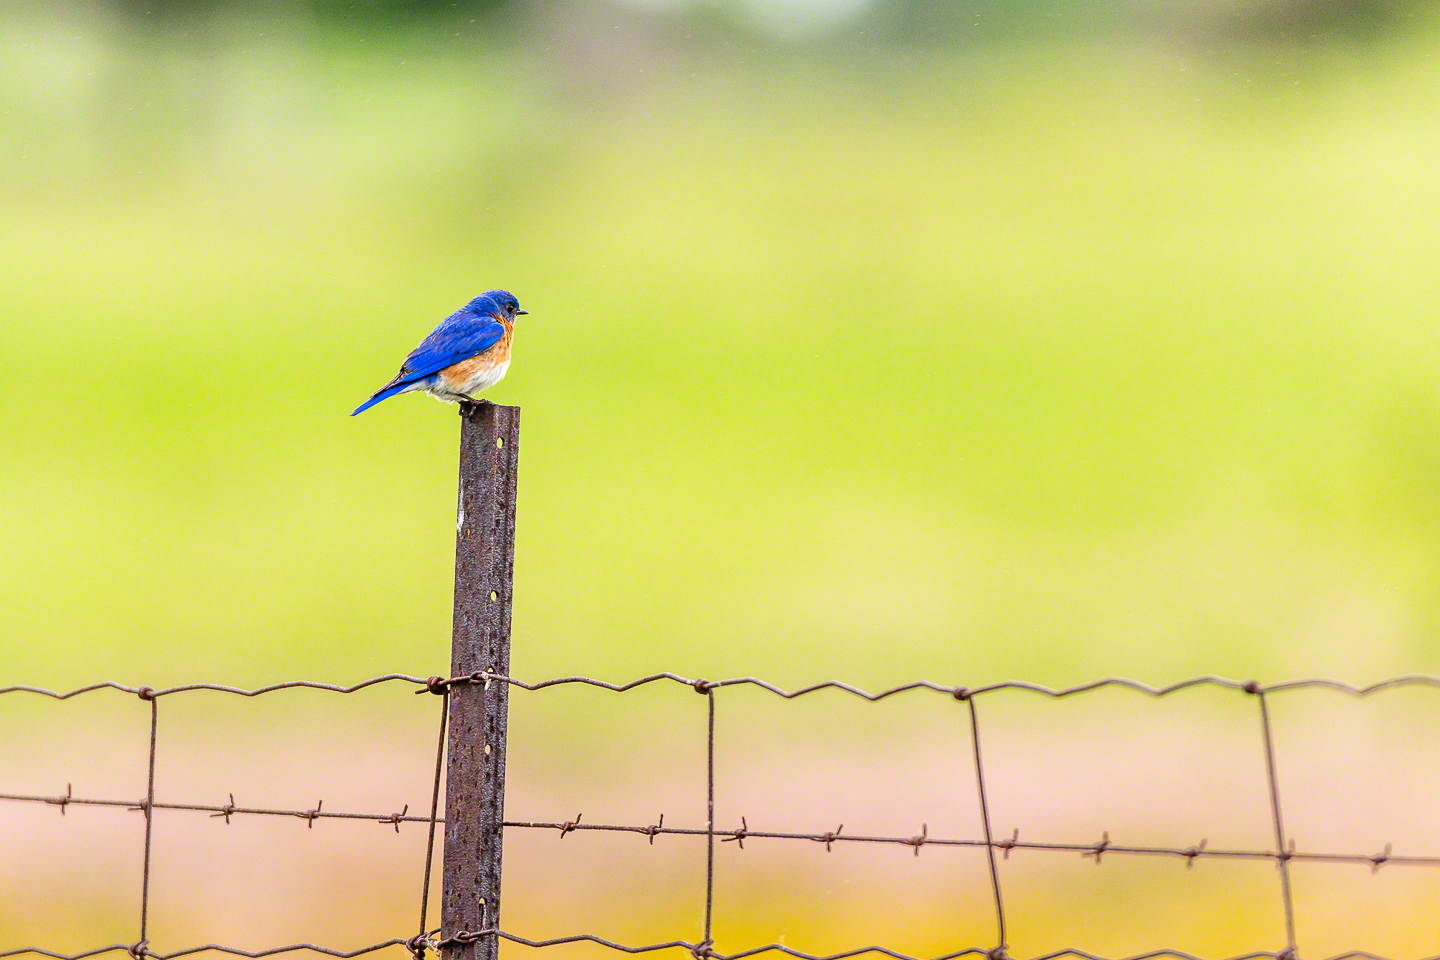
Eastern Bluebird in its natural environment
Conclusions
I am finding the environmental portrait modality more fun, and I am getting more images. Yes, I am not filling the frame with the bird, but I have neither the time nor the inclination to stalk one or spend hours in a fixed blind. While photographing wild birds is not in my usual comfort zone, it did help me break out of a rut, and it may do the same sort of thing for you given the current situation we are all in.
