When we are looking to control the amount of light entering the camera and hitting the sensor, there are only so many things that we can do with our exposure controls. Being able to reduce the inbound light can open creative doors for us all. This is where neutral density filters come in.
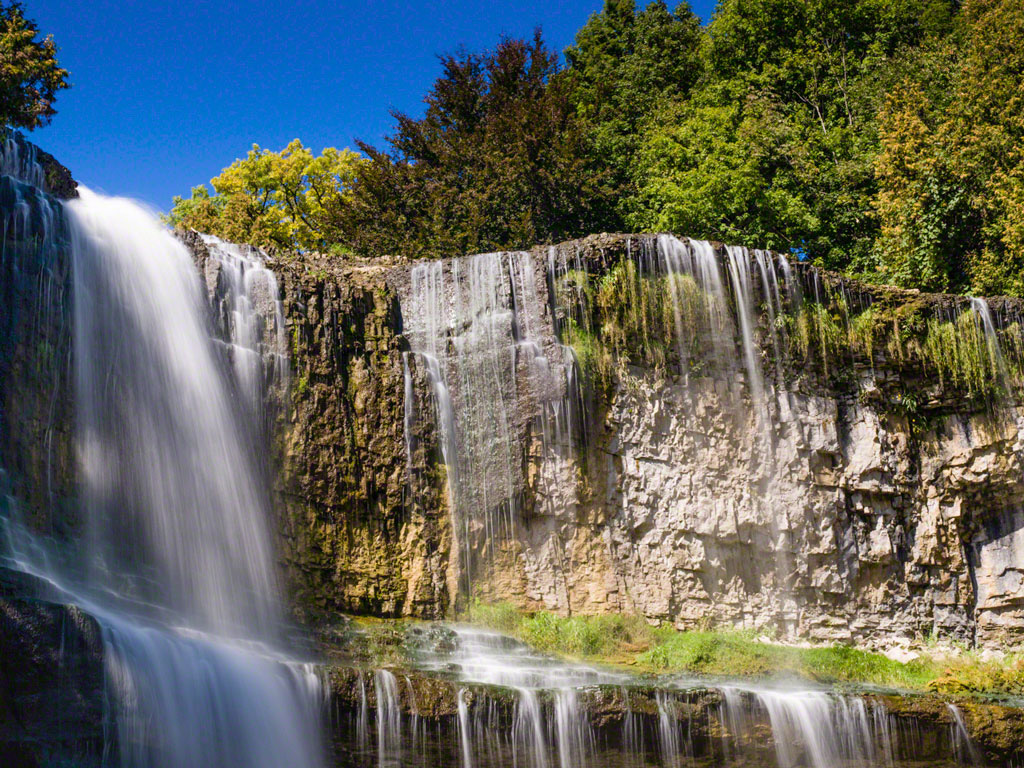
Image 1: A neutral density filter allows for a slower shutter speed for velvety water.
What is a Neutral Density Filter?
If we break the name down, we see that there are three elements. The first, “neutral”, means that any alterations are to brightness only, with no impact on image quality or colour. The second, “density”, implies an increase in the amount of light cut by the device. The third, “filter”, tells us that this is an add-on function, delivered either by an attachment, or in some cases, activation of an internal physical function.
The density of a neutral density filter is measured in exposure value units (EV) or stops. That said, the nomenclature can be sometimes confusing to the new user because of different ways to say the same thing.
A light cut of one stop or one EV may be expressed as a 0.3 ND, where ND stands for neutral density. Thus, a two EV ND may alternatively be labelled a 0.6 ND. The reasons for the different naming are generally immaterial once we understand what they mean.
Use of ND Filters in Still Photography
A neutral density filter reduces the amount of light hitting the sensor. This means that our exposure will need to change once the filter is installed. These changes can be a combination of any or all of shutter speed, aperture or ISO. The changes are linearly related. A two stop ND would allow us to slow our shutter speed by two stops, or open our aperture by two stops, or raise our ISO by two stops, or combinations therein. At low levels of EV cut, our built-in light meters will serve us pretty well, but once we get to 6 stops and over of EV cut, we may need to use external tools to get the exposure correct without a lot of experimentation.
Back in the days of film, we used to worry about a thing called reciprocity failure when we started to get really long shutter speeds. For those whose ND experience has only been in film, you will be happy to know that we do not have to deal with that in digital.
You might choose a neutral density filter to allow you to slow the shutter speed to create motion blur. This is very popular implementation to make waterfalls and rivers look “velvety”. A slower shutter speed, coupled with a pan can make what would be static looking action shots have dynamism.
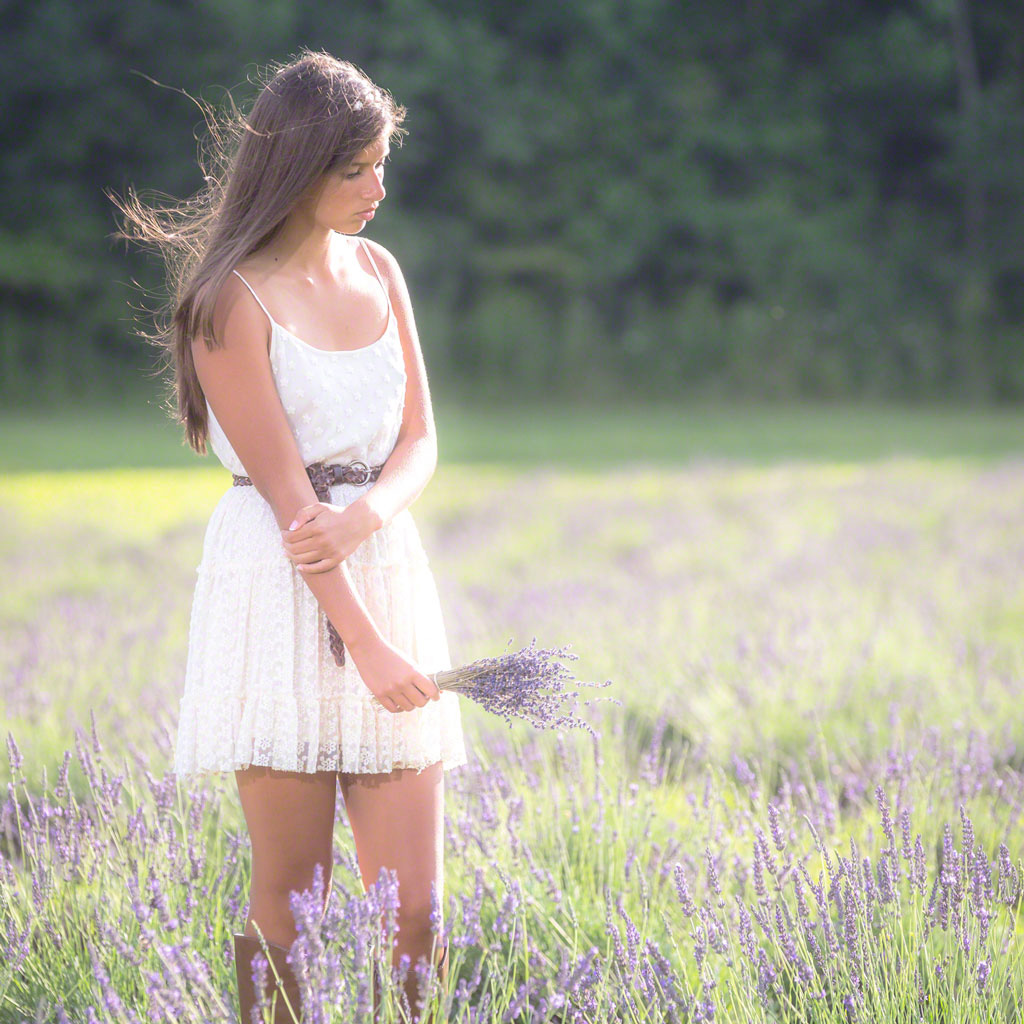
Image 2: A neutral density filter allows for a large aperture for shallow depth of field.
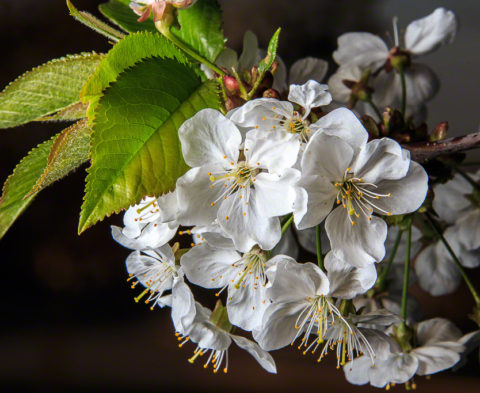
Another popular use of a neutral density filter for stills is to allow for larger apertures and thus deliver shallower depth of field. To achieve very shallow depth of field, a very fast lens at the maximum aperture of f/1.4 would need an ISO of 100 and a shutter speed of over 1/8000th of a second just to get a “proper” exposure on a bright sunny day. Since many cameras cannot deliver that low an ISO and very few can deliver that very high shutter speed, adding a strong neutral density filter can make it possible to shoot at f/1.4 in very bright light. Lots of folks spend good money on wide aperture lenses but find that they cannot shoot at the widest apertures in many conditions. Neutral density filters can make that happen.
Use of ND Filters in Video
Video uses neutral density filters even more than stills. Typically, a video camera has a preferred ISO, and it is often in the ISO 400 to ISO 1200 range. Shutter speeds are best set to 1 over 2x the frame rate. If you are shooting your video at 30 frames per second (the common frame rate for video), your shutter speed should not be higher than 1/60th of a second, otherwise movement is going to start to look weird. Consumer video cameras typically have very small maximum apertures on very small sensors to try to keep everything in focus. The popularity of DSLR and mirrorless cameras is to a large extent driven by their ability to be used with higher quality and optically faster (larger maximum aperture) lenses, specifically to allow for more depth of field control. If shooting in bright light, the lens is going to be stopped down to a small aperture, so the ability to get shallow depth of field is negated.
Adding an appropriate neutral density filter will reduce the incoming light, allowing for wider apertures for more creative control of depth of field. Many professional video cameras include built-in switchable neutral density filters to make these changes easy. Using filters on your DSLR or mirrorless camera allows you to achieve the same outcomes, without needing a dedicated video camera.
How to Choose a Neutral Density Filter
There are three predominant types of neutral density filters. The first, and historically most common, are of fixed density that screw onto the filter ring of the lens in use. These typically do not negate the use of lens hoods and even very good ones are still relatively inexpensive. They are easy to use, except when you get to high densities that may cause problems for the light meter or the autofocus system.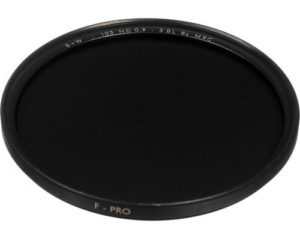
Image 3: B+W 3 stop (0.9) Neutral Density filter
The second method involves attaching a filter holder and using either glass or polycarbonate square or rectangular filters that slide into the holder. We first saw this years ago with the Cokin system, and today we have many choices in this regard. When it comes to this type of filter specifically for neutral density, the Lee Filter system Stopper series is very popular. Another advantage of this type of system is that there will be mounts available to use on lenses with bulbous front elements that cannot take a standard filter. I have used the Lee Big Stopper a great deal and am very pleased with the results. The Super Stopper provides fifteen stops of light reduction, while the Little Stopper provides six stops of light reduction.
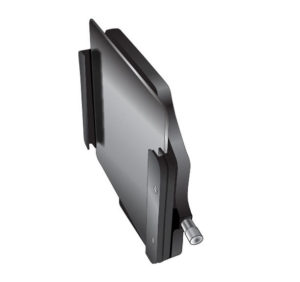
Image 4: Graphic of the Lee Big Stopper 10 stop filter in its holder
The third option is what is called the variable neutral density. A variable neutral density filter is two polarizing filters mounted together. By turning the outer filter, you vary the level of light reduction. There is a big difference in cost between a good polarizer and a cheap, poor quality polarizer. Variable neutral density filters have a terrible reputation because so many are built with poor quality polarizers. A good variable neutral density filter should cost about twice as much as a good polarizer.
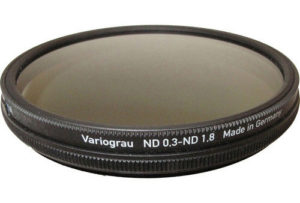
Image 5: Heliopan Variable ND Filter with range of 1 stop to 6 stops
The Tiffen Variable ND filters are popular in videography, because colourization is part of the edit process and any colour shift created by the filter can be mapped out through colour controls or LUTs (Lookup Tables). I have found the Tiffen Variable ND filters to be very neutral right up until the last stop where there is from time to time, a greenish shift.
For stills, if a variable is what you want, I would propose consideration of the Heliopan Variable Neutral Density. The optics are superb, and it delivers no colour shift. I have not found any other variable other than the Singh-Ray that I would personally use for stills.
Lesser variables will introduce colour shifts and also introduce the interference patterns known as moiré. Save up for a good variable if you want a variable ND rather than fixed ND filters.
I do not recommend variables with more than a six stop range due to colour shift and moiré.
Recommendations
Choosing single density neutral density filters means owning more than one. Since a good polarizer provides about a two stop cut, I would never propose buying a neutral density of less than a three stop density. Professionals do not recommend stacking filters, so you build your kit according to the images you wish to create. I recommend a five or six stop neutral density as a good place to start. Consider adding a ten stop neutral density if you need to cut an enormous amount of light, but be aware of the exposure meter and autofocus considerations, noted later in this article.
If you are buying screw-in type neutral density filters, look for ones that have narrow rings to avoid vignetting on wide-angle lenses and always buy the largest one that you need for your lenses. Then use stepping rings to use the larger diameter filter on the smaller diameter lenses. There’s no sense in filling your bag with a bunch of the same density filters just because your lenses take different-sized filters.
If you are buying the filter holder and fixed ND filters, buy the holder and filters suitable for your largest front elements. In some cases, such as Canon’s 11–24mm or Nikon’s 14–24mm, you will require a special mount unique to the lens and a very large filter because of the size of the front element.
Considerations When Using Neutral Density Filters
Neutral density filters reduce the incoming light. This can cause your meter to not work properly, as most camera meters start to fail at the low end between 0 EV and 1 EV. Anytime you use a neutral density filter of six stops or more, I strongly recommend using an app like NDTimer or a neutral density exposure table card. A hand-held incident light meter is also very helpful in these situations.
Just as exposure metering can be tested by a neutral density filter, so too can the autofocus system. I have seen on many occasions where the autofocus system cannot find focus when a neutral density filter is in use. It’s easy to rectify. Focus on your subject before putting the filter on. Turn off the autofocus and if you are really worried, use a small piece of gaffer tape to stick the focus ring in place. Then attach the filter. Better lenses do not rotate the front element when focusing but there are lenses that do and that could throw the focus off when installing the filter. The autofocus challenge is another reason why many pros prefer the slide style of filter rather than the screw-on types.
Conclusions
Next to a polarizer, a set of neutral density filters is the most important camera tool that a creative can add. Whether you are seeking to slow shutter speeds for stills, or create very shallow depth of field in bright light with video, neutral density filters will enhance your level of creative control over your work. If you’re looking to add a ND filter to your camera equipment collection, check out Henrys.com for different options.
If you have questions, please leave a comment below.
What’s Next
Want to learn more about filters? Check out these related articles on Henry’s blog:
