
When we were shooting film, particularly black and white film, we carried pouches filled with filters because making the light adjustment had to be done at time of capture. With today’s amazing digital post processing, filters have to a large extent gone the way of the dinosaur and the dodo, fondly remembered but not widely used.
Except there are situations where the adjustment really must be made at the camera, when you make the image, because post processing just won’t do the job the way you need it to. So in this article, I share with you, what in my opinion, are the two filters every serious photographer must have in the bag.
Polarizer
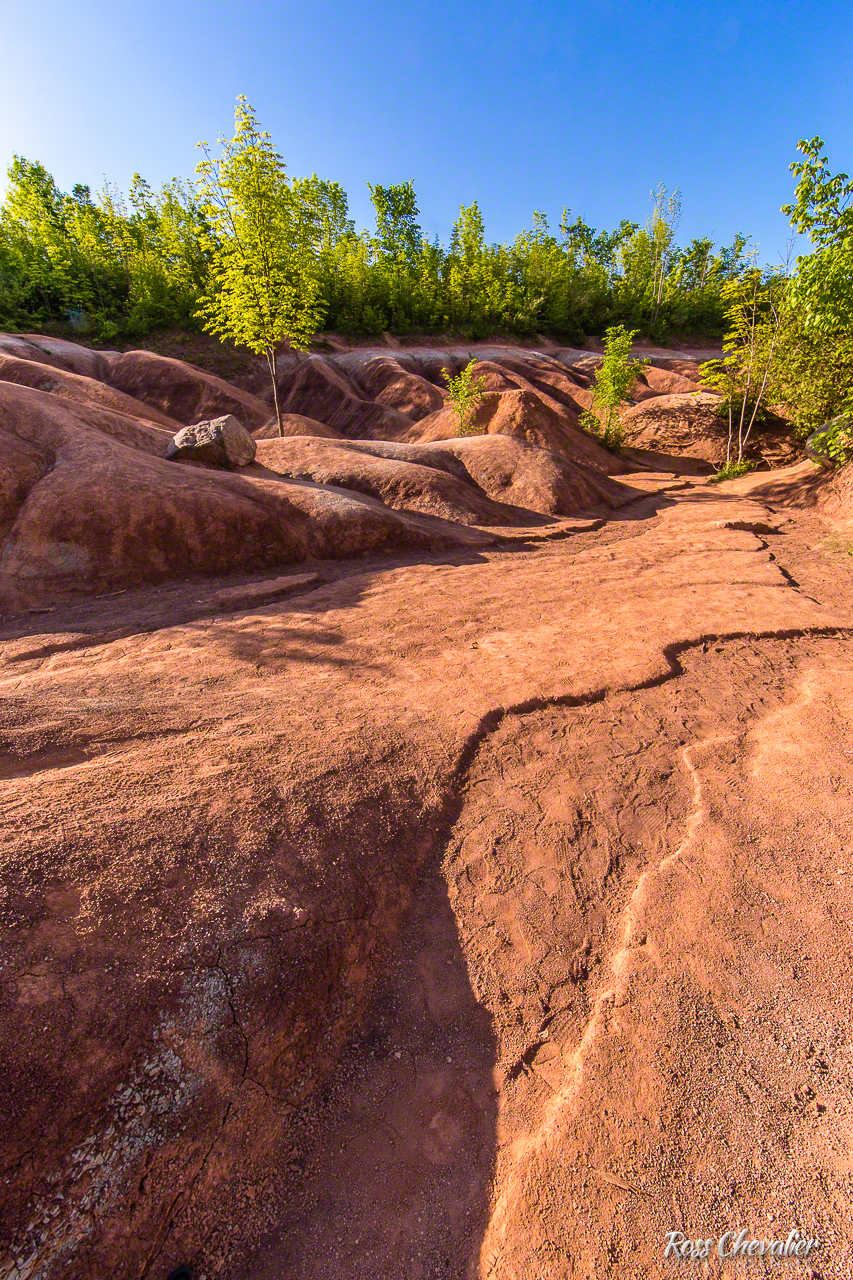
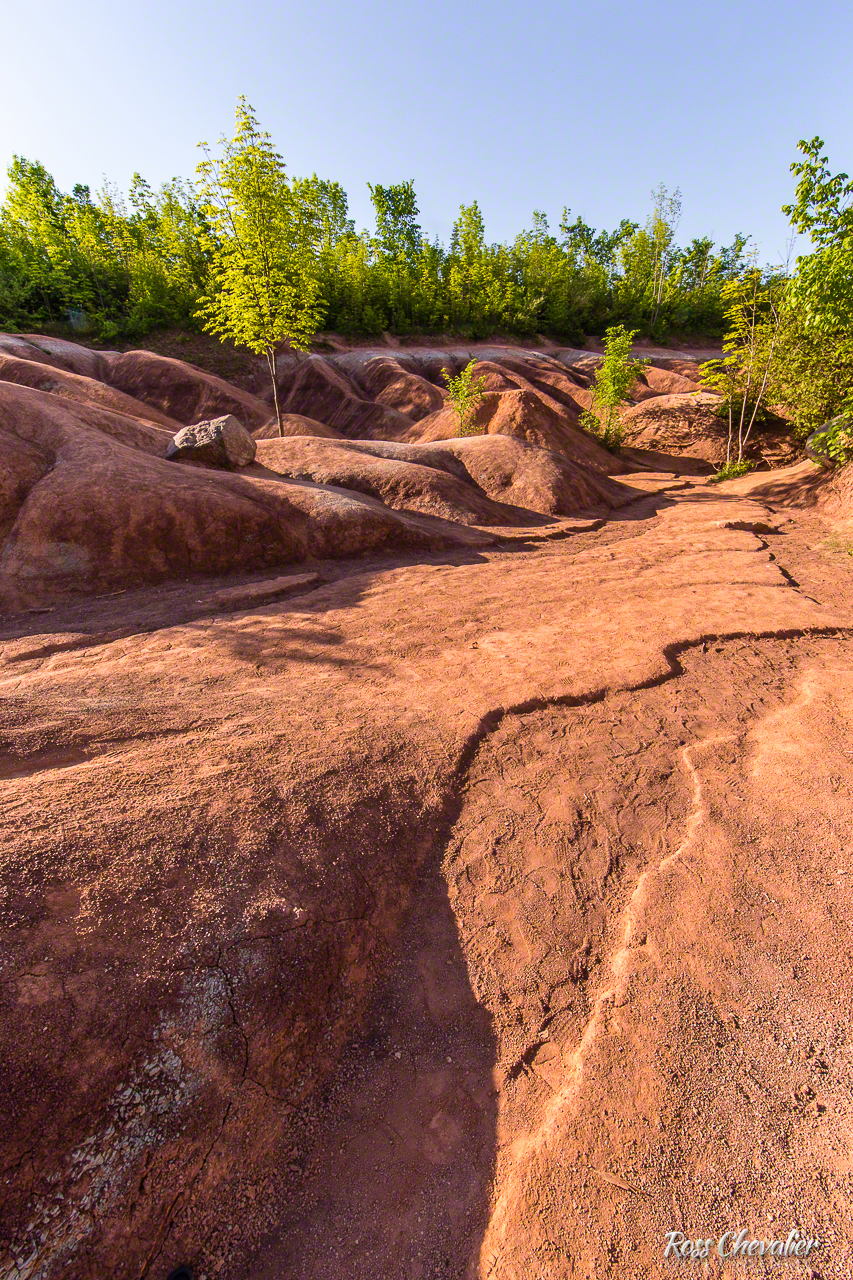
Light scatters when it strikes objects in the air. Objects like water droplets, and other atmospheric effects turn blue skies flat and boring. Light reflects according to the Law of Reflection where the angle of incidence (the angle the light hits the subject) is identical to the angle of reflectance (the angle the light leaves the subject). This can mean blown out highlights and visible and harsh reflections in non-metallics, glass and high gloss painted surfaces. A polarizing filter can be used to reduce polarized light (that scattered light or reflections) from your image before you click the shutter. A polarizing filter is two rings. One to mount to the filter ring on the lens and an outer ring containing the filter itself that rotates. The filter works across a ninety degree angle, so you don’t have to turn the ring far to see the effect of the filter. And that’s how you use it. You look through your viewfinder or your LCD and turn the ring of the filter until you get the effect you like. If there is little to no polarized light, such as on a cloudy day, the effect is negligible, but if it’s bright and sunny, the effect can be amazing. Many people think of polarizers for shots of water, or fall colours with that blue blue sky. Polarizers are really valuable for shooting snow scenes in winter because of the enormous reflectance of the snow. You only really see how powerful a polarizer is when you use one. Users of digital cameras must choose a Circular Polarizer to avoid conflict with autofocus systems and digital sensors, so if you have a polarizer lying around from your film days, it’s not the one to use.
When buying a polarizer, remember that this is a serious piece of kit, comprising the filter itself and two pieces of glass. You want the best filter material and the best optical glass possible, and preferably the filter itself has an anti-reflectance coating. Polarizers from companies like B+W and Heliopan are expensive but are worth every nickel. If you have many lenses with different filter sizes, buy the largest filter you need and then get stepping rings to allow using the same filter on all your lenses. This is much less expensive than buying multiple filters. A cheap polarizer will give you poor results and negatively impact the quality of your images, so avoid cutting corners. You, and your work are worth it.
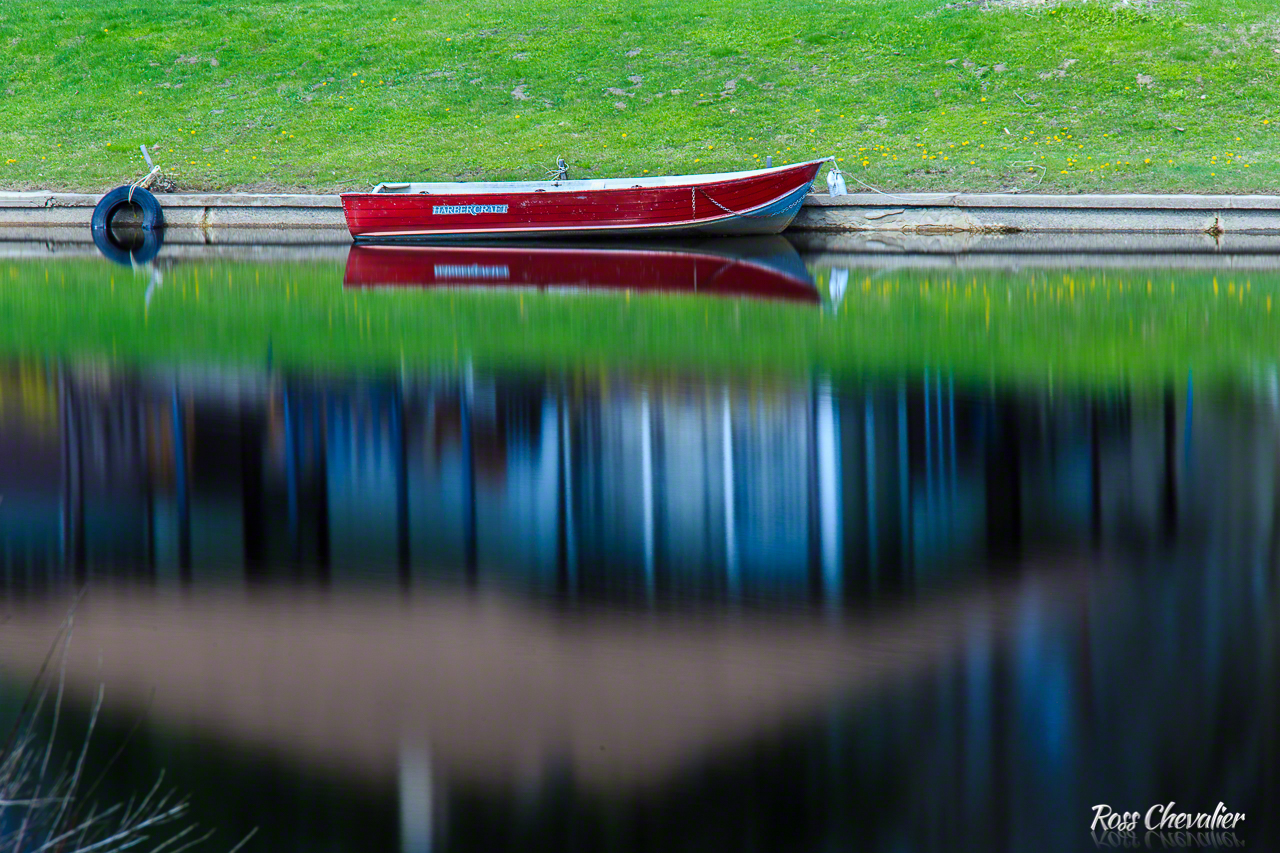
In these sample web images, you can see the difference the polarizer made on the sky. Since nothing else is particularly reflective, the impact on the rest of the image is negligible.
Neutral Density
A neutral density filter reduces light transmission. It is, by definition, an optically correct lens with a completely neutral grey filter that reduces light by a standard amount. We see Neutral Density filters advertised by stops and by numbers. A 0.3 Neutral Density filter cuts the light by one stop. A 0.9 Neutral Density filter cuts the light by three stops. You might be asking why you would want one. Let me give you a couple of practical examples.
You’ve headed out to photograph waterfalls. It’s a beautiful sunny day. You want the best colour rendition and the lowest digital noise, so you set your ISO to 100. You want lots of depth of field so you set your aperture to f/16. I can pretty much guarantee you that your camera now wants a shutter speed of within a stop of 1/125 of a second. That will make a nice picture but the water will be sort of frozen. Not what you wanted. What you wanted is a waterfall image like you’d see in Outdoor Photography magazine, where the water looks creamy not frozen. Maybe you can go to ISO 50 and an aperture of f/22. Now you get 1/30 of a second. Still not slow enough to get that creamy look. Add a 0.9 ND and your shutter speed will now by ¼ of a second and the water is starting to look really creamy. Switch to a 1.8 ND and your shutter speed is now 2 seconds and the creamy look is beautiful. You are, of course, using a tripod for this but you already knew that.
In my second example you are shooting an engagement portrait for some friends. You are shooting on a perfect overcast day with clean light and no harsh shadows. You are using your 85/1.4 zoom lens, just like many pros would, and want very shallow depth of field but the best colour and low noise. So you take a meter reading and find that at ISO 100 and at 1/250 of a second, your aperture would be f/8. But you want that wafer thin depth of field and beautiful bokeh you’ve seen and read about. You need to get the aperture down to f/1.4 You could certainly start raising your shutter speed to 1/8000 to get there but maybe your camera cannot go that high. Adding a 5 stop (1.5) Neutral Density will allow you to open the aperture to f/1.4 while still preserving the ISO and shutter speed that you want to use and get the soft background and bokeh you desire.
In recent years, a solution has been offered called the Variable Neutral Density filter. Some, like the Heliopan, are amazingly good. Others, not so much. A variable neutral density filter is basically two polarizing filters, one fixed and one that rotates. They can provide between 6 and 9 stops of exposure cut depending on the model and how you rotate it. I’ve had people in my programs who have spent money on a variable ND that cost a lot less than an average polarizer and who have been deeply dissatisfied. Poor variable ND filters produce a colour cast (usually a sickly green) and bring about distortion in the form of moire and other aberrations. What seemed like a good all around solution turned out badly. A great variable ND is a charm, a bad one is a curse. Folks started buying variables because they didn’t want to carry a stack of filters but then got turned off because the results came back looking like something the cat threw up. A good variable is awesome and you can get one from your trusted sales professional at Henry’s.
There is also the class of filters that don’t screw in, they slide into a square or rectangular holder. Polarizers exist in all the systems, but some people want REALLY dark neutral density filters. Best known in this space is Lee Filters. They make the Big Stopper, amongst a wide variety of graduated filters, neutral density filters and the like. A Big Stopper cuts the light by ten stops. They require a mounting ring, and a filter frame in addition to the filter. You’ll want to set your focus before sliding the filter into place because your AF system will go on strike if you try to use it with a dark ND in place. Your in camera meter can be fooled as well so count in a ten stop change, or use one of the myriad ND filter calculators out there for smart phones that tell you what your adjusted exposure should be. And as you would expect, you’re going to be on a tripod and should be using a remote cable release to trip the shutter and prevent any camera shake.
In this example, I used a Lee Big Stopper to cut the amount of light entering the lens by 10 full stops. It allowed me to obtain a 30 second exposure in the middle of the day. By doing so, I was able to allow the moving water of the Severn River to smooth right out and not show the minor wavelets that were showing at 1/125 of a second. In the 1/125 of a second test, there was no reflection to speak of as the roughness of the water prevented it. With the long exposure, the water appears to settle down to a glass-like finish. I could not have made this image this way in those conditions without a Neutral Density filter.
A selection of high quality and practical filters can make your photographic pursuits more fun, and more engaging. Make sure that a really great Polarizer and the Neutral Density filters that fit your needs are part of your filter kit.
What’s Next
Want to learn more about filters? Check out these related articles on Henry’s blog:
- Filters That Work
- Filter Systems for JPEG Shooters
- Pro Tip: Neutral Density Filters for Stills and Video


COMMENT (1)
Pingback: Filter Systems for JPEG Shooters | Henry's Blog