Getting the Brightness “Right”
One of the great things about teaching is learning how students see things. For a lot of folks, a camera is a complex entity and a lot of the terminology just sounds like people being technical for the sake of sounding technical.
In a recent Basics class, a student bravely and kindly explained that she would not use exposure compensation because she wasn’t confident of what an exposure compensation really meant. Looking at the courseware, I had to agree. It would talk about a nice photo or a photo that was pleasing, and only one of the exposure components, ISO, is discussed at this level. I happen to think that this approach is very good, because sometimes all the techno-babble turns people off. Therefore, we will discuss making the image have an appealing level of brightness.
Brighter and Darker – Exposure Compensation
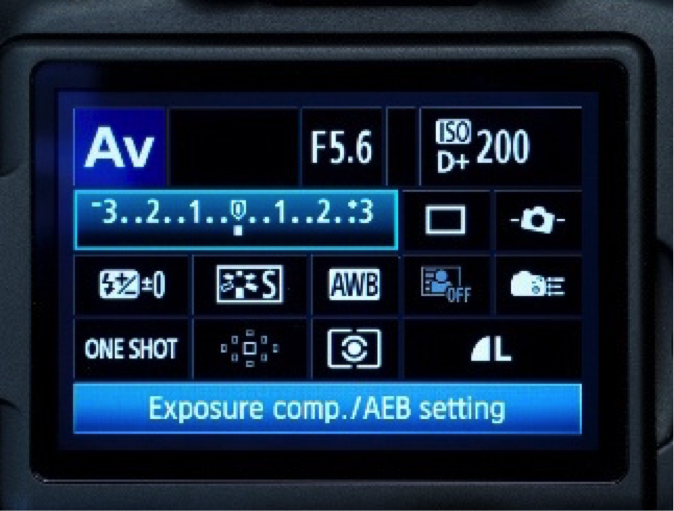
Figure 1 : Highlighted bar showing exposure compensation, Canon camera example.
The purpose of exposure compensation on your camera, which is sometimes accessed through a quick menu on the rear LCD, top LCD, or sometimes via a nice big easy-to-find dial, is that it exists so you can make an image and if it’s too dark, add brightness, or if the image is too bright, take away brightness. That’s it, plain and simple.
The settings will usually offer three clicks or steps before a whole number is reached. On most cameras, you will see a range from -3 to +3. The whole number increments are full Exposure Value counts (referred to as stops) and the individual clicks are most often measured in 1/3 EV. And that’s where I will try to hold the line on techno-talk.
Scenarios Where This Helps
In the summer season, there are lots of weddings and trips to the beach, or people wearing whites and light colours. In winter, there is the background of snow. When shooting a waterfall, there is all that white foam. We go out and make images of these kinds of things, and when we see the image on the computer we find the images a bit dark. We may notice by checking the rear screen LCD, but sometimes these are hard to see in bright sunlight and if we are wearing sunglasses while shooting, we may not see the image on the LCD at all. Here’s where shielding the LCD and taking a close look can really help you. If you do this and see that the image looks a bit dark to you, you want to shoot it again and add more light. Turning the dial, or moving the compensation indicator towards the plus side, adds light. Plus adds light. Simple, right?

Figure 2 : In this image, the Snowbirds were silhouettes against the bright sky, adding +1 2/3EV made them properly visible. Copyright 2016 Ross Chevalier
How much is enough? You decide, it’s your image. For snow or white beach scenes, you can start at +2 and if too bright go to +1, or if it’s too dark go to +3. It’s a single setting and easy to do, and thus very quick. You will also get a reminder in the viewfinder and on the LCD that you have made an adjustment to remind you to turn it off (back to zero) when you do not need it.
Another scenario may be around the campfire at night, or shooting the city at night, or even taking pictures of something that is mostly black in bright light. In these situations, you might feel that the images are too bright, the blacks look grey or muddy. In this case turn the dial or move the pointer to the minus side. Minus takes away light. Also, simple.
How much is enough? Again, it is up to you. If you have a subject, filling the frame that is really black, such as one of those menu boards that you see while travelling, try -2. If too dark, go to -1. If still too bright at -2, try -3. Experiment for the shot that you like the best while you are still there. All you need to do is to check the camera LCD with a shaded hand.
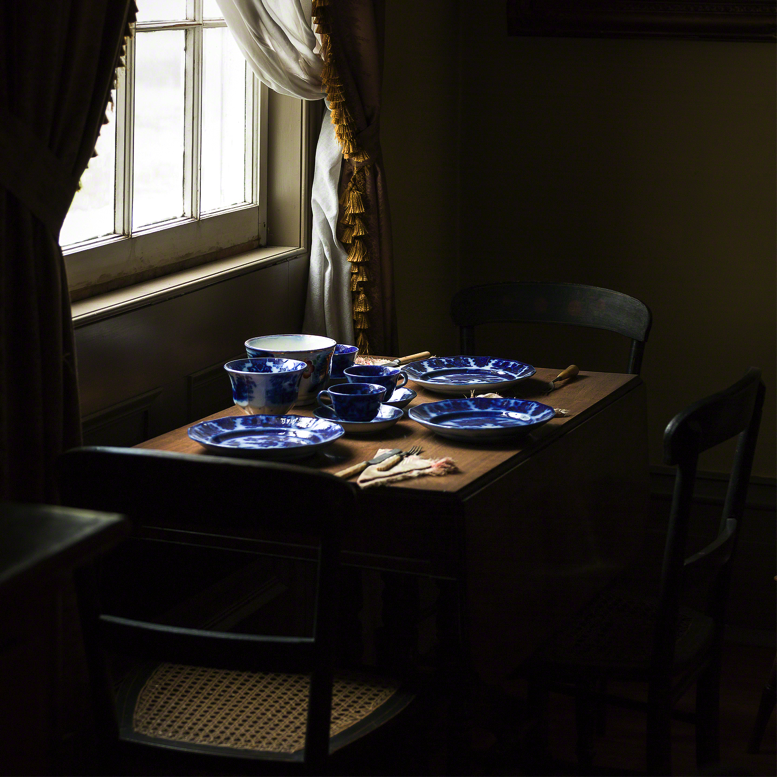
Figure 3 : In this case, the light through the window was causing the dishes to blow out, so an adjustment of -1 EV brought things nicely into line. Copyright 2017 Ross Chevalier
Summary
If this sounds really simple and a great way to get the image right in the camera so you don’t have to fuss with the image in post processing later, that’s because it is really simple. The more you experiment, the more you will learn to recognize a situation where you will want to make a change, before you even take the first shot!
Thanks for reading, and until next time, peace.

