In our first article, we looked at the EOS M family at a high level and concluded that the EOS M family—from a function and image-quality perspective—is not only competitive with other mirrorless cameras, but also with modern DSLR cameras. In Part Two, we will take a closer look at some of the M Series bodies.

Figure 1: Great colour, ease of use and fast images from the EOS M5
All the test shooting that I did was using EOS M Series cameras and lenses, and all shots were captured in-camera as full resolution JPEGs. This is not my norm, nor my personal preference, but many people want speed and efficiency these days and are not interested in spending a lot of time in post-processing. I did process the images that I share with you, but no more than two minutes was spent on any image shared. I like the digital darkroom and cannot help myself. Moreover, it helps confirm that if you do shoot in JPEG, you have the capacity to edit if you wish.
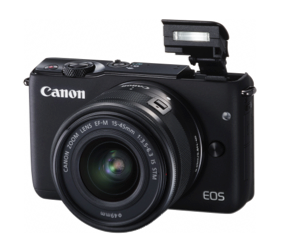
M10
The M10 is the simplest of the EOS M family, built on a lower resolution sensor and older CPU than the other models that I looked at. It is well-designed if upgrading from a point-and-shoot camera or smartphone. There are minimal controls— basically Auto, Full Auto and Video—on a switch on top for physical controls, with all other settings available through the touch screen. I was wearing a pair of touch screen functional gloves and never had an issue.
Image quality is very good with a native print size capability of 11.5″ x 17.25″ at 300 dpi so very flexible even for medium-sized enlargements. It uses the same EF-M mount for lenses as the other EOS M cameras. I confess that I did not find the ON/OFF system particularly intuitive, but once I used the M100, the M10 made more sense.
The card slot is on the side, which I prefer and there are no issues getting to the card even when the camera is on a tripod. I took one of those mid-sized GorillaPods into the field with me, and it worked great with the little M10.
I shot exclusively with the kit 15–45mm lens and was very happy with the image quality overall. There are some very minor distortions at the wide end, easily corrected in post-processing software if they bother you and if you even notice them. The lens is not optically fast, so I needed flash inside, or to let the AUTO ISO float high. Noise control is quite decent, and the fill flash in the Program and Aperture Preferred modes is very good indeed. I never felt constrained by the maximum shutter speed of 1/4000 sec.
There is no hot shoe for an external flash, which given the intended user and the cost of the camera itself makes sense. A Canon flash will cost at least as much as the camera and lens kit.

Figure 2: The M10 is fast and quick to use, even though waking the cat could be fatal to the photographer.
The LCD is large and easy to read, except in the really bright sun. This is no different from any other LCD based camera or smartphone. The tilting screen is handy, and it can flip up all the way for selfies and vlogging.
At this price-point, I feel that the M10 is impossible to beat.
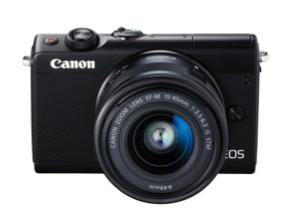
M100
The M100 looks and handles like an M10, but is a step up internally in sensor and CPU. Otherwise, the two cameras are very similar. For the $200 bump in price you move from the 18MP sensor to the 24MP sensor, get the faster DIGIC 7 CPU and, in my experience, much faster autofocus.
I used the M100 both indoors and outdoors and tried a few different lenses on it. It works as expected. The user interface is very similar to the M10 in that it has limited physical buttons, with the majority of the controls through the touch screen interface. I’m not a big touch screen fan myself, but I commend Canon on making the touch screen “buttons” large enough that I could hit them with my larger fingers while wearing gloves, and I did not find that I was mis-activating things because of a cluttered interface. Other manufacturers could learn from Canon’s approach to touchscreens.
The LCD is large and bright, although like all LCDs suffers in very bright sunlight. The flip functionality is handy, and the screen will flip 180 degrees up, suitable for selfies and for vloggers. I liked the M100 as a vlogging camera and also for some B roll I shot for some of my own tutorial videos.
The microphones inside are OK, not great, and the only real downside for serious video is the lack of an external microphone port. I was disappointed to see this missing, but my use cases only needed the audio for syncing up a separate voice track so it was not a big deal. People who are coming to the M100 for vlogging from a smartphone are going to be pleasantly surprised. The video and audio quality is better overall.

Figure 3: Shot with the M100 and 55–200mm zoom. Great colour and shadow detail
This is still an APS-C sensor, but the higher resolution provides a maximum native print size of 13″ x 20″ and the image quality is very good.
Another advantage over the M10, is that the autofocus works in situations up to two full stops darker. For family photos taken at home, in an auditorium or anywhere the lighting is less optimal, the AF is both faster and more accurate.
M5
I confess that of the four units that I had available to look at for this set of articles, the M5 suits me the best, because of my dependency on, or demand for, an eye-level viewfinder. The camera is slightly larger in size and weight than other mirrorless cameras, with the Canon EOS M5 having a larger sensor. For most of the work, I used the 18–150mm lens, which in my opinion, is a perfect all-around lens for most work. The 18–150mm lens is not optically fast, so I needed either higher ISOs or to use flash in low light conditions. This was not an issue in my testing. I also used AUTO ISO most of the time, because I wanted an accurate representation of what the camera might be inclined to do.
The only downside that I found was that the flip screen flips down instead of to the side or up. When the camera was on a tripod the LCD flipped out for vlogging or selfies was not usable. Unlike the M10 and M100, but like the M6, the SD card slot is in the battery compartment on the bottom of the camera. This is not my preference, but as I use large fast cards, it really wasn’t a practical issue for me.

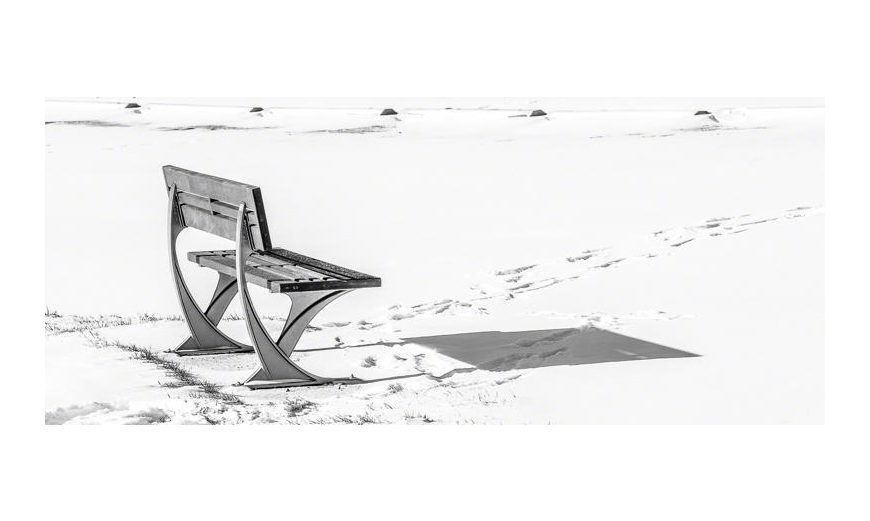
Figure 4: Superb tonal range captured by the M5 sensor allows for even fine art work
My shoot day was -20 Celsius before wind chill and the camera performed longer than I was willing to stay out. Once my eyelashes froze up, that was enough, but the M5 was more than willing to continue. I shoot left eye dominant and the controls were perfectly usable even when the camera was at my eye; very important on a bright day in a snowfield for access to the nicely placed exposure compensation dial. I’ve mentioned in the past how great mirrorless cameras are for showing you what you will get before you shoot. I was glad of the EVF, as the sun was too glaring to really see anything on the LCD. I did not carry my usual Hoodman loupe on the day, and was very glad of the EVF.
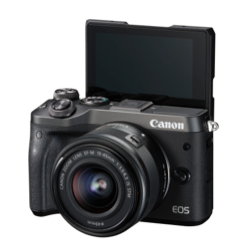
M6
The M6 offers all the functionality of the M5, including the heavy duty construction, with the EVF being the missing element. You can purchase at additional cost either of two different add on EVF units, although monetarily you would be likely better advised just to get the M5 if an EVF is on your must-have list. However, if the EVF is not a necessity, or you want to get the toughness of the M5 in the smaller sized casing that exemplifies the M6, this is the route to go.
If I were doing some serious vlogging, the M6 is a great option. It has a separate microphone input for better audio, and the tilt screen can act as your reference display while you are recording. There is a shoe on the camera to hold a dedicated microphone, like one of the RØDE or Sennheiser small shotguns if you don’t mind the flip screen being obscured. A Canon microphone is also available. The standard tripod mount means that you could mount the unit in a cage if you wish, and the HDMI out means that you can also drive a larger reference display if this suits your needs better.
I’ve included a link to a short video that I shot on the M6 which also includes a still of the vlogging set-up that I used. Very simple and straightforward and the only editing that I had to do was for content. The video quality straight out of camera was excellent.
Brief Video: Vlogging with the Canon EOS M6
Photographically, the M6 delivers the same quality and options as the M100 and the M5. Unlike the M100, it can host an external Speedlite or radio controller with full TTL integration. I tested this with a Godox Witstro AD600B strobe and functionality was flawless. I also used the camera with Canon 600EX II-RT Speedlites and Canon’s own ST-E3-RT remote radio controller with complete success. The image showing the big Canon telephoto mounted on the tiny M10 was made with the Godox controller and strobe, also available at Henry’s.
Lenses Tested
I obtained the 55–200mm zoom and the 28mm Macro for my testing. I have to say that they performed as I expected that Canon lenses would perform— extremely well.

Figure 5: The 28mm EF-M Macro in normal close-up mode with the Macro Lite active.
These two images were made using the EF-M 28mm f/3.5 Macro lens with the built in Macro Lite. There is a cover for the Macro Lite to protect it and the lens offers two different levels of close-up capability pictured here and below.
I shot both of these using the EOS M6, although I would have gotten the same image quality from the M100 or M5, but I wanted to see how effective it would be to use the zoom and touch focus capability of the touch screen. It worked very well. My primary light source for both images was the studio continuous lighting from a pair of Kino Flo banks. I turned the Macro Lite on and off for both sets, and it really made a difference in the Super Macro Mode, because this mode gets the front of the lens really close to the subject. As in all macro shots, the camera to subject distance depth of field is razor-thin, and the camera often blocks out the ambient. The built-in Macro Lite did a nice job of filling in the shadows. I was not as tight as I could have gotten but that reddish rock centre right (Figure 6) is only about ½ inch long in real life, so you can see that you can do serious macro with an EOS M camera and this EF-M lens.

Figure 6: The EF-M 28mm Macro with Macro Lite in Super Macro Mode
I also found that working with the Mount Adapter EF-EOS M to be extremely simple, and if one already owns Canon lenses for DSLRs and is thinking about adding or switching to mirrorless, this tool is perfect.
I did shoot with the adapter and some of my existing Canon L glass. To prove a point, I mounted the entry level M10 to Canon’s L series 300mm f/2.8 IS. It looks silly, and obviously you handle the combination by the lens and not the camera body, but it works, and works well.
I shot the studio image below on the EOS-M6 using the kit 15–45mm lens. This was the only shot I took during the entire evaluation in RAW, and I made that decision because I knew I was going to want to drop in a bright orange background instead of the middle grey that was actually there.
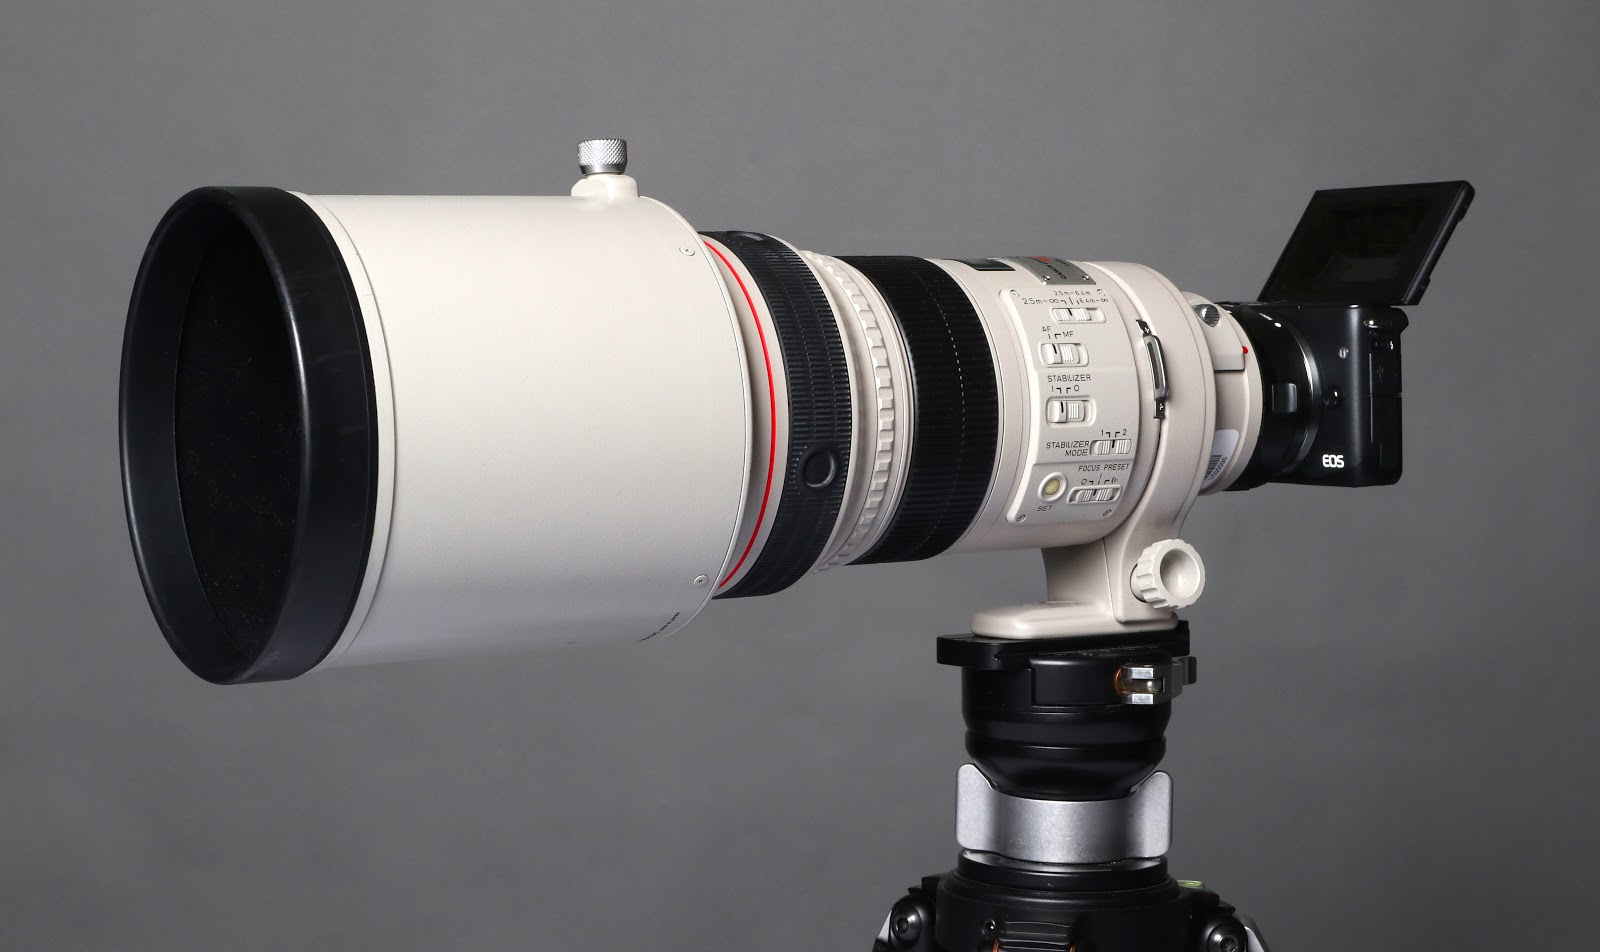
Figure 7: Shot in the studio for fun showing just how small the M10 is in context of a big pro lens
Some General Observations
The target market for any mirrorless camera these days is going to be looking for connectivity to a smartphone, either for downloading JPEGs to the smartphone photo library or for remotely controlling the camera from the smartphone. Setting up the Canon Camera Connect app was very simple. I installed the app on my iPhone (it is available as well for Android). I activated the camera connection through the menu system. The camera generates its own Wi-Fi network and you join that network on your smartphone. Then you launch the app on your smartphone and connect to the camera. Connection is a one button affair and once connected you can view and download images or remotely control the camera with a high level of control including touch focus. Like most smartphone-based remotes, you cannot control the video options from your smartphone.
The M5 and the M6 both have Canon E-TTL hot shoes, so if supplemental light or controlling off-camera flash is important, you will have to look to those models, as neither the M10 nor M100 have hot shoes. The same is true for external microphone inputs for video. If these functions, and the heavier construction are not requirements, you get the same CPU and same sensor in the much smaller and more budget friendly M100.
Thanks for joining us!
Did you find this pair of articles informative? Did you learn something about Canon’s existing mirrorless offerings? Do you have more questions? Leave a comment and we’ll be happy to help.
Until next time, peace.
