When thinking about your next camera or even what makes a great camera, there are a few characteristics you want to check on: Picture/video quality, durability, flexibility, accessories, plus some features and specs like autofocus, shutter speed and ISO range.
We don’t often think about a camera’s on-board menu structure until after we’ve made our decision — or until we start shooting! But how a menu is laid out, how intuitive the screens are to navigate and how easy the settings are to understand can make a huge difference in how we go about shooting.
Let’s look at what makes a menu good or bad, and some standard menu features — and how you can use them. We’ll then take a popular, yet fairly new mirrorless model — in this case, the Nikon Z 50 — and see how it stacks up.
What you’ll see when you look at your camera menu
At first glance, even an entry-level DSLR or mirrorless camera menu can seem overwhelming: It just looks like row after row of options! But once you start to familiarize yourself with your camera, you’ll see most modern systems are laid out in a fairly practical manner.
First, it’s important to note that many cameras offer what is sometimes perceived as two menus. When you’re shooting and you press your menu button you’ll see one group of settings that control how you shoot. When you’re in playback mode and press the menu button, you’ll see a different group that controls how you interact with your photos and videos on screen.
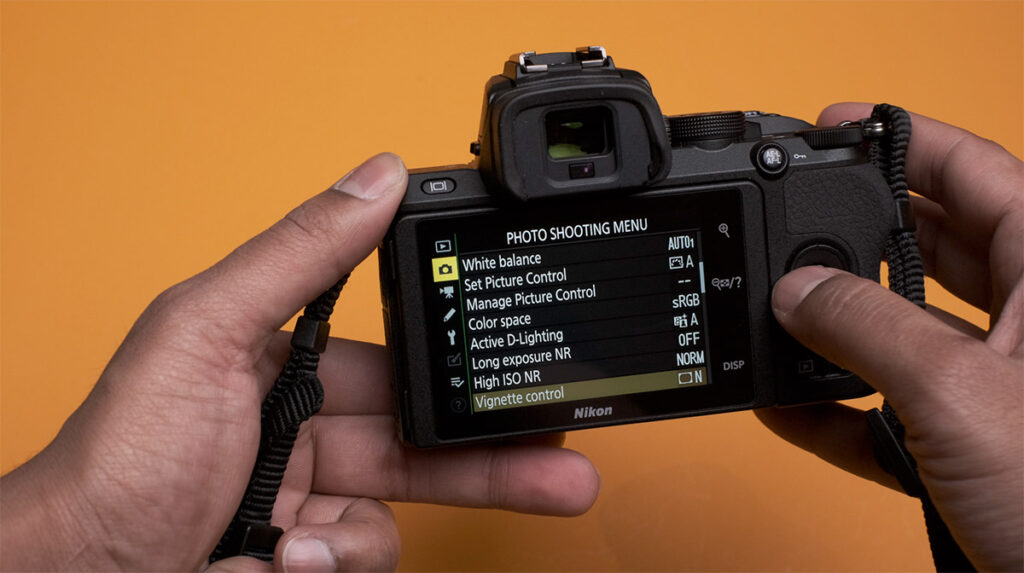
The shooting menu will contain most of the features you’ll want for more control over your pictures, like ISO, image size, image quality, autofocus, exposure and so on.
The playback menu will allow you to delete images, view them with a histogram on or off, and on many newer models, crop, resize and rotate images as well.
You’ll also see a basic camera settings menu, for things like the date and time, language preference etc.
Ultimately, time and practice will help you master these settings.
How the Nikon Z 50 stacks up
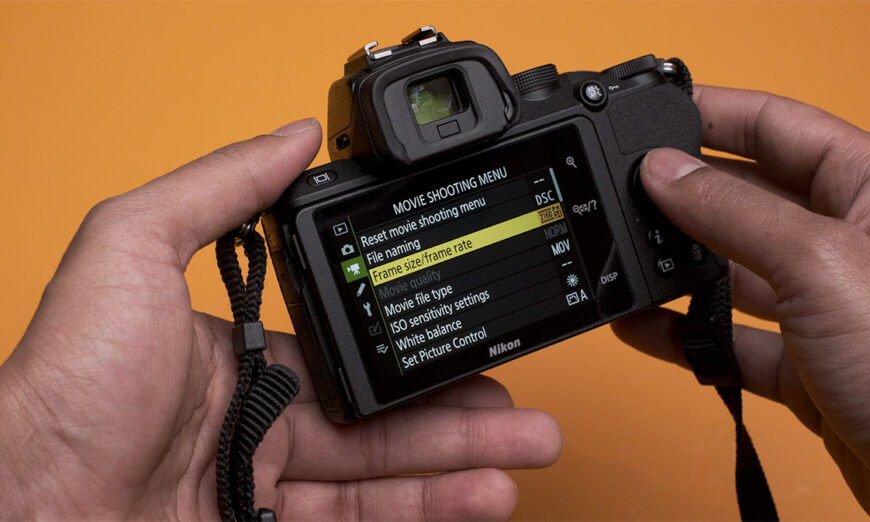
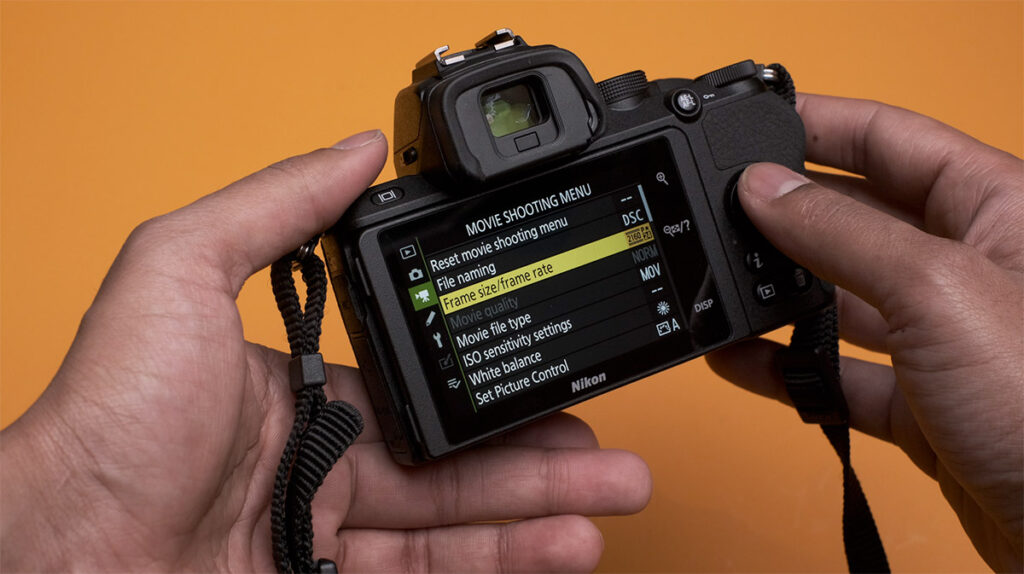
If you’ve used a Nikon DSLR or mirrorless camera before, the Nikon Z 50’s menu and user interface will instantly look familiar to you. There are a lot of options — even for experienced users — but the menu is arranged nicely, with easy-to-understand icons to help you keep your playback, shooting (still and video) and settings menus separate. Common functions (autofocus, exposure) are right up front, and easily navigable, color-coded sub-menus will keep you on track as you navigate deeper.
Although the Nikon Z 50 has a typical multi-selector with which you can navigate, the LCD screen is also touch-sensitive, meaning you can navigate menus like you would your smartphone.
What are quick settings, and how do they help?
Standard settings can typically be accessed directly from a single button on the back of your camera. While some of these settings might have a dedicated button — for example, a “WB” button for white balance — you’ll often see cameras with an “i” or “q” button that allows you to access an entire menu of frequently used settings. This menu is usually different from the standard menu, and allows you to access and adjust the most common functions — flash mode, focus settings, white balance, ISO file format and so on.
Its purpose is pretty self-explanatory — it gives you quick access to common functions without having to go through the entire menu. Familiarizing yourself with your camera’s quick menu can help you master common functions without feeling overwhelmed by the entire menu system.
On many cameras these functions can be further customized.
Using the Nikon Z 50’s “i” menu for quick settings
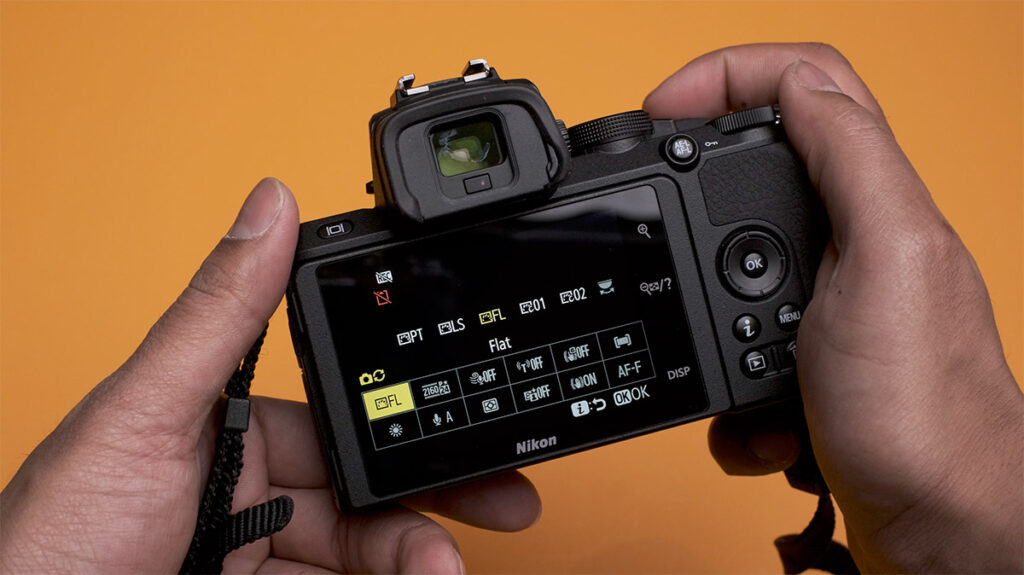
The Nikon Z 50, like most Nikon models, has a can’t-miss “i” button prominently featured on the back of the body. Pressing it brings up a touch-screen menu featuring convenient options for shooting, with different features available for both photo mode (including white balance, image quality, flash mode, focus mode and more) and movie mode (frame size and rate, mic sensitivity, wind noise reduction and more).
The “i” is also fully customizable; you can choose 12 settings and re-arrange their order as you see fit.
Using programmable menu settings
As part of your camera’s menu system, you should also have access to a customizable list of settings or menu items, typically known as “my menu”. This programmable menu allows you to group your most frequently accessed settings into a single, easy-to-access list. Say, for example, you move from indoors to outdoors and back a lot, and frequently need to adjust your ISO accordingly: you can set this to be the top setting on your quick menu and jump to it quickly and easily.
Your custom menu is particularly useful if there is a feature or setting you like to adjust or view that is typically found several sub-menus deep; with a custom menu you can avoid all those clicks and taps and access it straight away.
Programmable options with the Nikon Z 50 “My Menu”
The Nikon Z50 has a “My Menu” feature that allows you to add up to 20 items to it — and those items can come from the photo or video shooting menu, the playback menu or the setup menu. Adding, removing and re-ordering items is simple.
You can even set one of the two customizable function buttons to bring up your custom menu for even faster access.
Take the time to learn your camera’s menu system
A digital camera, even an entry-level one, is an investment. If you want to make the most of your investment, it’s worth it to learn all of your camera’s features and functions — and how to access and use them. And you don’t have to just read the manual! You can find tons of information online, including YouTube videos, and you can always talk to an expert at Henry’s or attend a seminar or workshop.
What’s Next:


