Let’s look at some great options for beginner and intermediate image-makers doing nature work near Vancouver. Why the west coast? Well, we have our first Vancouver camera store there, so the timing is great. It truly is beautiful area. If you’re considering moving here then you may want to give Eddie Yan a call, he might be able to find you a little secret hidden away somewhere gorgeous.
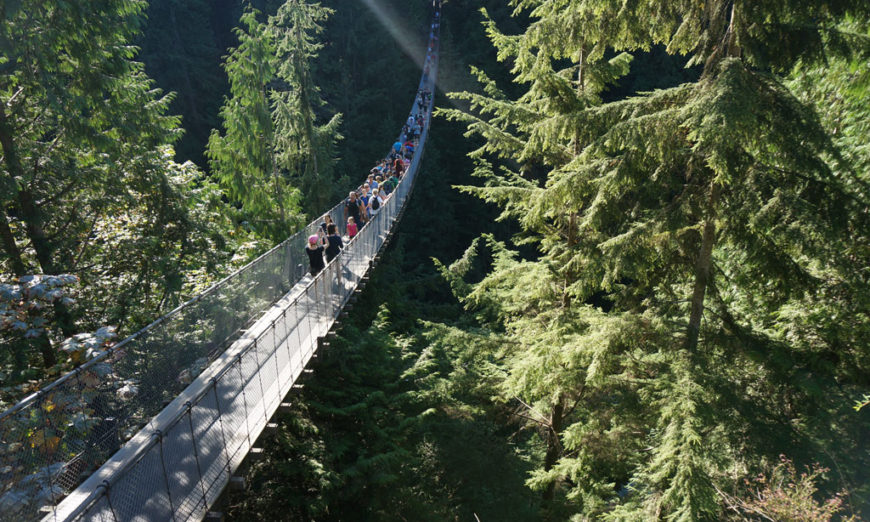
British Columbia has incredible options for nature photography and video. Whether you head out on the water for whale watching (if you’re used to going san diego whale watching it’s a bit colder in BC but definitely worth it), go hiking in the Haida Gwaii or drive the Sea and Sky Highway north through the Garibaldi Highlands, there is so much to see and do. Even if your time on the west coast is limited, there are great opportunities in Vancouver’s Stanley Park.
Seascapes
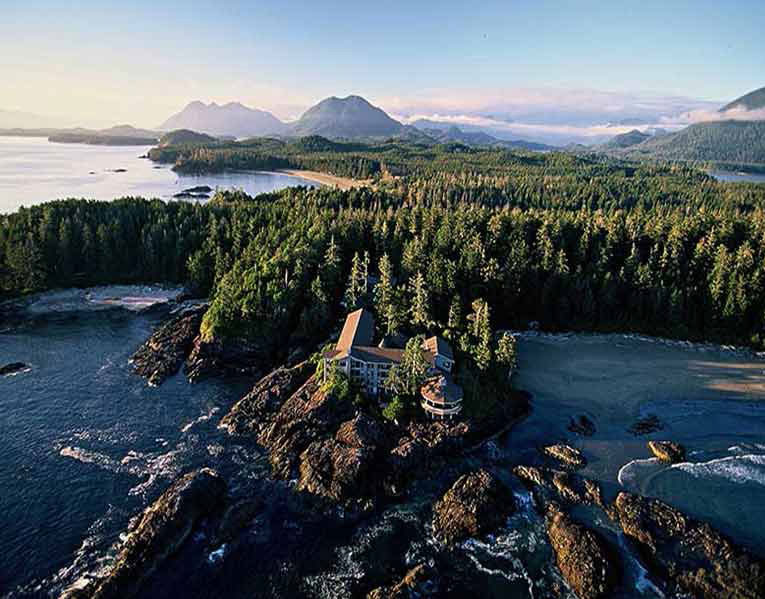
Figure 1: Tofino, Image Courtesy of mytofino.com
If seascapes are your thing, you have so many options. On Vancouver Island, consider the Pacific Rim Biosphere Preserve as well as Tofino. Both are on the west coast of the island and offer incredible scenery, great sunsets and the kind of nature images that you will only find on the west coast. You can also consider the Discovery Islands of Quadra and Cortes, both of which you can reach via ferry from Campbell River on Vancouver Island.
Woodlands and Rainforest
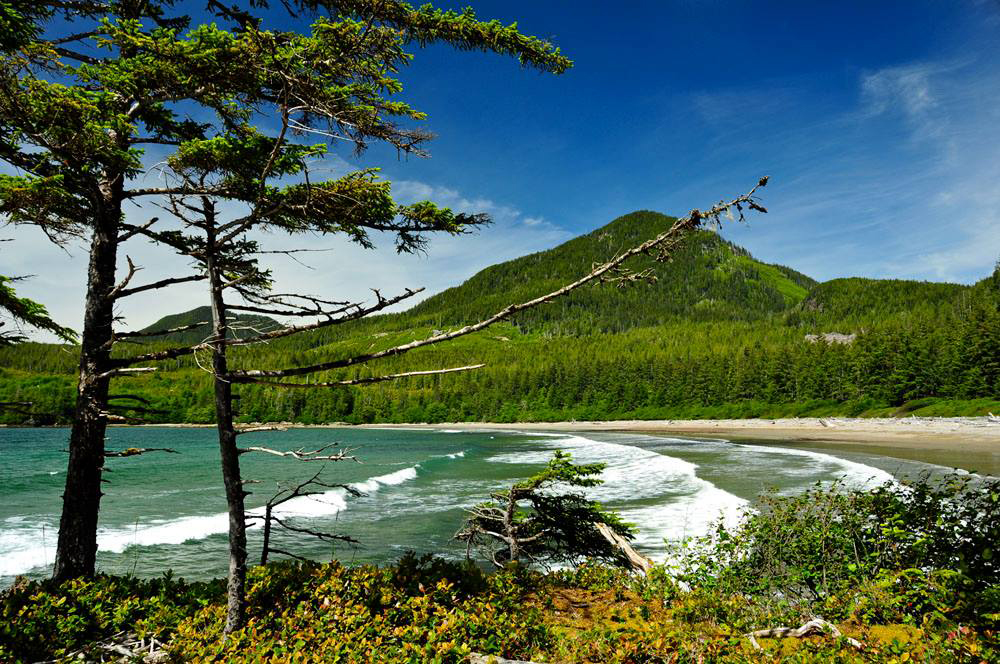
Figure 2: Haida Gwaii, Image Courtesy of gohaidagwaii.ca
The area formerly known as the Queen Charlotte Islands, now called the Haida Gwaii is off the coast of BC. These islands provide an incredible variety of scenery from woods, to ancient stone, to the shores of the Pacific Ocean. Staying on the mainland, consider the Great Bear Rainforest. Access by road is tough; float planes and boats are more practical options. You’d want to go since this is one of the largest temperate rainforests in the world. There is an abundance of native wildlife, as well as plenty of fjords and inlets to provide you with subjects galore.
The Interior
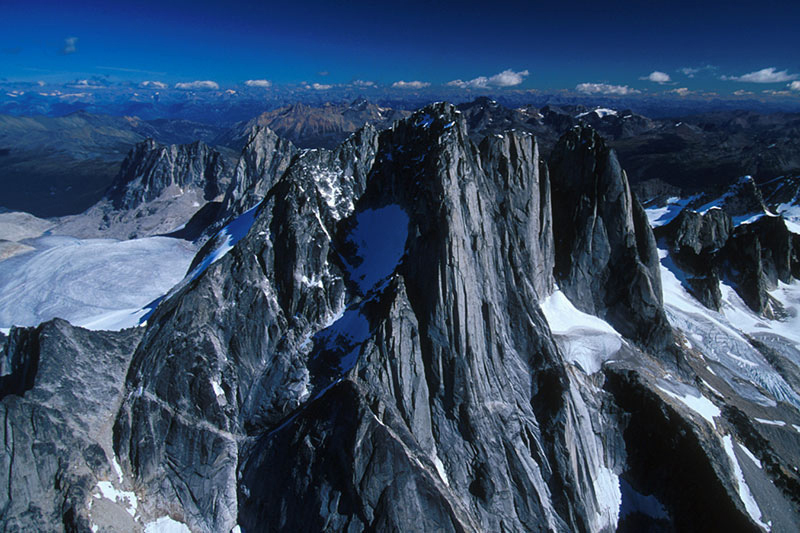
Figure 3: Bugaboo Provincial Park, Image Courtesy of britishcolumbia.com
Heading east from Vancouver, there is plenty of nature to image in Chilliwack Lake Provincial Park. Longer trips will take you towards the eastern border of British Columbia where you can find Yoho National Park and Bugaboo Provincial Park. You can also do day trips out of the greater Vancouver area and see incredible scenery. Even in summer and fall, you can still find ways to the top of Whistler Blackcomb for mountain top images.
Gear to Take
Let’s take a quick look at what gear you will want to take with you.
Bags and Tripods
If you live in the province, you’ve got your gear handy of course. If you are travelling into British Columbia, you may be limited a bit by your luggage.
For nature photography, particularly when you cannot simply drive right up to where you want to be, carry less than you think is reasonable, because you’ll get tired over the course of a day walking with a pack on your back.
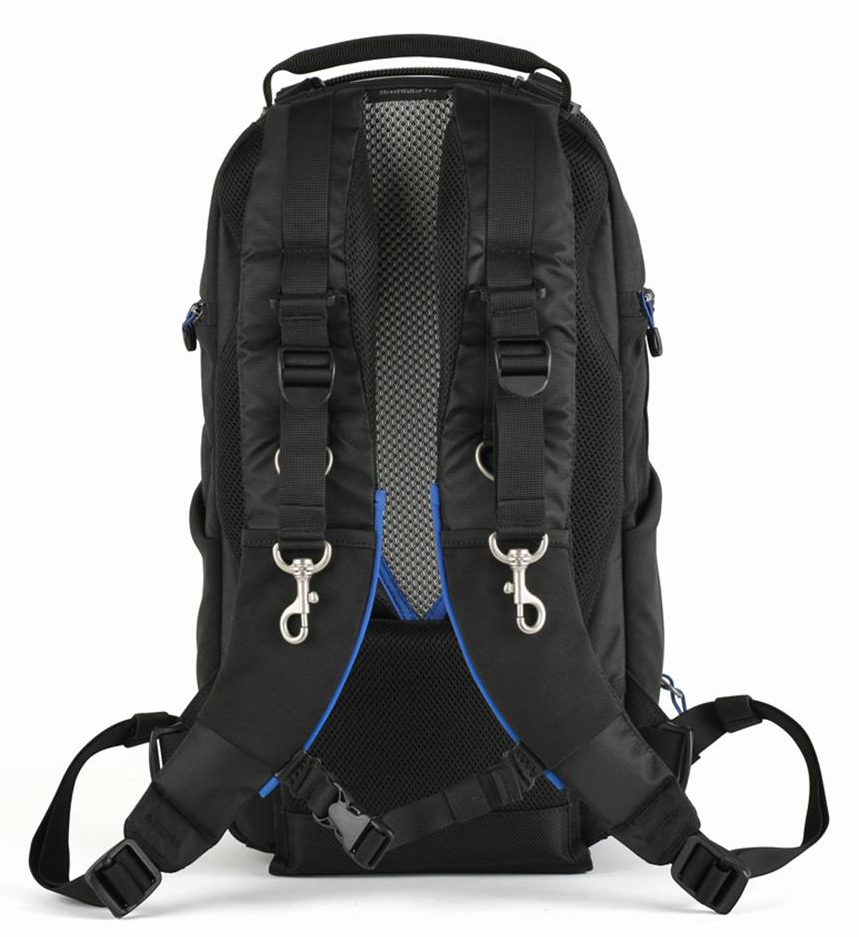
Figure 4: Think Tank Photo Streetwalker Backpack has lots of space and carries well all day long
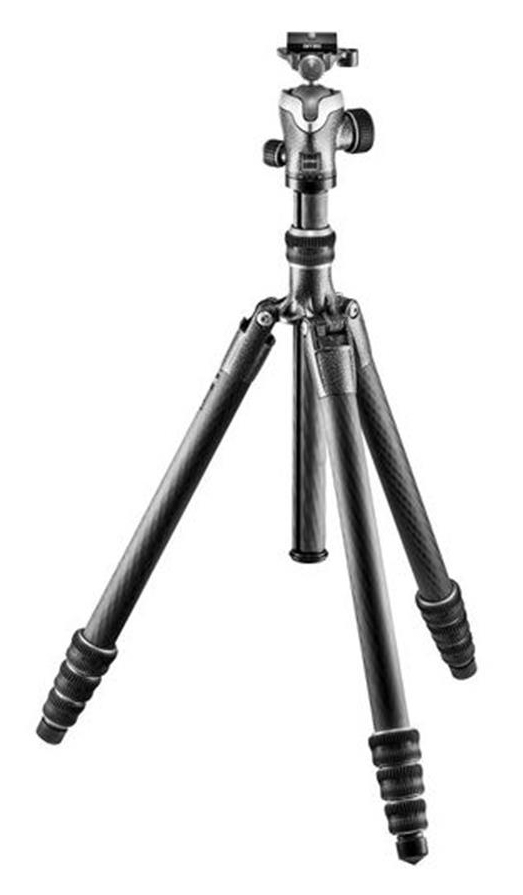
A backpack-style camera bag is ideal for this sort of thing, and the better designed units will even have a place to strap on a travel tripod if you are so inclined. I highly recommend a sturdy travel tripod because it provides stability for stills and video.
Figure 5: The Gitzo Traveler Kit is one of the most durable and lightweight travel tripods around. It will last you forever if taken care of.
The All-in-One Lens and an Ultra-Wide
An all-in-one sort of travel lens is a great choice on any interchangeable lens camera, especially if you are trying to keep your gear lightweight. For a crop sensor camera, I suggest looking into something in the 18-300mm range, and for a full-frame sensor camera a 28-300mm can work very well. If you need a wider angle of view for incredible scenic, consider a second lens in the ultra-wide zoom range, perhaps a 10-20mm for a crop sensor or 16-35mm for full-frame. If you are shooting a Micro Four Thirds sensor, the 14-150mm and an 8mm prime are good choices. I like these focal lengths because they work for both stills and for video.
The One Filter Everyone Needs
Always carry a polarizing filter. You simply cannot accomplish in post-processing what you can in-camera with a polarizer. Screw the filter to the front of the lens and look through your viewfinder or at the LCD. Turn the polarizer until you like the effect that you see and shoot. I recommend buying the largest diameter polarizer that you will need and use step-down rings to use the larger filter on smaller filter diameter lenses.
Water Protection / Waterproof Camera
I always stuff a waterproof cover in my bag whenever I am headed out where I or my gear could get wet. You can spend a lot of money on this sort of thing. While it will not protect your camera if it falls in the water, these covers are inexpensive, and you don’t have to worry about great expense if one gets wrecked.
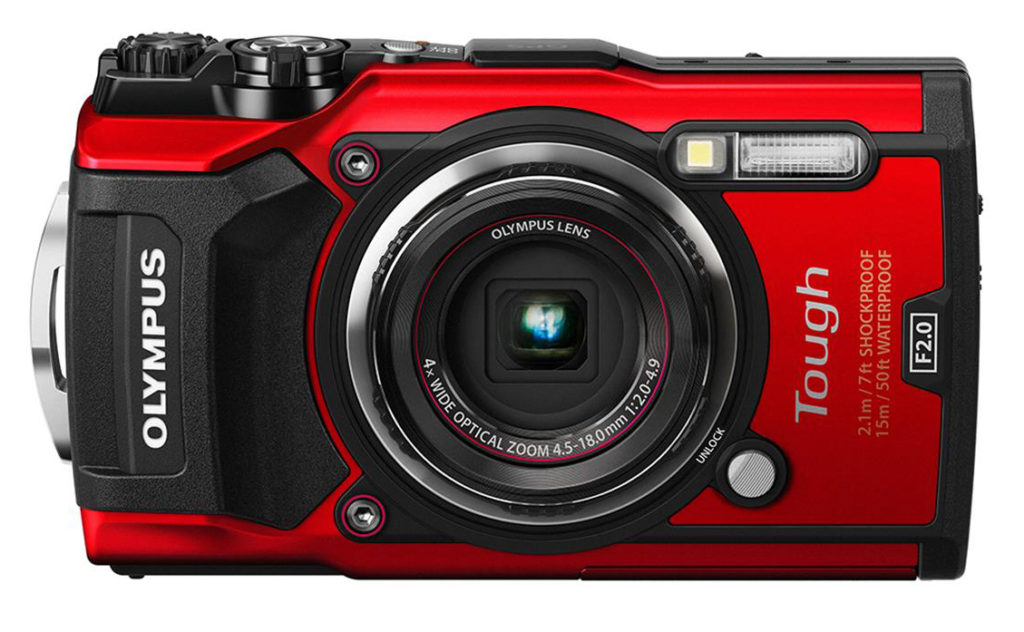
Figure 6: Olympus Tough TG-5: Waterproof, shockproof and pocketable. A lovely little camera
If I know that I’m going to get wet, I like to carry a waterproof and shockproof camera. Since I want both videos and still photos, I prefer a more well-rounded product than just an action cam, but your requirements may be different.
Hot Shoe Flash
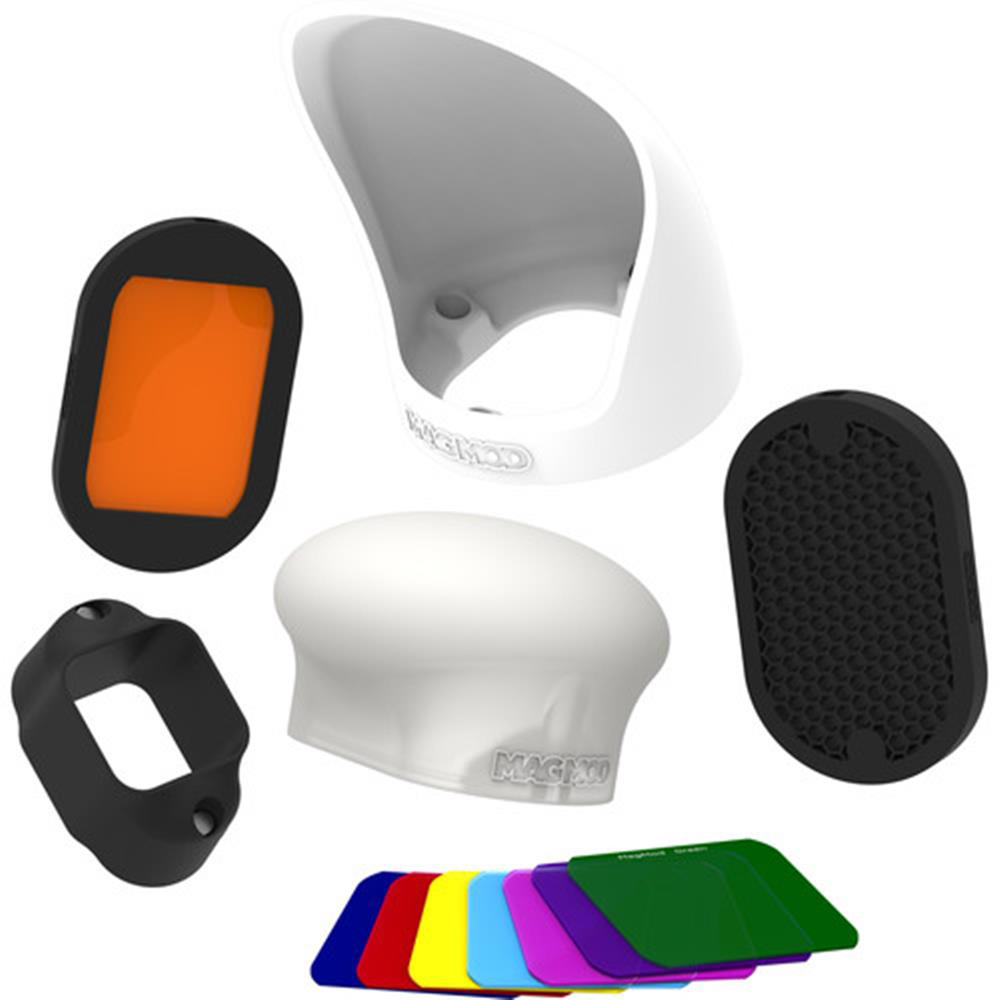
I always have a flash with me that mounts to the camera hot shoe, along with a simple diffusion system. I use the flash in TTL mode and use it to fill shadows and improve colour. TTL makes it easy and you can brighten or darken the flash contribution right from the camera.
Figure 7: The complete MagMod Professional Flash Kit
I carry the MagMod MagGrip and MagBounce because they work like a charm and transport easily. For my video work, I always have a small battery powered video light in my bag. This little light is also very handy for…
Maybe a Macro?
My go-bag is primarily a body, walk-around lens, ultra-wide lens, flash and video light, however, if I know that there will be serious macro capability, I will include a mid-focal length macro lens in the bag. My walk-around lens is not a true macro lens despite being able to get very close, so if I need ½ life size or more, I go to a dedicated macro lens.
Best Lens Accessory
I suppose that I should remind everyone of the most important accessory to image quality that there is and that is a lens hood. Many kit lenses do not come with lens hoods, while pro lenses usually do. If you don’t have a lens hood for one or any of your lenses, pop into your local Henry’s store or go online at www.henrys.com and order the one for your lens.
Conclusions
Nature photography does not have to mean a ton of gear, or extremely remote locations. British Columbia has a huge selection of imaging locations. You can certainly bring heavier gear, such as if you are doing a fly-in for eagles or for grizzlies, but I’ve kept this list to equipment that is smaller, lighter and easier to transport. We’re excited to be coming to the west coast and hope that you’ll join us there for your imaging adventures.
If you have questions about this or any other subject, please leave a comment below.
Until next time, peace.
