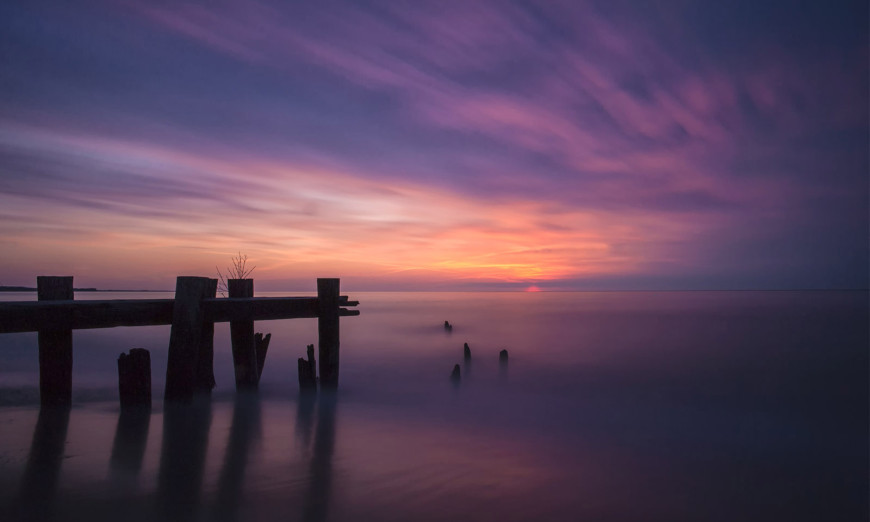
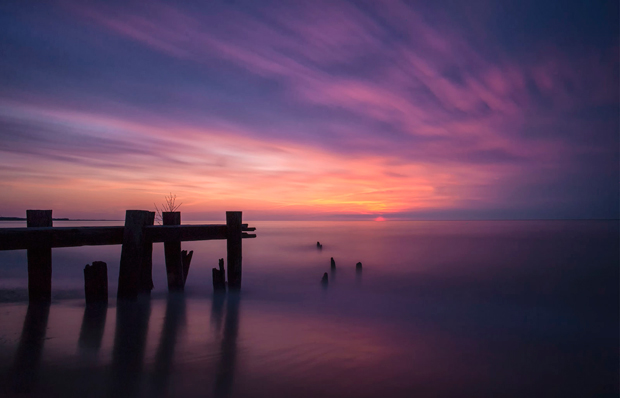
Now that summer is finally here, we will all be headed out to the beaches to take some photos early in the morning or late at night to capture those golden hour images.
But as we know, they aren’t that easy. That sun is a huge ball of light and the water seems to eat up the light and always give us challenges to balance the light between the sky and the foreground.
Here are a couple suggestions and ideas to consider before your next photo outing to a beach.
Have you ever considered using a graduated ND filter? You can use a soft graduated filter, a hard graduated filter, or you can even use a reverse graduated filter. The difference between these three filters are as follows:
Hard Graduated ND filter has a graduated ND half of the filter and a clear side of the filter. In the middle of the filter is a hard line separating the ND portion of the filter from the clear side of the filter.
Soft Graduated ND filter has a graduated ND half of the filter and a clear side of the filter. In the middle of the filter is a diffused line blending the ND portion of the filter from the clear side of the filter.
The hard and soft graduated ND filters would be applied to the end of your lens so that the polarizing half of the filter covers the sky and there would be no polarization covering the water and beach. An easy way to explain it… take your sunglasses and raise them half way up on your field of vision… now look at the difference in the scene through the glasses and with the bare eye.
These filters will even out the exposure of sky versus water and beach. You still take the photo the same way, you just have the filter applied to the end of the lens.
For seascapes I tend to lean towards a hard graduated filter. When applying the filter to the end of your lens, look through the viewfinder and lower the filter till you see the hard grad meets the horizon line.
The reverse graduated filter has only the middle part of the filter with an ND sun blocker. The two ends are clear. These filters tend to diffuse upwards and downwards from a polarizing colour to the clear edges. These filters are generally used when the sun has risen above the horizon and you would want to lower the brightness of the horizon to create a more equal exposure.
Another way to overcome the brighter skies is to expose for the highlights. Do not expose for the sun, rather expose for the brighter clouds. This will ensure that you do not blow out the skies and retain detail. This will not help you with your darker water and beach, but it will ensure that you do not blow out the highlights in the skies.
Using some of the aforementioned methods should increase the percentage of keepers in your memory card.
You can also overcome the darker foreground and lighter skies issue by exposure bracketing your images. Most DSLR’s will give you the functionality of bracketing photos, some only three images, some upwards to 9 images. Find this functionality in the camera and set the camera to take multiple exposures.
My personal preference is to adjust the exposure compensation to 2/3rds of a stop and take a minimum of five photos. This gives me a baseline image and two under exposed images and two over exposed images in 2/3rds increments.
In the digital darkroom (Photoshop) I then blend two of these photos together. I choose my favorite sky exposure and my favorite foreground exposure. I will overlay the proper sky exposure over the proper foreground image. Then, using a layer mask you will be able to eliminate the foreground on the top image and bring through your chosen foreground on the bottom image using a simple black brush.
If you search on Google or Youtube for tutorials on how to use a layer mask in the version of Photoshop you have installed, you will find a lot of step-by-step tutorials that will walk you through this process. I use Photoshop CC, so I would search the phrase, “how to use a layer mask in Photoshop CC”.
One last way to obtain proper exposure throughout an image is creating a High Dynamic Range (HDR) image. This process requires you to exposure bracket images of the scene again without moving your camera. When I do HDR images I take up to 9 images with 1/3rd of a stop difference. This gives me a full three stop difference between all the images. I then use my HDR program that I have. I use photomatix or NIK. My personal preference is to create a realistic looking image versus a grungy style of photo… but that’s up to you and your personal preference.
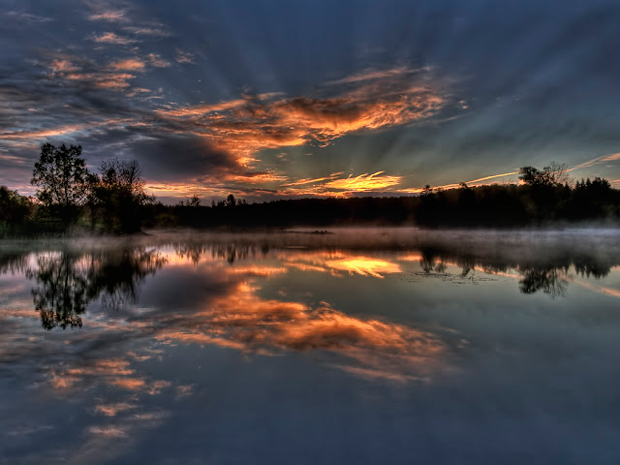
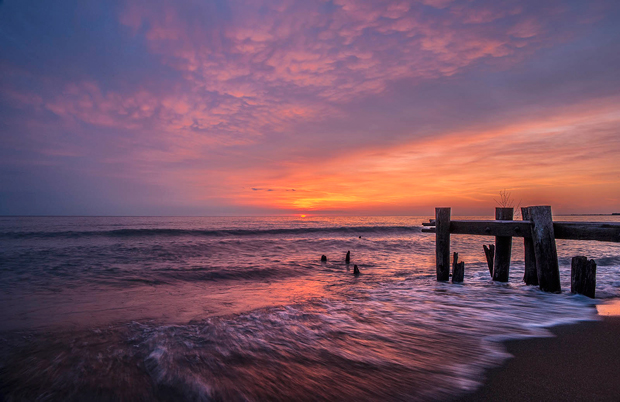
Here is an HDR sunrise photo I took.
Exposure is only half the battle in taking more attractive sea side images. I have also listed below some of my sure fire tips to increase the appeal of your images that you got up so early for.
Place your camera on a tripod and use a shutter release cable. This will ensure a stationary camera and help eliminate any camera shake during the longer exposures.
You should always consider lowering your point of view. This will bring in more foreground into the image and create more of a scene versus a photo. This doesn’t always necessarily mean you have more foreground in the image, it can also mean that you are closer to the water and you can still have more sky in the image. This leads me to my second tip.
Use a wide angle lens and create more of a panoramic style image… a wider image lets they eye take in more of the photo. Sigma has a few great wide angle lenses that you might want to consider. The Sigma 10-20mm f/4 – f/5.6 or the new Sigma 17-70mm F2.8-4 Contemporary Lens.
Don’t always allow the camera to shoot longer exposures to create glass-like water. While that is a very calming photo, and the ND filters that I mentioned before create glass-like water; sometimes you want some interest in the waves. This photo was taken with a Nikon D3, a Sigma 24-70mm f2.8 at an aperture of f/11, a shutter speed of 1/8th of a second and ISO 800. Notice the receding waters in the image that this created.
Wait till the waves are receding. A receding wave will create elongated movement along the beach.
Happy Shooting this Summer!
Leave a comment with some of your own tips below.
