The beauty of the night sky has fueled the popularity of astrophotography in recent years. For centuries, man has studied the stars and other celestial bodies with great interest, and in ancient times an eclipse of the moon inspired both awe and fear. Today, astrophotographers are able to document these amazing events with the many technological advances in the field of photography.
Capturing The Eclipse – There are two good ways of capturing images of the lunar eclipse: the wide-angle and the multiple exposure technique. Before starting either or both of these methods, be sure you have a fully charged battery and an empty memory card.
When using the wide-angle method, which is the simpler option, you will set your camera for long exposures of a minimum of five seconds. For lengthy exposures, a sturdy tripod is an absolute necessity, as is a cable release to prevent vibrations when the shutter is tripped. You can use your camera’s timer, but the ideal option is to have the ability to trip the shutter on demand. Set your camera to ISO 400 to start, use your camera’s widest aperture (f/8 or f/11), and set your shutter speed to Bulb. Be sure AutoFocus is turned off and focus is manually on infinity. Take some test exposures, adjusting your shutter speed in 5-second intervals. If you go below 40 seconds you will see streaks in your images due to the rotation of the earth. It’s important to remember the moon’s brightness and color will vary as the eclipse progresses, and you will need to adjust the exposure accordingly throughout the progression based on the ISO and f/stop you have chosen. When composing your image, place the moon in the corner of your viewfinder so it will move across the camera’s field of view as it progresses through the eclipse.
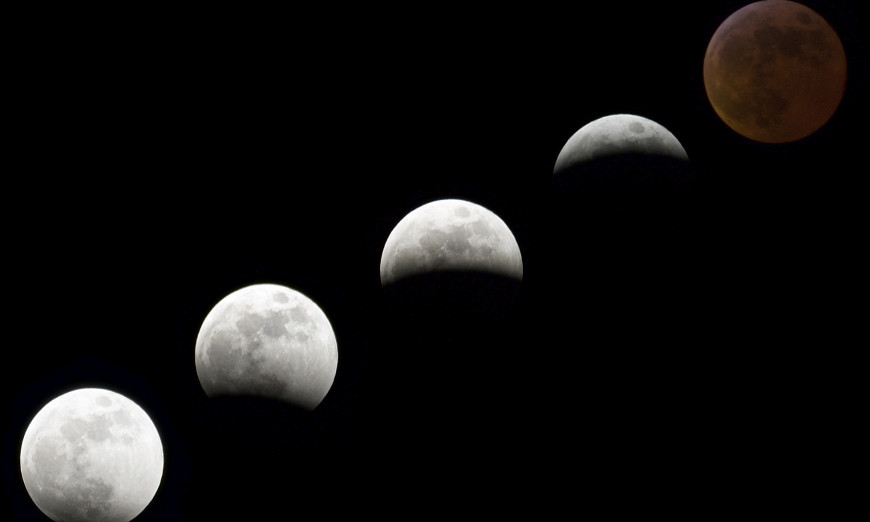
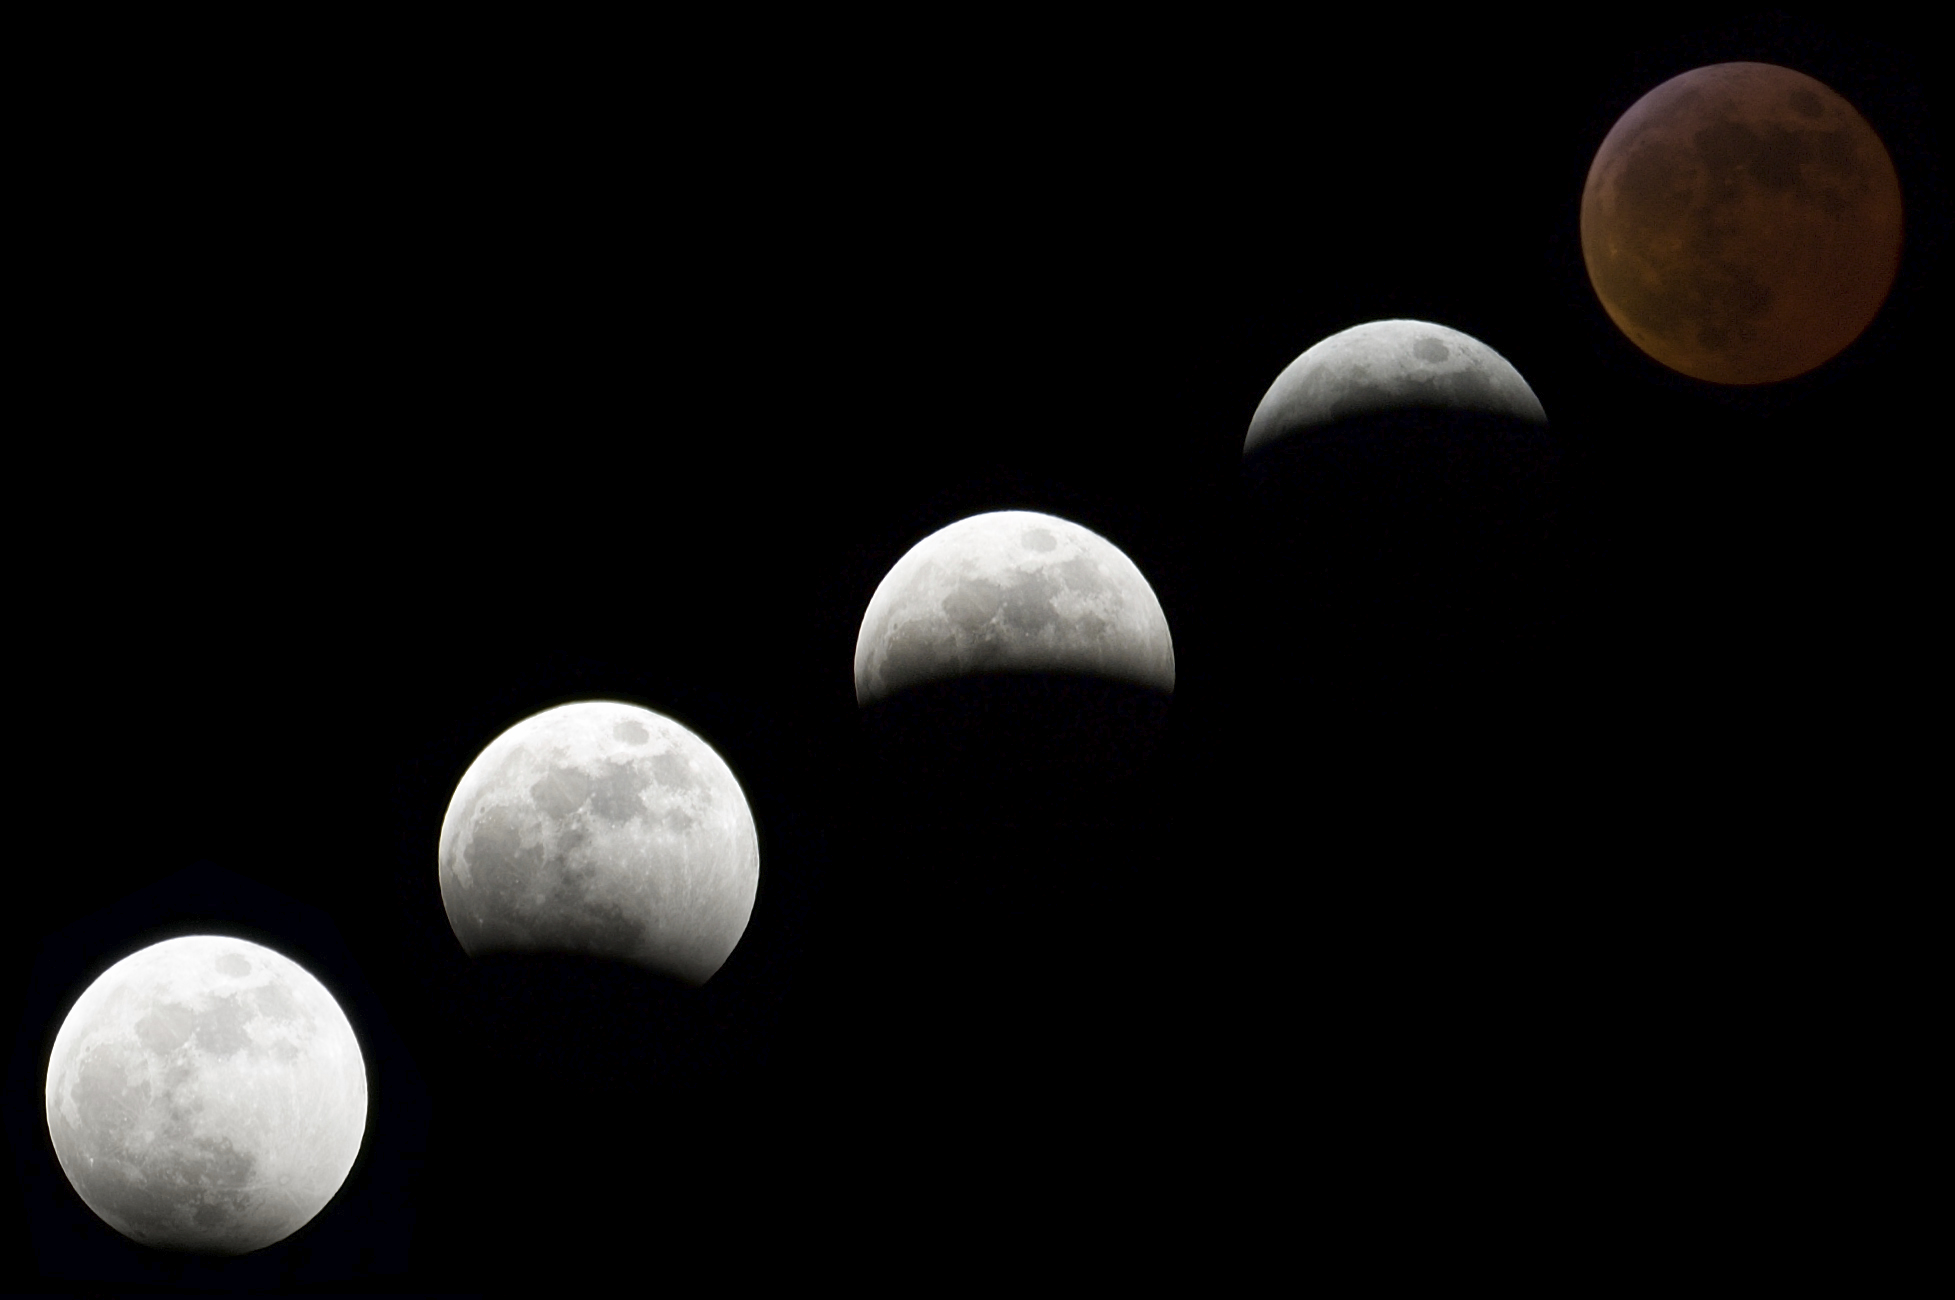
The multiple exposure technique allows you to capture a sequence of single images that display the lunar eclipse as it progresses through its various stages. Set your first exposure to take place as the eclipse begins and then shoot additional exposures at consistent intervals of five or ten minutes apart. Choose one time period and stick with it until the eclipse is over. Your last image will show the moon evenly spaced through the eclipse progression. By using this multiple exposure method, you will have a group of image files stored in your camera. These files can then be combined or stacked to display a series of smaller moon images showing different steps of the eclipse progression. You will need post-production software, such as Adobe Photoshop or PaintShop Pro, to do your editing. Should you want or need to compare any of the images, you can Compare 2 images online for free by following the link. This allows you to see any differences in the images.
Capturing Large Images – Dramatic large images of the moon during a lunar eclipse can be achieved by using a long telephoto lens or a telescope. With your DSLR, you have the capability of combining a super telephoto lens with a teleconverter to increase focal length. Henry’s can advise you on the many telescopes that you can connect a camera to with an adapter. For the serious photographer, a telescope with an equatorial mount and clock that counteracts the rotation of the earth will allow you to auto-track the moon and other heavenly bodies for extended exposure astrophotography.


