Portrait lighting is so much more than getting the light ‘correct’. It’s about creating a particular look through the lighting modifiers used. Some modifiers are designed to produce a very soft, shadow-filling type of look. Others produce a much harder light that accentuates texture and create a sense of drama.
But then, there’s the beauty dish. This is one of my absolute favourite modifiers. As you would likely have guessed, the beauty dish has practical use for close up beauty work due it’s very unique kind of look. But it’s application reaches far beyond one simple genre of people photography.
That Beauty Dish Look
The design of the beauty dish is interesting to say the least. The look of the beauty dish can best be described as something between a softbox and a hard, off camera flash. It is soft when used in relatively close distances (a few feet or so). Yet it provides a very contrasty look with a subtle wrapping effect.
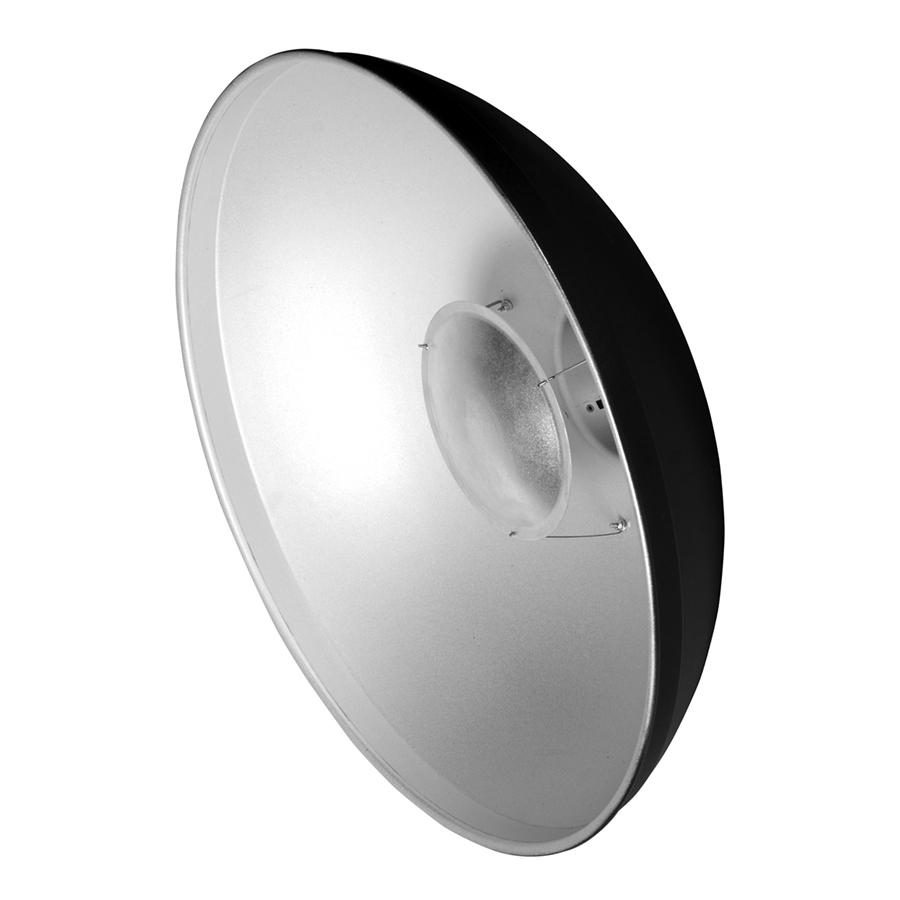
The catchlight produced by the dish is round which tends to be more flattering for close up work as the shape of the catch light blends well with the shape of the eye. It’s shape reminds you of a large salad bowl. How it works is even more interesting. The strobe unit is placed at the rear of the dish with it’s flash tube entering through the back. The flash tube fires into a secondary reflector floating just in front of it via springs or a thin rail mount. The light from the flash tube is reflected straight back into the bowl.
The result is a focused beam of light that produces an obvious hotspot across the bridge of the nose, forehead and chin. This creates an immediate presence of contrast as the light diminishes slightly in intensity to create proper illumination across the face. The shadows produced by the beauty dish will harden or soften depending on the size of the dish and closeness to subject. The entire look can be softened with an optional diffusion sock which can be placed over the entire dish.
Silver beauty dish without any underlighting
The Options
Beauty dishes come in various sizes, and with a couple of internal coating options. The higher contrast silver or the more subdued and softer white versions are the standard choices. Depending on the application, each choice has it’s advantages.
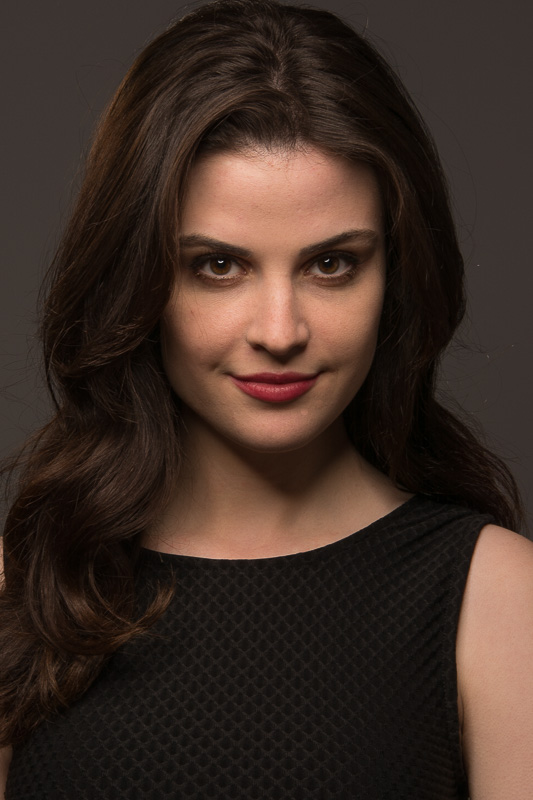
To start, the beauty dish is traditionally placed above the camera and is focused centrally on the subjects face. You will want to experiment with subtle changes in distance to get the perfect ‘focus’ of the light on the face. Positioning the light on the same axis as the camera will cause the shadows from the light to be cast immediately downward, but there is no rule that says it must be done this way. It’s certainly a very good place to start for the traditional look that the dish produces.
If the desire to lighten or eliminate the shadows under the chin and nose is there, you could use a reflector or a fill light of some kind such as a small softbox. The advantage of using a controlled light source like a softbox is that you can pull the light well out of the frame and adjust the power to achieve the desired fill. With a reflector you are confined to whatever fill that reflector can produce. Be aware that a reflector or other light source will likely cast a second catchlight in the eyes.
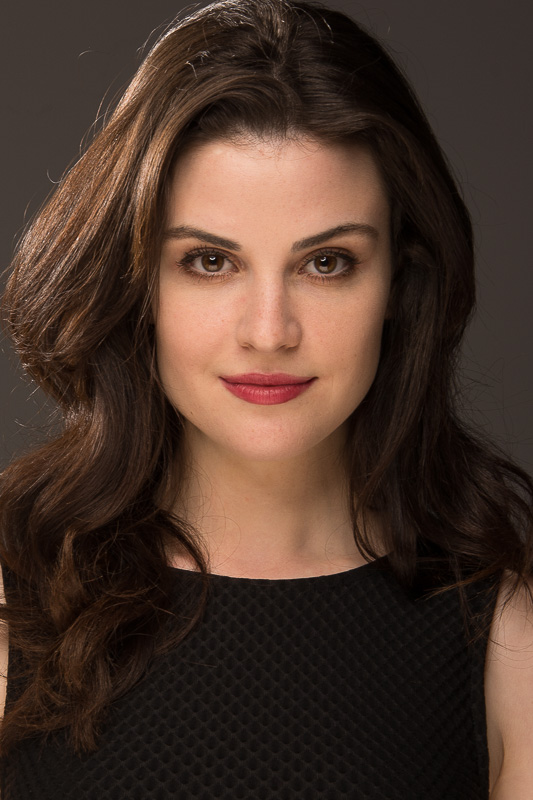
Silver beauty dish with small softbox underneath plus hair light
Non Traditional Applications
Applications for the beauty dish go well beyond beauty work. One example is an athletic look where a contrasty light source lends to the mood and energy typical of an athletic portrait. This would work equally well for men and women. Add some rim lighting along the sides of the body and face, and you’ve got some serious contrast.
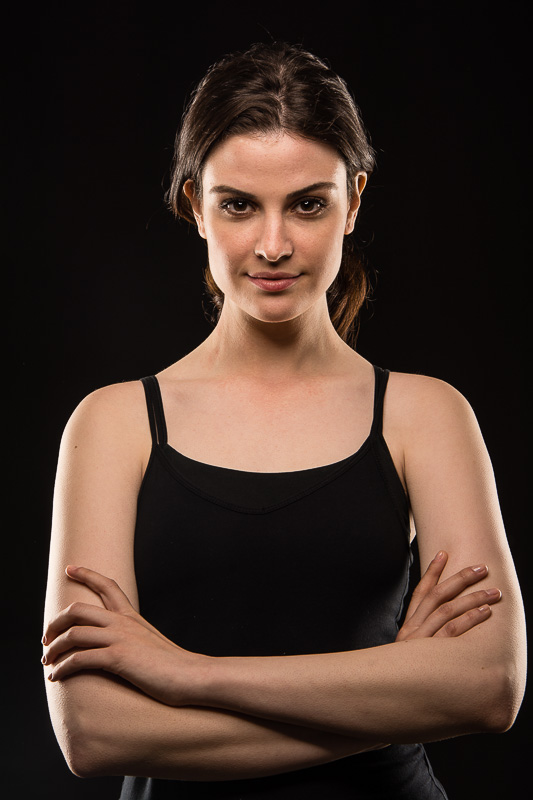
The athletic look with added rim lighting
You should be aware however that subjects with problematic skin are probably not ideal candidates for being lit with a beauty dish as the contrasty nature of the light can tend to amplify issues with the skin. To keep any kind of texture amplification to a minimum, go with the traditional beauty dish setup of keeping the dish above the camera and pointed straight into your subject’s face. You will always have the option to retouch away these problems if that fits into your workflow.