Have you found yourself hunting down new and different recipes to cook lately? Have you been taking photos of your creations and sharing them on social media? Have you thought about shooting video of your meal prep, or perhaps even starting your own food blog or vlog?
People have been taking photos of food for decades. While that used to mean more “commercial” food photography (think of advertising, menus and cookbooks), social media and smartphones have meant more and more everyday people sharing fancy desserts, big juicy burgers or artfully created salads online. And the pandemic has a lot of folks taking that to the next level, with dedicated social accounts, channels or blogs just for food.
So how about it, chef? Ready to take your food photography up a notch? Read on for our tips on how to get there.
Food Videos: Setup & Presentation
If you’re shooting food video, that typically means you’re shooting food preparation. And that can get tricky, especially if you’re doing both the cooking and the food photography! Taking great food videos requires patience and planning (not to mention caution, if you’re shooting near a hot stove or boiling water!).
Camera placement
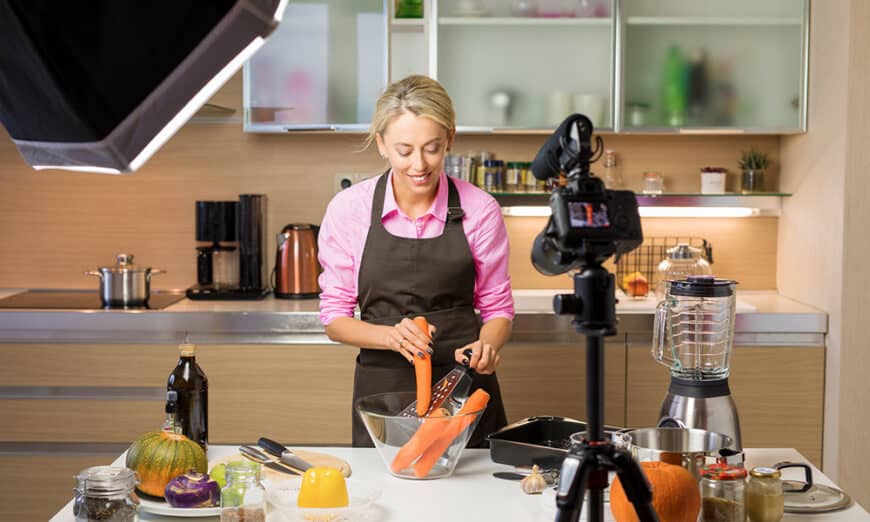
First, consider where you want your camera, and what you want to shoot. You might want a wider angle, showing you in your kitchen, as an introduction, for example; but for actual food prep, you’ll want your camera zoomed into the food prep area. You may also want a third angle, for close-ups. Consider the following placement:
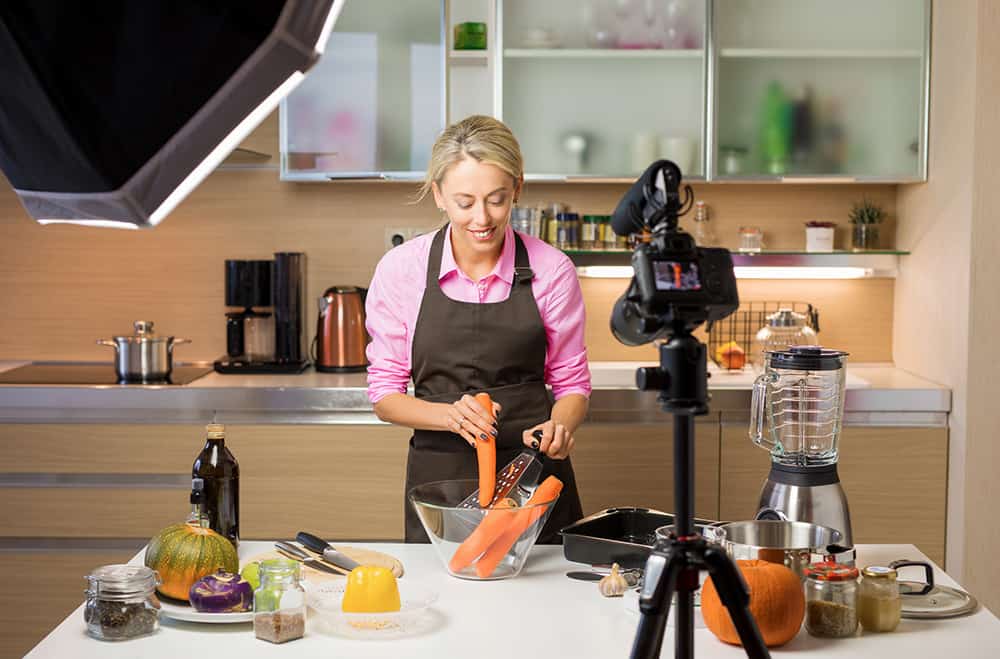
- Camera 1: Wide angle, on tripod, with shotgun mic, capturing entire kitchen
- Camera 2: Birds-eye angle, above food prep area, showing addition of ingredients, stirring, frying, etc.
- Camera 3: 45-degree angle, offset from birds-eye angle, to give you a different angle for editing in pouring or addition of ingredients.
That doesn’t mean you need three cameras, of course — it just means you capture all of your shots from one angle, re-set to the next angle and capture your shots, and then re-set to the third.
Motion
All of the above set-ups have the camera shooting from fixed angles on tripods. But some motion can really add some spice to your videos! Either by hand, or using a dolly or track, you can move your camera slowly and smoothly around ingredients, different stages of your recipe or prep, or the final product.
Audio
You’ll want to make sure your sound is top-notch on your cooking videos; remember, people often watch video on the go, or they’ll be “watching” while doing their own food prep, so the sound is often even more important than the video quality.
Another thing to consider is background noise or music. You can fill shots with kitchen sounds (whisking, sizzling, crackling) or with background music.
Editing and Transitions
As you can tell from the above, you’re going to be shooting in stages, from multiple angles, which means you’ll need to edit everything together after the fact in your favourite video editing software. And it also means you’ll want a way to transition from one scene or angle to the next, beyond just a hard cut.
Motion can be a big help for transitions as well. One popular way of using transitions is to block the camera at the end of one scene, for example by lifting a plate to block the camera, then cutting; then reversing it (moving a plate away from the camera) to start the next scene. You can also use a quick pan to capture the same effect, or a tracking shot that takes you behind an object that blocks the camera.
Food Still Photography: Setup & Presentation
Once you’ve captured your prep on video, it’s time to capture the end result! Like a perfectly set table at a dinner party, how you present your food in photos presentation can help set the tone for the meal itself. Here are a few things to keep in mind:
Lighting
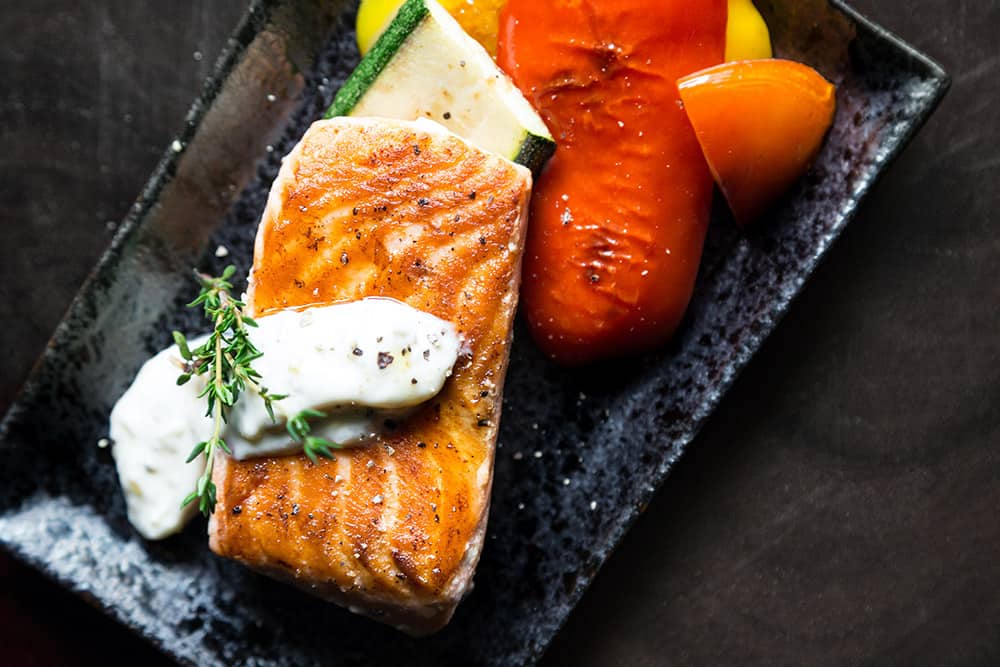
Lighting is critical with all types of photography, and food is no exception. Following basic guidelines (diffused natural light, avoid direct sunlight or fluorescent bulbs) is a good start. You’ll also want to avoid using a flash in most cases, as this can cause glare that makes your food look shiny or unnatural (or even greasy).
Angle
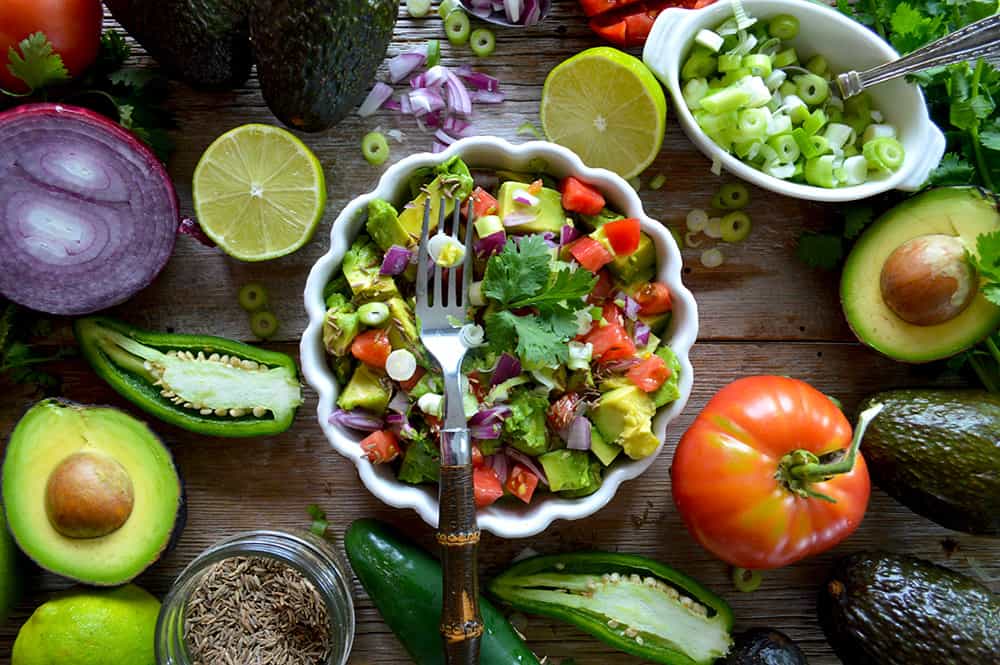
Food is typically three-dimensional, so finding the right angle is key. Even something typically thought of as flat, like a pancake, seems even more appetizing when shot as a stack, in profile; a or sandwich hamburger also works best in profile, so you can see what’s in between the slices of bread, while a soup or salad may look better from above, so that you can see the mix of ingredients. As for dessert: Shoot a slice of cake from a 45 degree angle so that you can see the inside as well as any decoration on top.
Accessories/ Scene Setting
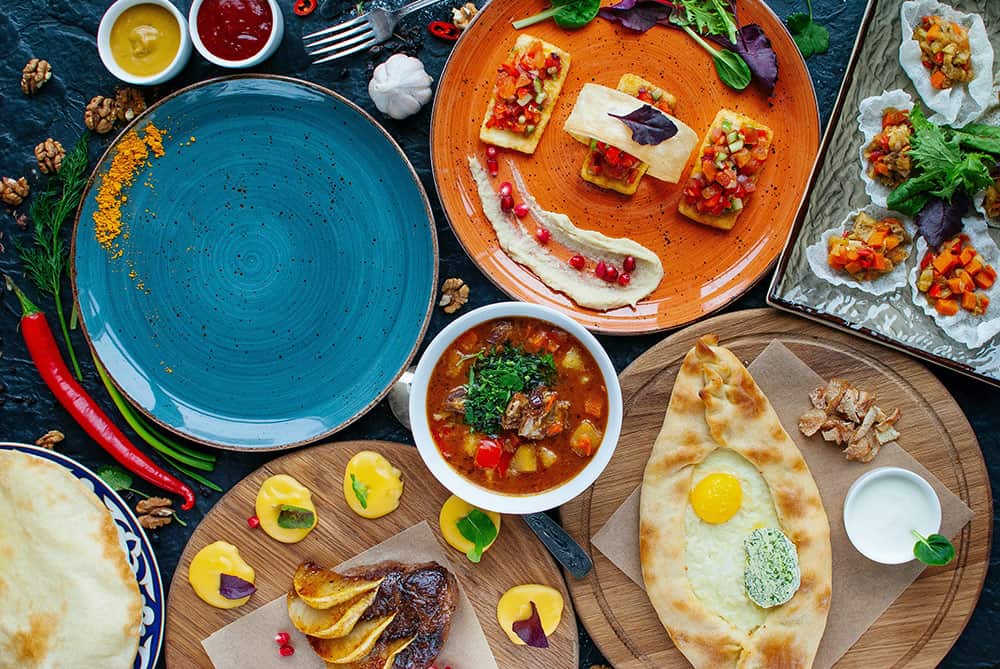
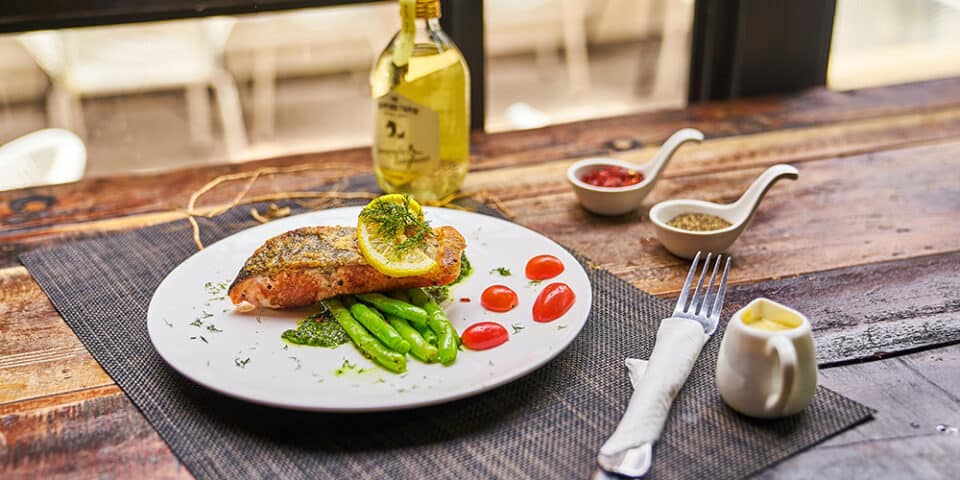
When you’re shooting food, you don’t necessarily want only food in the frame. While your latest creation should be the centerpiece, remember that presentation can make or break a food photo. What else can you capture that makes your entree or dessert stand out?
It might be a gleaming stainless steel knife next to a cake, a pristine white napkin under a plate with a filet mignon on it, or a glistening glass of iced tea next to a perfectly stacked club sandwich. It might mean a shallow depth of field, with your kitchen or well-used prep area behind the subject, or the ingredients you used alongside your plate.
No matter what you use to style your dish, remember to use the rule of thirds to ensure that your main subject falls on an intersection to draw the eye.
Consistency
While the actual food or dish of choice will change from photo to photo, you’ll want to capture the same feeling from one photo to the next, to give your channel a consistent and easily identifiable tone. This might mean a minimalist look (lots of white space), the same background or surface (like a piece of slate) or a cottage vibe, with wood surfaces and checkered napkins.
The Right Gear for Great Food Photos
If you’re just getting into food photography, and your main focus for now is sharing photos and videos on Instagram and TikTok, your smartphone makes a great starting point. But if you’re serious about generating a following on your YouTube channel or vlog, you may want to consider investing in some of the following equipment:
Camera
Since you’ll be moving your camera around a lot, a rugged, lightweight model that shoots in 4K and has fast autofocus while shooting video should be your starting points. A budget-friendly mirrorless option to get started with is the Canon’s EOS M50 which shoots 4K video and has a flip-out, rotating screen, making it ideal for vlogging.
Lens
Starting out with a kit lens (typically an 18-55mm lens) is just fine, but over time you may want to invest in a wide-angle lens, such the Canon EF-M 22MM F2.0.
Accessories
To ensure your videos stay top-quality, you’ll need a few accessories. Exactly which ones you need, and when, will depend on your kitchen, your lighting and the type of photos or videos you want to capture! But keep the following ideas in mind:
- Tripod, for keeping your camera steady while you work
- Dolly or track, for capturing motion shots and transitions
- Shotgun mic, to capture quality audio
- Lights, to ensure even lighting throughout your shots
- Reflector, to help disburse the lighting effectively
Get Cooking
It might seem like everyone is starting a food channel right now, but not everyone is taking the time to do it right. With effective preparation and planning, and the right gear, you’ll quickly build an audience that’s licking their lips at the thought of your next video or recipe!
What’s Next
- Learn about Henry’s Price Promise
- Find a Henry’s near you
- Protect your purchase with Henry’s Extended Life Plan
