Taking portraits of people is a favorite activity for many photographers. It doesn’t matter if we’re absolute beginners or have been in photography since before the modern 35mm SLR was introduced. It also doesn’t matter if we’re doing it for fun, for money, or a mix of both, portraiture is an enjoyable part of photography.
Environmental portraiture is an interesting sub-genre of this type of photography. What is environmental portraiture? What are good techniques for creating environmental portraits? What type of photographic gear do we need for environmental portraiture?
What Is Environmental Portraiture?
First off, let’s decide on a workable loose definition for what a portrait is. A portrait is an image of a person, often of their head and shoulders, with the intent of creating a representation of the likeness of the person. A portrait is most often a crafted image, as opposed to simply capturing a snapshot.
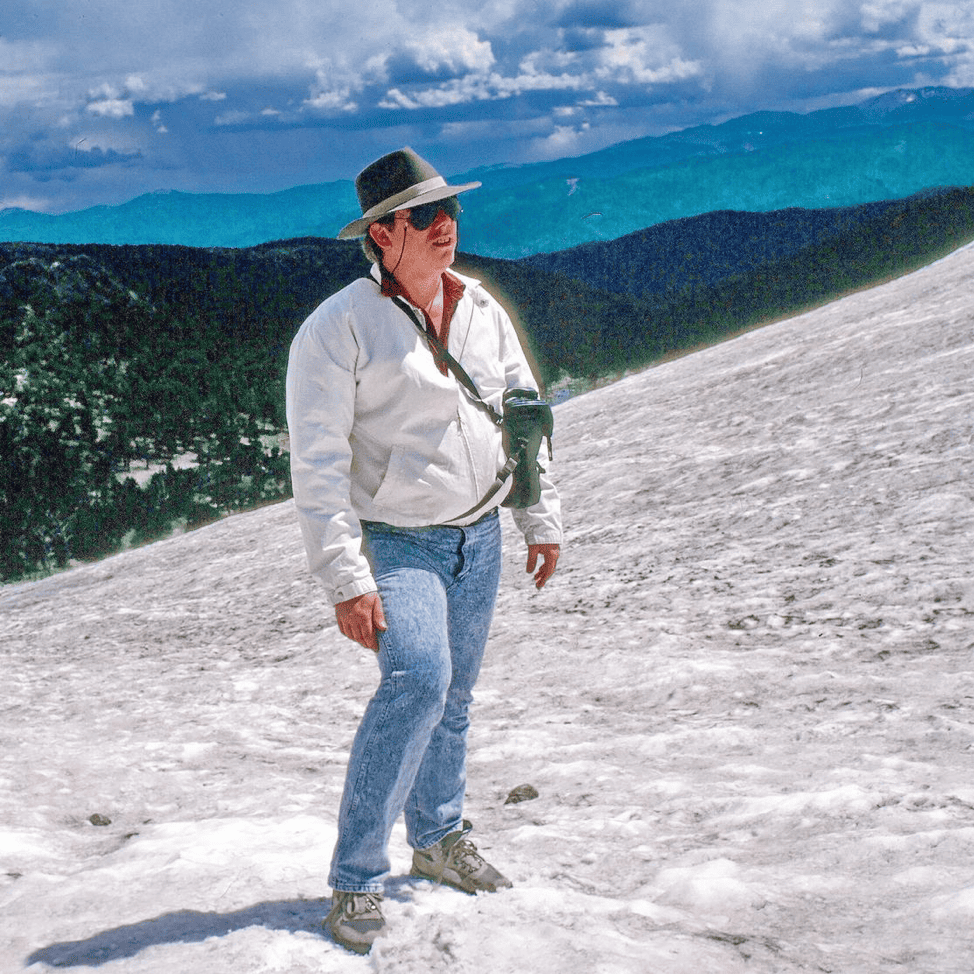
An environmental portrait is slightly different in that it attempts to show something about the person beyond how they look. It is often a ¾ length or full-length pose of the person in a setting that tells us something about the person, such as their career, what their favorite hobby is, or how much they enjoy something. The portrait can be them engaged in an action or simply in the midst of other picture elements that relate to their hobby, personality, or job.
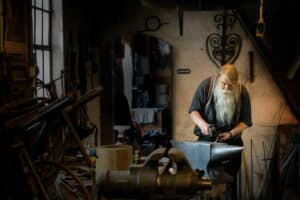
For example, think of what first comes to mind about someone. If a person loves dogs, an environmental portrait could be made of them surrounded by their pets. A fan of baseball might be pictured posing with collected sports memorabilia. An artist or craftsman might be photographed while engaged in crafting their work.
Good Techniques for Environmental Portraits
The first skill or technique to consider with environmental portraits is the art of conversation. In order for our portrait of them to say something to others about the person, we need to know what it should be saying. The best way to get that information is to ask.
When preparing for shooting regular portraits, talk to the subject about their hobbies, causes, job, family, and so on. Another question to ask is simply to be straightforward and inquire what they would enjoy in an environmental portrait of themselves.
Of course, you may already be familiar with the portrait subject as family or friends so you can throw out an idea or two yourself. If this is a paid portrait sitting, you should inquire about the possibilities before the actual session.
Plan Ahead
An environmental portrait will likely take some pre-planning. For instance, if the goal is to show a professional in whatever field they work, you might want to make sure that the area is cleaned up a bit. Such as a teacher straightening up their desk or a chef putting dirty plates out of view. While we want to have relatable elements in view, we’re not attempting photojournalism, rather a style of portraiture.
Posing and composition is a wide-open field of thought with environmental portraits. Ask yourself and the subject if you want the person to fill up the frame, with a few personal elements involved or if you want them to be a smaller part of a larger scene.
Again, we can give some examples to illustrate this point. Perhaps the person has a metalworking art hobby. In the environmental portrait, we can have them posed with a partially finished creation to show they make it, or we can pull back and show their work area, tools, and some supplies with them in the scene.
Posing the subject to either look at the camera or elsewhere can change the message being conveyed. The subject looking at the camera may say something like “This is me, I’m a painter,” or if we have that same painter focused on their artwork, it may be telling others, “This the artwork I’m creating.” It’s sometimes a subtle difference, perhaps try both (or more) ideas during the portrait session.
On Location
While we can make a good environmental portrait of someone inside our own home studio, the real story of the person is often going to be on location, whether it’s their home, place of work, or someplace else like a park or public street.
So that means we will have to travel to where they are or where the right place for their portrait is. That baseball fan mentioned earlier may have a game room with a lot of their favorite sports memorabilia. The metalworker perhaps has a forge or at least a workbench in their garage, patio, or shed.
Portrait Lighting Techniques
Making environmental portraits usually means we’re in the field and not in our own studio, so at times there may not be much we can do about the ambient lighting. That’s where our portable lights and reflectors are extremely important.
Lighting conditions in the wild are rarely optimized for portraits, but it can be a simple job to add light ourselves to control the final results. Outdoors in daylight, simply carrying a collapsible reflector may dramatically change how our subject is lit.
Turning a person away from the direct sunlight but reflecting some of it back in order to eliminate deep shadows on the face and add a sparkle to their eyes is simple to control. Adding battery-powered LED lights will work in this situation or indoors under dimmer ambient light.
A two-light setup will allow configurations such as broad lighting, short lighting, and the Rembrandt effect. You can make the light a point source for a hard lighting effect or you can soften the light with modifiers such as photo umbrellas or a softbox.
See some of our other articles covering portrait lighting techniques and substitute portable lights for your studio strobes or photofloods. Having the option of battery power will come in handy when there aren’t any power outlets where you’re shooting or they’re far away.
Battery Powered LED Panel Lights
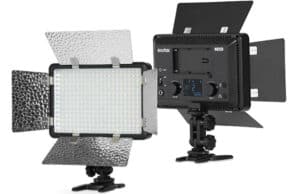
This specific item is a personal preference since you can use on-camera flash, studio strobes, photofloods, softboxes, or all-natural or ambient light. The panel LED light style is very portable and tends to have variable power and color temperature controls. I like the battery power option for ease of placement when on location.
Example: Godox LF308BI
If you’re investing in strobe lights, it would be worthwhile getting one that’s very powerful. The GODOX Witstro AD400 Pro TTL flash is a good example of such lighting that will fully illuminate the subject, even if you’re outdoors shooting on a sunny day.
Handheld Light Meter
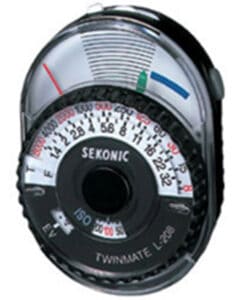
Again, we’re firmly in the world of personal preference here, but I like to use a handheld light meter to start all of the exposure calculations for environmental portraits. The handheld meter lets me see the range of light values within the scene which gives me a sense of how much difference there is between the brightest and darkest areas of the scene.
With that information, I can make the decision whether to use unaltered natural light, camera flash, LED lights, or HDR photography. Or a combination of any of these. I usually meter a middle gray area or meter an 18 percent gray card in the subject position to get the starting point exposure and go on from there.
Example: Sekonic L-208
Useful Environmental Portrait Gear
As has been said before, it’s not the camera but rather the skill, technique, and artistic vision of a photographer that makes a photo, but some types of photographic gear can make certain photographic jobs easier to accomplish.
In order to create environmental portraits, there are some basic equipment choices I lean toward. An interchangeable lens camera with manual focus and exposure adjustment capability, a moderate wide-angle and a short telephoto prime lens, a tripod, battery-powered LED panel lights with variable power and colour, and a handheld light meter.
Camera
The camera choice can be mirrorless or DSLR in Full Frame, APS-C, or MFT format. Actually, both larger and smaller formats can also be used, but these three are popular among manufacturers and beginner to advanced photographers. It’s the manual control options and lens variability that are important to me for environmental portraits.
When shooting portraits on location, manual control of exposure and focus enables us to capture what we intend to capture. I love camera automation, but sometimes it isn’t the best option.
When using external lights or in HDR photography, for example, manual focus and exposure allow repeatability from frame to frame. Autofocus adjustments between frames will mess up the merge process. Balancing ambient light with added artificial light sometimes requires manual control or overriding camera automation.
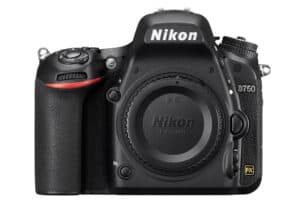
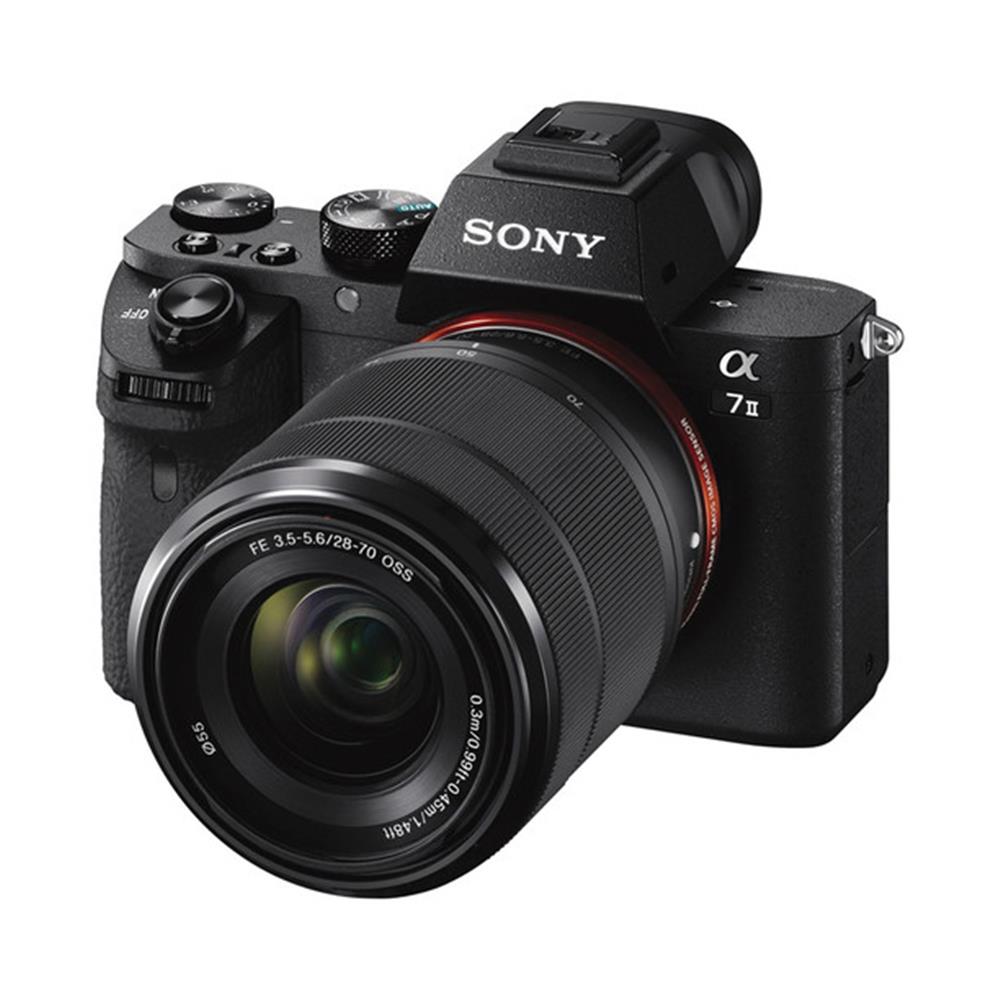
Examples:
DSLR: Nikon D750 body
Mirrorless: Sony Alpha A7 II with 28-70mm FE lens
 Lenses
The kit lenses that come with many entry-level and prosumer level cameras are fine performers optically and have the focal lengths I like, it’s the slow apertures (f-stops) of these lenses that can hold us back for environmental portraits. A moderate wide-angle and a short telephoto are great options, alternatively, the Nifty Fifty or equivalent normal lens for your format will work fine.
Since many locations aren’t designed for photographic exposure concerns, having the option of using a wider f-stop for faster shutter speeds is nice. Additionally, a wider aperture gives us an opportunity for selective focus, though it is sometimes very useful to have more depth of field for environmental portraits.
Examples:
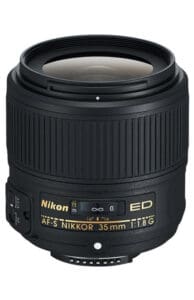
DSLR: Nikon AF-S 35mm f1.8G, Nikon AF-S 85mm f1.8G
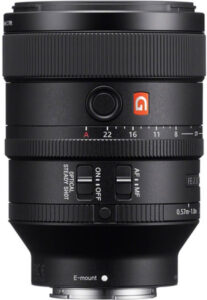
Mirrorless: Sony FE 100mm f/2.8 G Master, Sony FE 35mm f/1.4 Distagon
Tripod
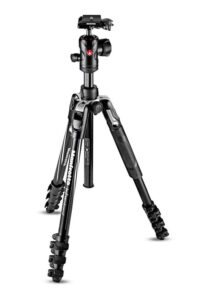
A tripod or an alternative camera mount is necessary for long exposure or HDR photography. A tripod also allows for maintaining the same composition as we have the subject adjust posing. Another factor for using a tripod with a remote release in environmental portraiture is that it lets us step away from the camera to engage the subject’s attention away from the lens for that style of portrait.
Example: Manfrotto Befree
Digital Environmental Portraits
Environmental portraits were made on film, B&W, and color, for decades before digital photography became mainstream, but I really enjoy digital photography for the increased options available.
For one, I can review the images during the portrait session, getting feedback from the portrait subject. This is important in order to ensure we get the environmental portrait to accurately portray what the intent of the portrait is.
Secondly, digital photography gives me so many options for post-processing which include HDR, cropping, exposure or color adjustments, and spot corrections as needed. You can’t fix a bad image with digital processing, but you certainly can enhance a good one.
Try out environmental portrait photography with your current gear and the photo techniques you’re already comfortable using. You will find it enjoyable to show what a person looks like, as well as show who they really are!
Want to learn more about light meters? Check out How-To: Starting Out with Light Meters




 Lenses