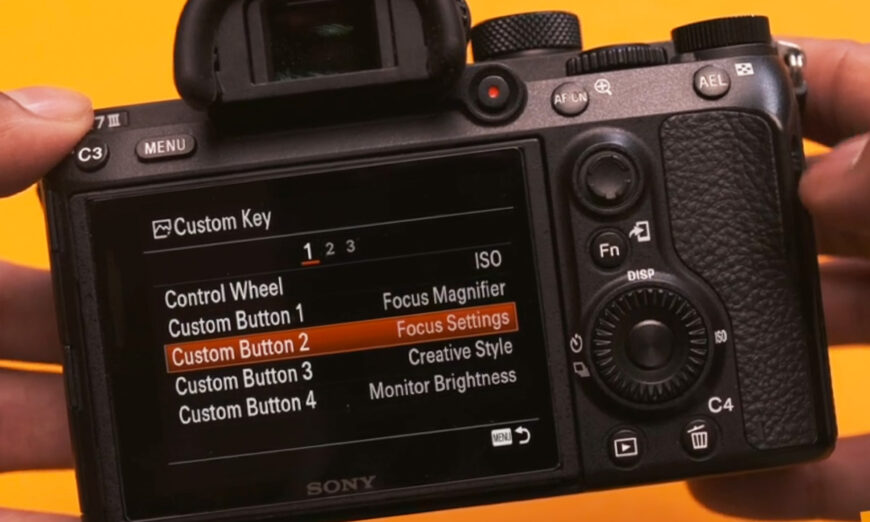
We don’t often think about a camera’s on-board menu structure until after we’ve made our decision — or until we start shooting! But how a menu is laid out, how intuitive the screens are to navigate and how easy the settings are to understand can make a huge difference in how we go about shooting.
Using Custom Buttons & Keys
As part of your camera’s menu system, you should have access to settings for customizable buttons and keys.
These programmable keys allow you to set your most frequently accessed functions into a single, easy-to-access click of a button.
For example, if you move from indoors to outdoors and back a lot, and frequently need to adjust your ISO accordingly, you can set this to be Custom Button 1 and jump to it quickly and easily.
Your custom key is particularly useful if there is a feature or setting you like to adjust or view that is typically found several sub-menus deep. With a custom shortcut, you can avoid all those clicks and access it instantly. (Initially it might feel like a lot to remember, but with time it will come naturally.)
Let’s take a look at how you can use custom shortcuts to improve your workflow! In this video, Gajan shows us how he has his Sony Alpha a7 III mapped out for the type of work that he captures.
Gear featured in the Video


