In preparation for Canada Day and more fun-filled events this summer, we asked pro photographer Kevin Pepper for his take on the best camera settings for the following situations:
- Capturing fireworks
- Photographing stationary objects while blurring moving objects, such as people walking by
Here’s what Kevin had to say!
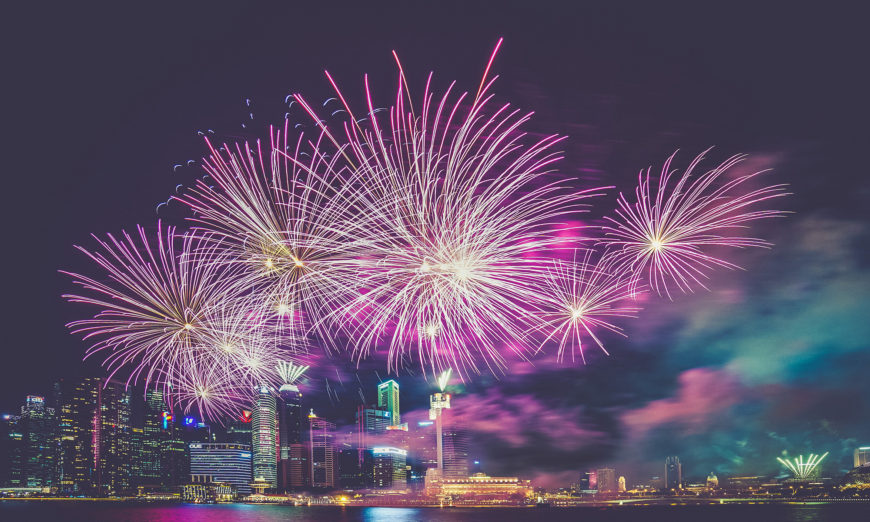
Capturing Fireworks with a DSLR or Mirrorless Camera
Try to arrive early enough to scout out a good location to take pictures from. You want to be sure you’ll have a clear, unobstructed view of open sky where you expect them to explode, or angles in such a way that you have an interesting foreground element to show where you are.
The closer you are to the fireworks, the more you’ll have to aim the camera upward to capture them, and the wider a lens you’ll generally need to get them into the frame without cutting part of the fireworks out of the picture.
Set the focus on the lens to “infinity” or manually focus on a foreground element and leave the camera in manual focus so it is not trying to focus on something in the dark each time you hit the shutter button.
Set the camera to “M” for Manual and manually select a shutter speed, aperture and ISO. Or, set the camera to its “Bulb” setting.
Long exposures at slow shutter speeds are the norm for photographing fireworks. Most shooters experiment with long shutter speeds anywhere from one full second to 30 seconds or longer for fireworks. These relatively long exposures will allow the burst from the fireworks to produce moving streaks, which can be stunning against a dark sky. There’s no “right” shutter speed here, so many users will try different speeds to get a feel for the sorts of fireworks pictures that result. You will need a tripod (or a solid surface in a pinch) to set the camera on due to those long 1-30 second exposures. Start the exposure before the fireworks have reached their peak and exploded. It will take some trial and error to get the timing down, but usually you can see a small amount of light from the firework racing up toward the sky. That would be the ideal time to start your exposure.
I set my aperture to f8 to a maximum of f11 and I set my ISO to 400 maximum… if the exposures are too bright because your shutter speeds are longer, dial back the ISO to 200 or 100 for a less bright exposure.
Blurring Motion while Photographing a Stationary Object
Motion in a photograph displays emotion and gives the image a sense of life that a tack sharp image conveys. The success of placing an element that is stationary amidst moving subjects will require a lot of trial and error.
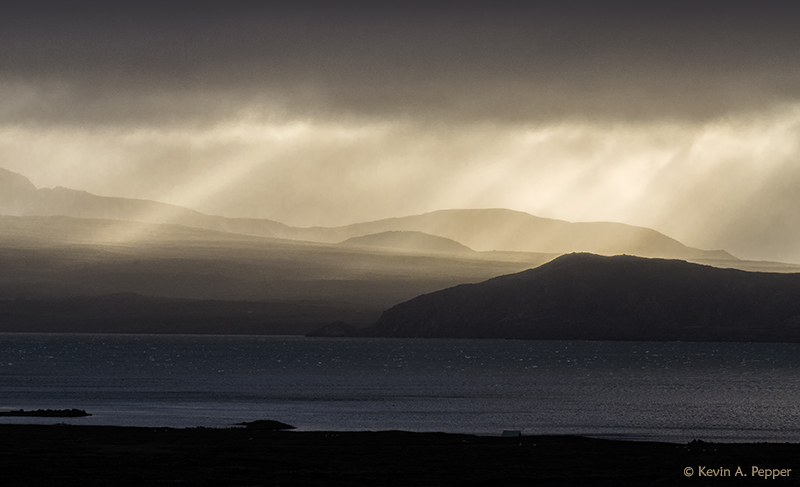
With tripods and long exposures, you can capture motion in the clouds with a long enough exposure. The clouds and water develop a silky look while the foreground rocks and land stay sharp. Photo: Kevin Pepper – Sigma 120-300mm F2.8 DG HSM OS Sport
The technique to achieve this image is remarkably similar to the previous. You first need to find the proper exposure by adjusting your aperture to compensate for the longer exposures during daylight hours. I generally shoot at an aperture of f22 and sometimes throw on a polarizer or ND filter. Without those, you may need to shoot around sunrise or sunset to achieve longer exposures.
Creating motion will require exposure times around 1/8th to a 1/15th of a second. This would accomplish a blur of a recognizable person, longer exposures will totally blur the moving subject.
For ISO, keep it low… 100 preferably…
It will be important to use a tripod as well… keep the camera stationary and if possible use a remote shutter release, or a cable release to eliminate any camera shake and keep those stationary subjects tack sharp.
To maximize the impact of your image, give the moving subjects room to move in your image. For example, if they are moving left to right, place the moving subjects on the left side of the image and give them a perceived space to move into, inside the frame of your finished photo.
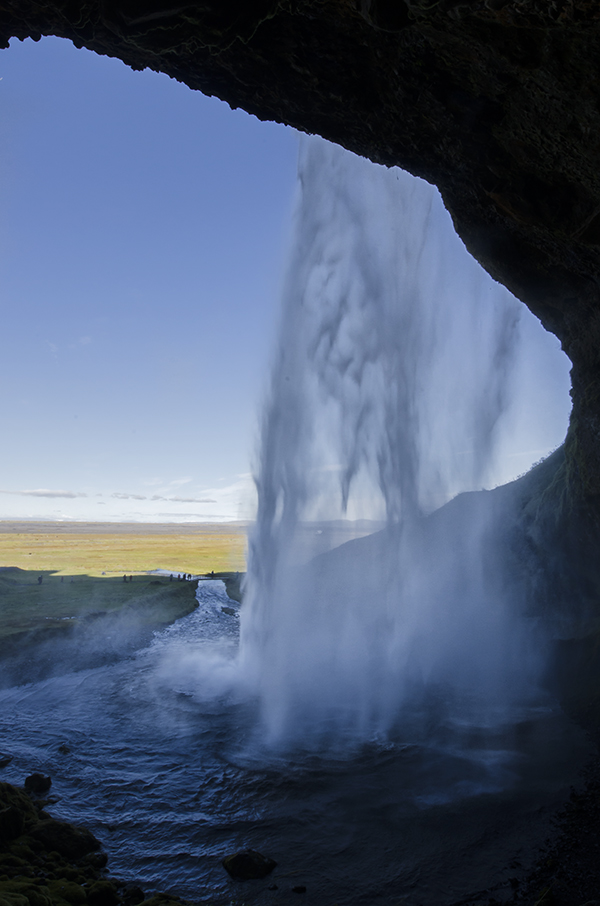
Heifoss Waterfall in Iceland. Using a tripod with a long exposure, the details in the surrounding landscape is sharp, while the water is in motion. A similar technique will result in blurred people in your photos, while keeping stationary object sharp. Photo: Kevin Pepper – Sigma 12-24mm F4.0
This is a trial and error photo… take lots of images, do not get discouraged and once you find the sweet spot for exposure of the setting you are in… you will take lots of keepers.
Kevin Pepper
Photographer and Workshop Instructor
