I’ve noted in the past that the fastest-growing type of creative work is video. And some of you fine folks have correctly pointed out that volume and quality are not directly linked together. No wonder why some of the videos created have not had as many views as I would have hoped. For me, it’s about the quality of my videos. This accurate assessment brings us to the topic of this article, which is how to make a better video, specifically after you have all of your clips made.
What Goes Into Editing Video?
All successful videos have a visual and audio component. I’ve written about a number of tools to help you record better video and audio, and now it’s time to look at the part that pulls it all together. We’re going to assume for the purpose of this article that you have already shot your clips and that you’ve either included audio as part of the video clip, recorded it separately, or will apply a soundtrack separately.
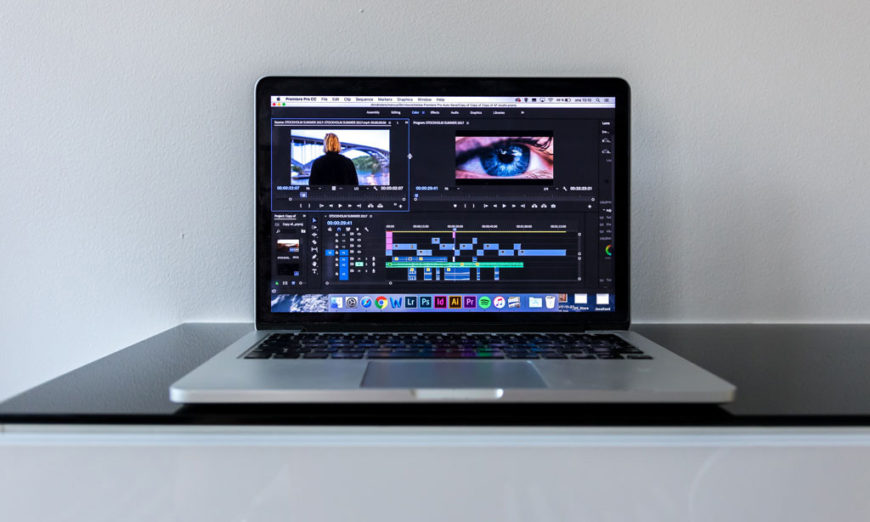
Video editing is a process, like any kind of post-processing and we’re going to look into the major aspects of editing to produce a final video. It will of course require video editing software so make sure you have selected and purchased your software of choice.
Producing a video is often referred to as a project, so we start by creating an empty project in our editor. It will have some basic settings, which are alterable during your work, so the most critical thing at the time of project creation is giving it a name.
Collecting Your Sources
Back when I was learning about video editing, the word of the day was “bin”. A bin was simply a place where you put all like content. You could have separate bins for wide clips, close-ups, audio, music, and effects. Most trainings at the time put so much importance on the idea of bins, that it sadly turned off some folks.
As video editing tools, often called non-linear editors, became more mainstream, the word bin started to fade away. Instead, we started treating our sources as general media. The advent of metadata meant that we did not have to spend as much time pre-organizing. Most editors today simply have a media section.
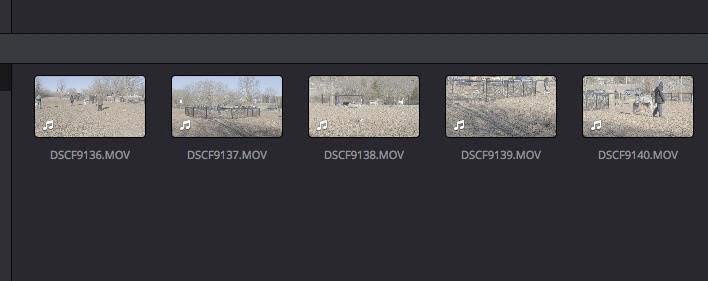
Figure 1: Video Clips with Audio in a Media Bin
Loading your content into the media area is as simple as importing. We no longer differentiate between importing a clip from a camera, audio track, music track, or still. It’s all media and that simplifies things. You can import from your computer, cloud storage, phone, camera, or audio recorder. Most file formats these days are standardized, and we get the data off devices via memory cards or USB transfer. The days of having to have a special interface card and protocol are long gone.
Putting Together the Timeline
A timeline is just a sequence of content. If you think about grandpa’s super 8mm movies, there was a timeline that ran from beginning to end and everything was in one place.
Our timelines today can have multiple tracks, meaning that you can mix and match multiple source elements together on the same timeline. It’s not uncommon to have a primary video track, a secondary video track, as well as audio tracks for recorded sound, and a separate audio track for background music.
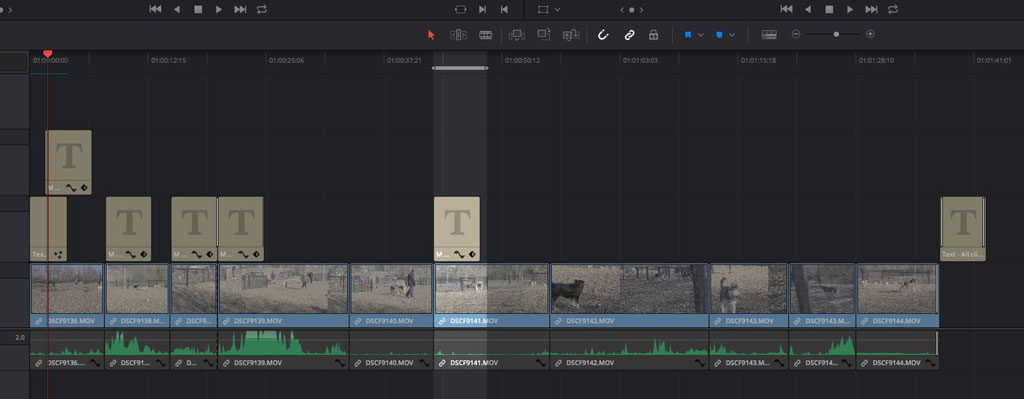
Figure 2: Screenshot of Multi-Track Timelines in Resolve Studio 15
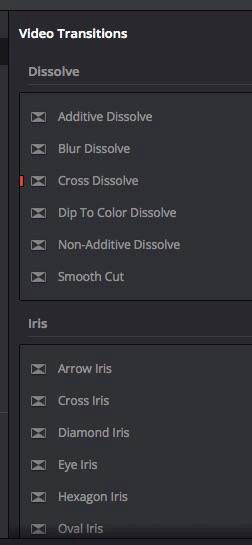
Individual tracks can be edited independently, so you can control how much of a clip is shown, the volume of the background music, your start and stop points and your transitions, such as dissolves, without having to change every element at the same time.
Your primary video track is where you drag and drop your clips in the order that you want to present them. We call this non-linear because you can put your clips in any order that you like, not only in the order that you shot them. While this makes the shooting a lot easier, it also means that you can get your basic timeline put together very quickly. It’s here where you have your primary content, with all the trims and cuts that you want your project to have. Just a tip when putting this together, keep the cuts simple and avoid a lot of fancy effects. All TV shows and films use a jump cut every 8-16 seconds on average and we don’t need a transition for each of these cuts.
Your Audio Tracks
Whether you record your audio in camera or into a separate recorder does not matter. All audio shows up on its own tracks, so you can control the volume and the placement in the audio field independently for each track. Each audio track can also be enhanced by the use of audio filters built into the editor. The most common filters are compressors, noise reduction and dynamic range expansion. You do not have to buy independent plug-ins unless one does a specific job that you need because the ones made available in most editors are stunningly good.
Bad audio wrecks good video every time, so record the best possible quality, but always use the tools in your editor to make the audio tracks sound their best.
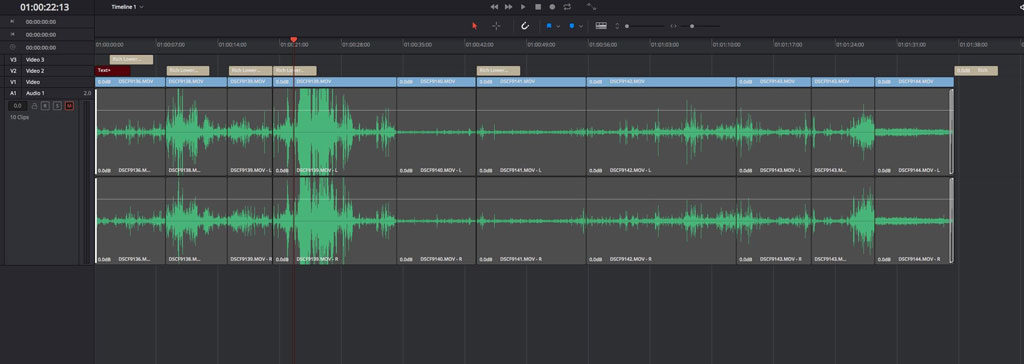
Figure 3: Fairlight Audio Editor in Resolve 15 Beta
Because you can have multiple audio tracks, you can also create key frames where the volume on the background music drops, when the voice track has content. You can see the audio waveform and correct for too loud and too quiet passages quite easily.
Getting the Colour Correct
Sometimes the colour recorded by the camera doesn’t look right or you want to apply a cinematic look to your clips. This is where the colour correction section of your editor comes into play.
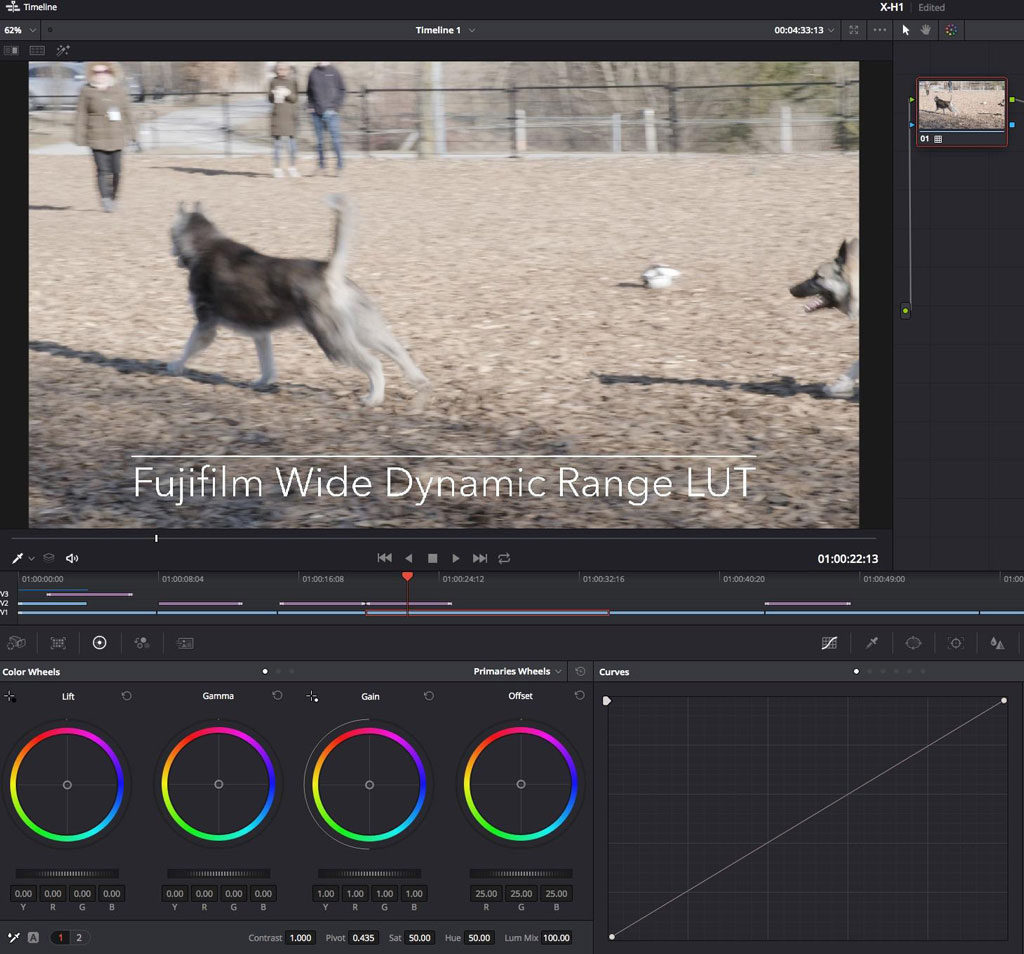
Figure 4: Colour Correction using LUTs in Resolve 15 Beta
You could apply a predefined LUT (Look Up Table) that gives your clips a popular look, like the orange/teal LUT that was so popular in 2017. You can also finitely control the exposure, the white point and the black point in every clip, making them look better than they did coming out of the camera.
Better editors will offer you videoscopes to help with this, including waveforms, RGB parades and vectorscopes. There is learning involved to become skilled with these tools, but as you progress you will be surprised at how much latitude a good colour section will deliver to you. The approach is quite different from editing stills for the screen or for print, but it’s not hard to get started. With practice, good colour correction comes along nice and quickly.

Figure 5: Waveform, Vectorscope and RGB Parade in Resolve 15 Beta
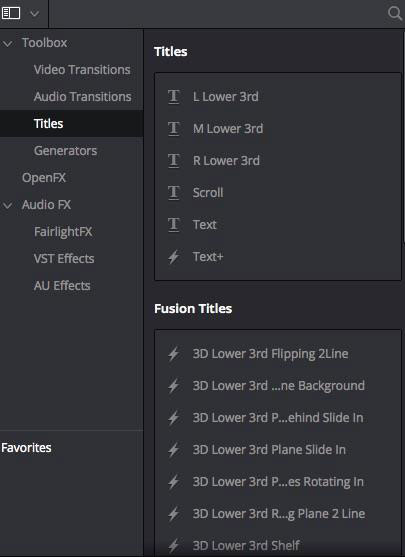
Titles and Other Objects
Special Effects
When you place your clips in your timeline, you create a new video track and put it below your main track. Then you use a tool called a keyer, built into any decent editor. So long as you have good separation between the subject and the green screen and it is lit well, the keyer does a magical extraction of your talent. It makes anything that was green, transparent-allowing your new background to shine through. You see green screens all the time, the most prevalent one being behind the TV weather person.
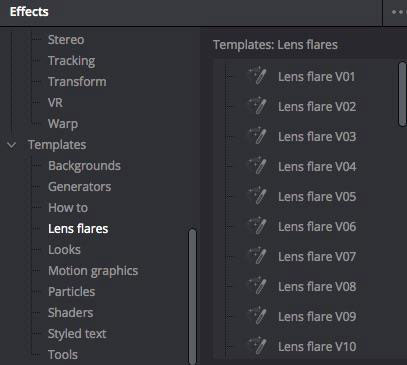
There are lots of other special effects either as generators or as filters. They can create flickering stars and highlights or make blurs and spins, amongst hundreds of options. There are even effects that automatically apply makeup. Some effects are very processor demanding, so the general guide is to use only the effects that you must have, and to go light when using them. Your story should be the most visible part of your video.
Transitions
Exporting Your Video
While you can certainly watch your finished video in your video editor, it’s generally more practical to render and encode your video so it can be watched anywhere. This process of rendering and encoding is often referred to as the compression step, but what is most important is that the video is timed, sized, scaled and its rate is set to accommodate where the video will be played back. A video to go on a DVD or Blu-ray disc is encoded differently from a video for general computer playback, and those made for playback on a service like Vimeo or YouTube also have their own encoding requirements. You could also encode video using a cloud-based service like Qencode for high speeds and all of the latest formats, codecs and resolutions at your disposal.
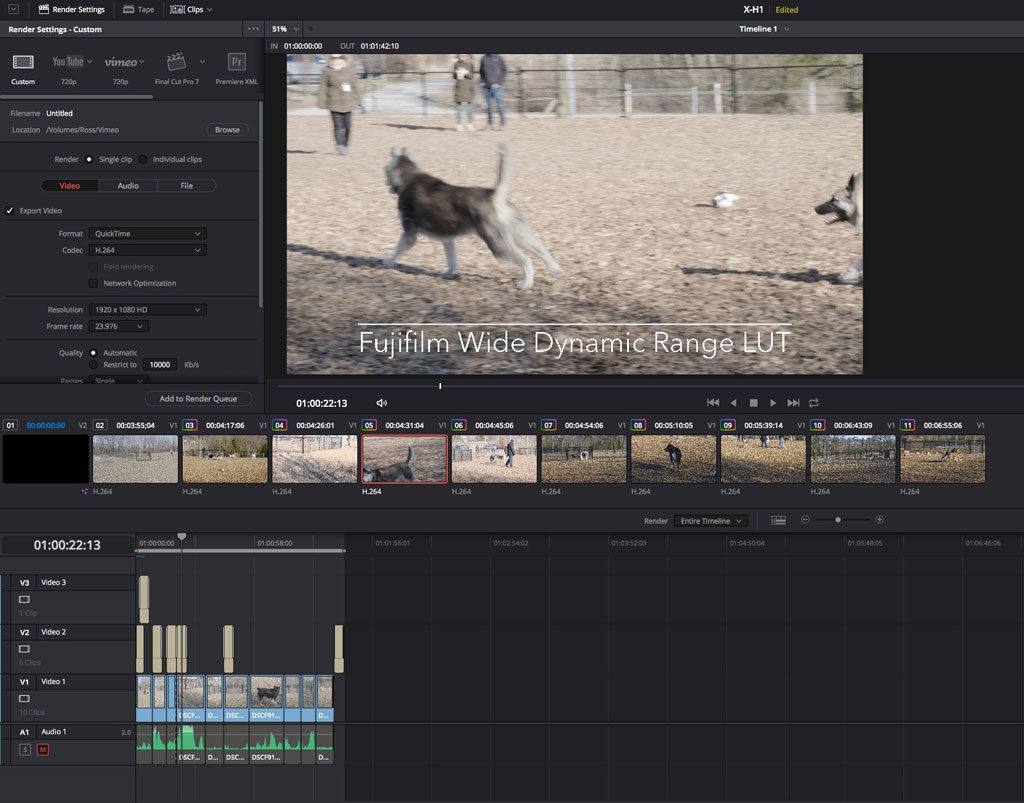
Figure 9: Render and Export Settings in Resolve 15 Beta
The great news is that any editor worth its salt has a number of export presets already made, that render / encode / package your video-for whatever service you select-automatically. This process takes time and the longer the video, the more tracks, and the higher the resolution, the longer it takes. Some export presets even do the upload to the service that you use.
What Do I Use to Edit?
The workflow that I have described is quite generic. You can edit on your computer, on your tablet and even on your phone. In my experience, the larger the screen that you have, and the more computer power that you have, the better the experience. Some videographers that I know shoot in the field and do rough cuts on tablets and phones and then assemble the final product on a more powerful computer.
Many computers come with a video editor included at no cost with the computer. Apple includes iMovie with macOS at no cost and it is amazingly powerful considering the price. There are a number of decent entry level video tools for Windows as well, but as I don’t use the platform, I do not wish to make an uninformed recommendation. As well as this, if you want to develop even further using Adobe software, you could learn premiere pro faster with FMC’s online training courses. You’ll be able to improve your video editing skills with professional help and support.
Blackmagic Design, which makes cinema and broadcast equipment, has consolidated a number of acquisitions into an incredible non-linear editor, called DaVinci Resolve. It also includes state-of-the-art digital audio mastering and what many studios use as their go-to colour solution. With the latest coming release, full motion animation creation has been added to the tool. You can go to blackmagicdesign.com and download a copy of DaVinci Resolve 18 right now. The standalone version is no charge, and the Studio Beta version is only $425 CAD.
Conclusions
Editing is the difference between disposable video and great video. Even simple edits such as adding a title and a closer and cutting out the dead spots and ums and ahs will improve your video.
If you have questions about this or any other subject, please leave a comment below.
Until next time, peace.
