There’s a well-known rule that nothing ruins good video faster than bad audio. When I first start teaching videography, I have the students disable audio entirely. I’ve learned the hard way that poor audio distracts everyone, even the person doing the shooting.
Your DSLR or MILC that can shoot video also has a built in microphone, or microphones. It/they are the pinhole-sized openings somewhere on the camera deck. These microphones known as high impedance. They are very sensitive, but prone to being noisy. They are also very inexpensive to build and to buy as components. When you are buying a camera for stills and video you get audio for free, and it’s almost worth what you paid for it, which is nothing.
In the old days, audio was a separate job, with a soundperson using a separate microphone and recorder to capture the audio, edit it and then sync the audio in the editing suite after the fact. Most serious film projects are still done this way, using the slate or clacker as the synchronization event tool. Fortunately, it doesn’t have to be this complex. We have relatively inexpensive access to superb audio tools to make our video work far more professional and have much better sound.
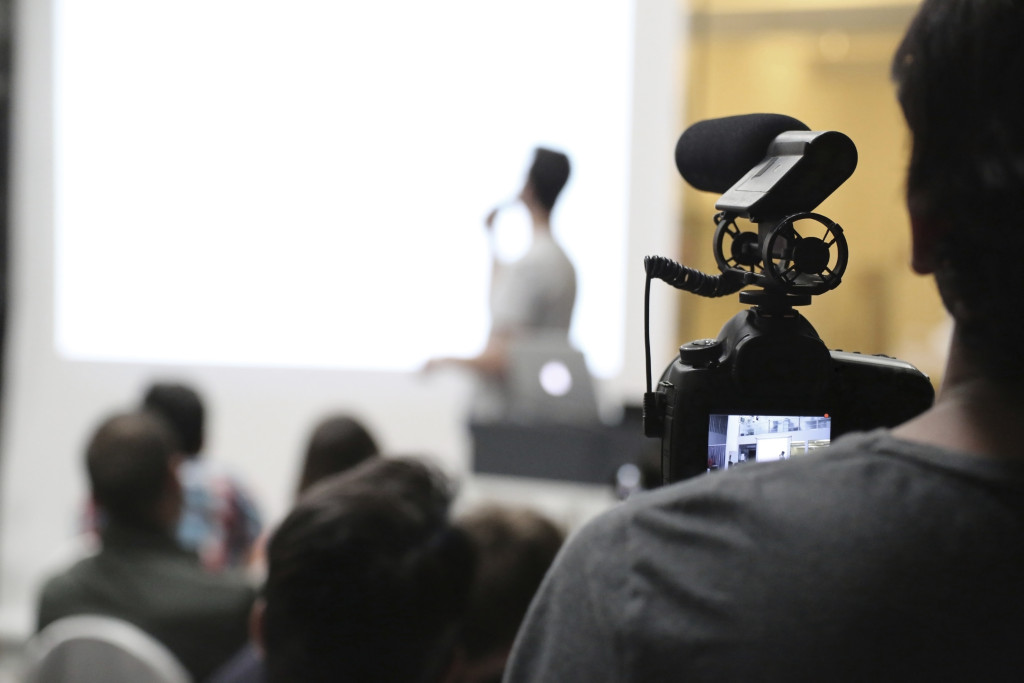
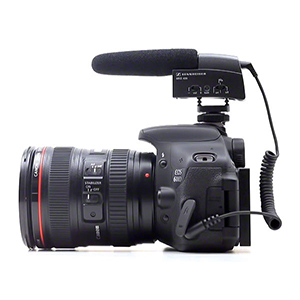
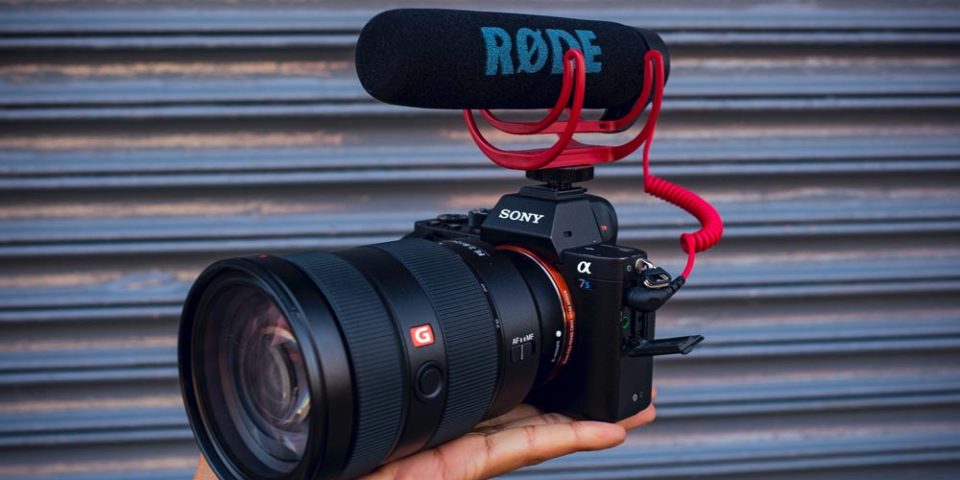
For many of us, the shoot is a one-person job. We are simultaneously the director, producer, director of photography, soundperson and lighting specialist, and we also get to clean up afterwards. To get superior audio into your video, a dedicated on camera microphone is a good place to start. This device will typically sit in the camera hot shoe and connect to the camera’s microphone input. Modern cameras that shoot video have at least one microphone input. If your camera does not, well you’re going to need the off-board option.
On-Camera Microphones
An on-camera microphone is typically a high impedance microphone. This means good sensitivity, but a relatively short cable run capability. That’s not a problem because the cable only needs to be less than a foot long. Some microphones are monophonic, but most are stereophonic because the inputs are stereo. The degree of stereo separation is really minimal so don’t expect a lot.
When you mount the microphone to the camera, you are hopeful that your camera has an audio control menu option. Automatic level control or Automatic Gain Control (AGC) is the worst option. It’s like having an incompetent sound engineer riding a fader but always being slightly behind time. Far better is a manual audio setting so that you can rehearse the shot and get your levels set before you shoot. If you set levels well, you won’t clip and you won’t be overrun by background noise. A good place to start is to have your level indicator set mostly between -6dB and -4dB and never peaking beyond 0dB. If your signal is always too strong, check the microphone for a PAD switch that will cut the output by some amount, -20dB is a very common option. This means that when engaged, you may have to turn the gain up more on the camera control, but you will have countered serious peaking situations.
On camera microphones have capture patterns. An omnidirectional microphone captures audio in a spherical pattern, so it will pick up behind the microphone as well as in front. A directional microphone is generally preferred with a cardioid pattern being most common. This is vaguely heart shaped with the best pickup forward, diminishing towards the sides and poor in the rear.
Different microphones will also have different capture angles. As videographers using on camera microphones, we float between area microphones and shotgun style microphones. An area microphone has a relatively wide capture angle, while a shotgun has a very narrow capture angle with rapid signal fall off to the sides. A shotgun works best when pointed right at the source, and while they can be very effective when you are not very close to your subject, orientation and aiming is really important.
On camera microphones will all have some type of wind noise protection. This is typically an open cell foam covering, designed to dissipate ambient wind noise.
When working outdoors, particularly in windy conditions, it is recommended to add a further wind noise controlling entity called fa dead cat. It looks like a furry sack of cloth that goes over the foam windscreen. The longer hairs serve to prevent wind noise from getting through to the microphone element. The hairs are woven into a reasonably porous backing so as not to make the sound muddy.
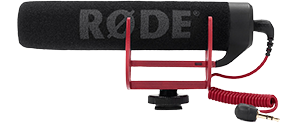
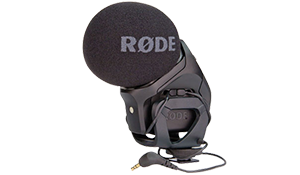
For this type of microphone, I recommend solutions from RØDE or Sennheiser. There are less expensive options as well, check out alternatives to find what suits you best. The thing to bear in mind here is that the biggest contributor to audio quality is the microphone capsule itself. As we know from smartphones, you can build a microphone very inexpensively, but a good microphone will tend to cost more, and deliver significantly better audio.
Off-Board Recording
Low impedance microphones produce better sound and can support much longer cable runs. They tend to be monophonic but still use a TRS or XLR connection to deliver what is called a balanced output. Balanced lines can run farther and do an excellent job of preventing noise being picked up in the wire. If you are using this type of microphone, whether wired or wireless, you may need a preamp to raise the output signal to a recording level. Really high-end low impedance microphones may also need Phantom Power, typically 48v, just to make the microphone active.
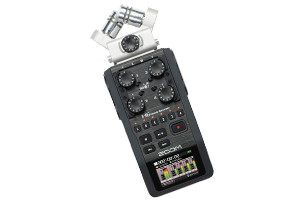
Off-board recorders like the Zoom H4-N or H6 or the Zoom H5 Handy Recorder can accept cabled microphones through low impedance inputs. The Zoom units include built in microphones that deliver excellent area sound. They do local recording, so you do not have to depend on the camera’s audio recording capability. Both RØDE and Sennheiser make excellent low noise, longer-range wireless microphones consisting of a microphone, transmitter, and receiver. I use Sennheiser wireless microphones regularly, have recently reviewed the RØDE Filmmaker Kit on my site (very nice), and also use RØDE, Shure and Sennheiser wired microphones for vocals, standups and in on-set situations with a shotgun microphone on a boom overhead and pointed at the talent.
The only real challenge with using an off-board recording model is that at some point you have to synchronize your off-board audio with the from-camera video. Here’s a process that while not particularly sophisticated, will work well and costs you no more.
- Activate audio recording on the camera. Leave the gain control in automatic. This is not your quality audio track, its only purpose is as a sync track.
- Start the off-board audio recorder. In film speak the Director’s command for this is “speed”.
- Start the video recording in the camera, in camera audio starts at the same time. The Director’s command for this is “rolling”.
- At this point, you introduce an audio spike. This can be from a slate or clapper, but is easily done by a single loud handclap. What you want is a very short duration audio spike in a limited frequency range.
- Instruct your talent to begin the shot. The command for this is “action” but if you are doing all the work and being the talent besides, give yourself a 5 second verbal count in so that you know when to start, and you’ve had a chance to calm down a bit.
- Finish the shot or clip.
- The command here is “cut”. This is the cue to stop the recording on all devices.
Now you have a single video track with a linked audio track and a separate audio track of a slightly different duration. Keep doing this until you have finished all your scheduled shots.
- In your video editor, you import the video and audio track from the camera.
- Now import the separate audio track from the off-board recorder.
- Make sure that the audio waveforms are expanded nice and wide and tall.
- Drag the position of your off-board audio track so the spike is in the same position on the timeline as the spike recorded in camera.
- Once aligned, mute the audio track from the camera and play the combined clips through to make sure that things are good. When you are sure that they are, link the video and the off-board audio tracks together so if you move one, the other moves with it, and when you make cuts, the cuts apply to both tracks.
This may sound really complicated but when you do it live, you’ll see just how simple it is.
You’re now well on your way to making better videos because you will be including better audio. Don’t be afraid to add additional audio tracks to your video such as backing music, or ambient sounds (aka Foley Effects) to make your video a richer experience. It’s a huge amount of fun and with the tools that we have readily available, it’s easier than it has ever been.

COMMENT (1)
Pingback: How to Stabilize Your Camera for Vlogging | Photography and video news, reviews and tips | Henry's Camera