When creating portraits, or any other kind of lighted work for that matter, your approach to lighting your subject can have a significant effect on the overall mood of the finished shot. Your subjects can be very softly lit for a flattering, very low contrast result. Or you can go for something with more drama and contrast to evoke a mode in line with that aesthetic.
To be able to take control over the look of your images it is important to know what basic lighting principles will produce one result over another. Dramatic lighting with hard, dark shadows is created in a very different way than something that is much softer and ‘airy’ in nature. The lighting modifiers you attach to your strobe heads will be a key to achieving the look you want, and I will be dedicating a blog posting in the near future about that very subject. But before getting into specific modifiers themselves, core basics such as size and direction are important to cover.
Size Really Does Matter
It’s a cliche statement that can be used tongue in cheek with multiple situations, but it is true that the size of your light source has an impact on the results you get. The most basic and common scenario to think of when thinking about this principle is how subjects appear when photographed outdoors.
We know that on a sunny day with a cloudless sky, the sun is striking your subject directly. No matter what direction the sun is relative to your subject in this situation, dark very sharply defined shadows will be cast by your subject. Not only will your subject cast shadows, but the facial features of your subject will cause dark shadows to appear on the face. The nose casts a dark shadow below or to the side, eye sockets darken and so on.
Direct sunlight casts harsh shadows
The reason for this is simple: while the sun is a very large object, in relation to your subject on earth it is actually a very small light source. You can usually block it out with your hand as it sits in the daytime sky. This is a key point to consider. The size of your light source relative to your subject is a significant factor that determines what sort of shadows you get. Small light sources will produce those dark, sharply defined shadows. This type of light is traditionally referred to as hard light. This term has come to pass to help photographers describe the quality of light they want to fall on their subject.
Quality of Light
By quality we don’t mean good or bad, but hard or soft light. There is no such thing as bad light in the context of photography, there is simply light that is either suitable or not suitable for the mood we wish to evoke at the time. Both hard and soft light have their times and place for effective use.
So, let’s talk about soft light. Consider photographing the very same subject in the same outdoor location, but this time with an overcast or cloud filled sky. In this circumstance the light from the sun passes through the clouds, and the clouds act as the true light source. This light source is large and stretches across the expanse of sky. This light source is significantly larger relative to your subject than the sun is. The diffused light has a wrapping effect, filling in any shadows and eliminating them, or making them exceptionally light. This wrapping light is typically referred to as soft light as it fills in shadows and creates a lower contrast image.
Overcast skies create a soft, diffused light
These same basic principles apply to studio lighting in exactly the same way. When we attach lighting modifiers to studio strobes, we are mindful of the size of the light modifier and it’s overall size compared to our subject, and the kind of light that it will create when striking the subject. In addition to choosing a lighting modifier of a certain size to use in any given shot, we also can control how close to the subject the light is placed. It is absolutely true that if we move a light source closer to a subject, the light source becomes larger to the subject. Again, the larger the light source, the softer the light will be. So you can effectively increase or decrease the size of your light source by moving it closer to or farther away from your subject.
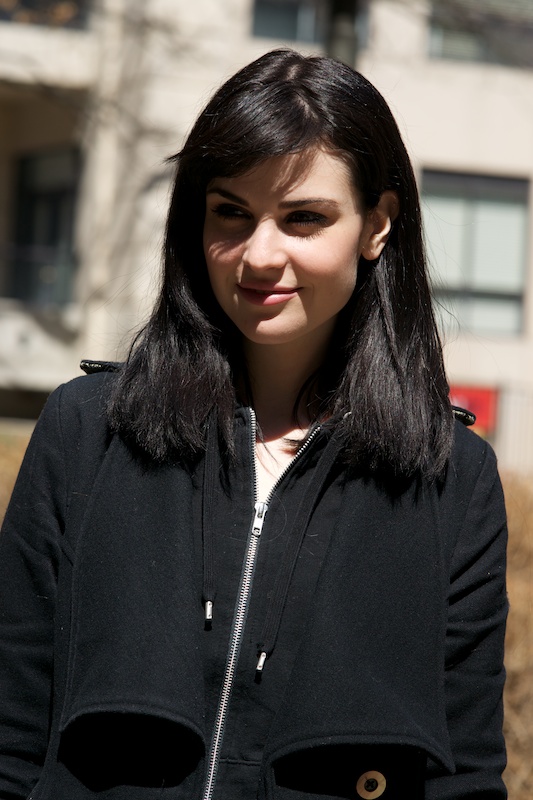
Hard light in studio with a small light source
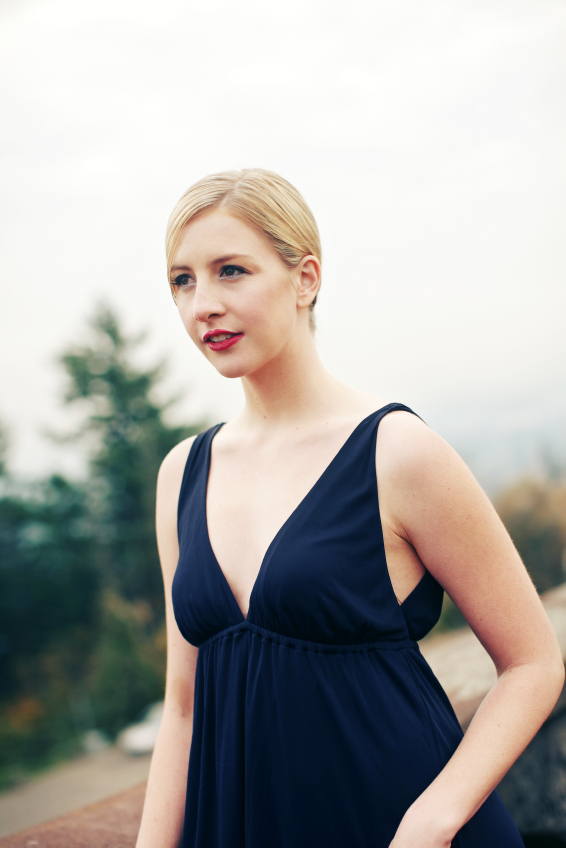
Soft light in studio with a large light source
The Falloff Factor
An interesting side effect of moving a light closer to or father away from your subject is the concept of light falloff. Think of falloff as what happens to light as it goes past your subject. Your light source is going to illuminate your subject, but the spread of the light source will ensure that it passes the sides of, over, and under your subject potentially.
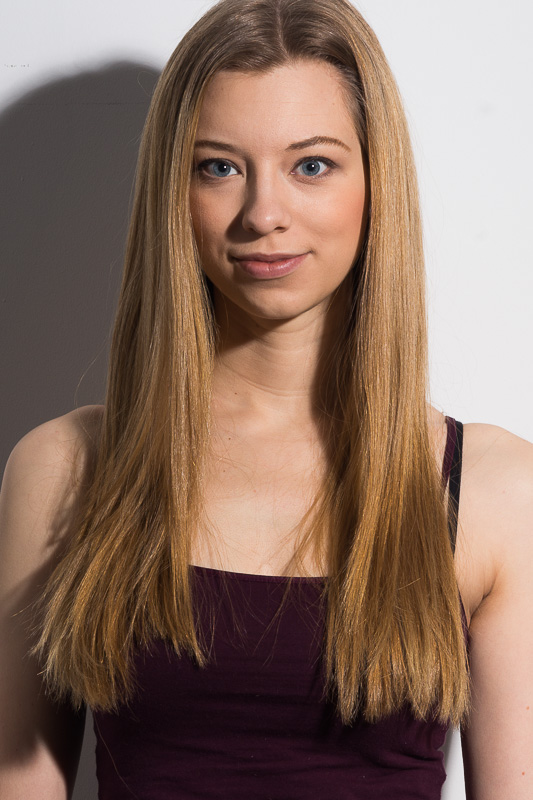
It should be no surprise to anyone that light intensity diminishes as it travels. That is to say, the light becomes less bright as it passes by your subject. What may be surprising is that the distance of your light to your subject determines the rate at which this falloff occurs. The general rule is: the closer the light source is to your subject, the faster the light passing by your subject will diminish or ‘fall off’. Moving your light source farther away will cause the light passing by your subject to drop off less quickly. In these examples the light was placed at two different distances from the subject. The shorter distance caused the background to be darker in colour due to the more rapid light falloff.
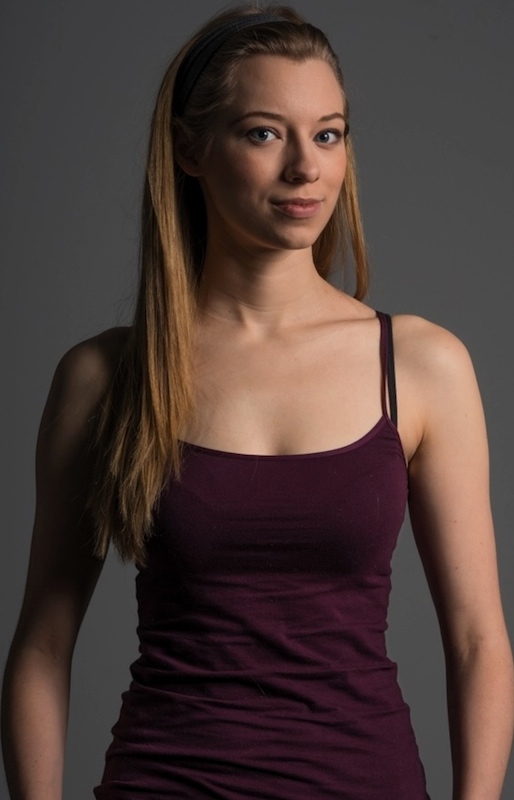
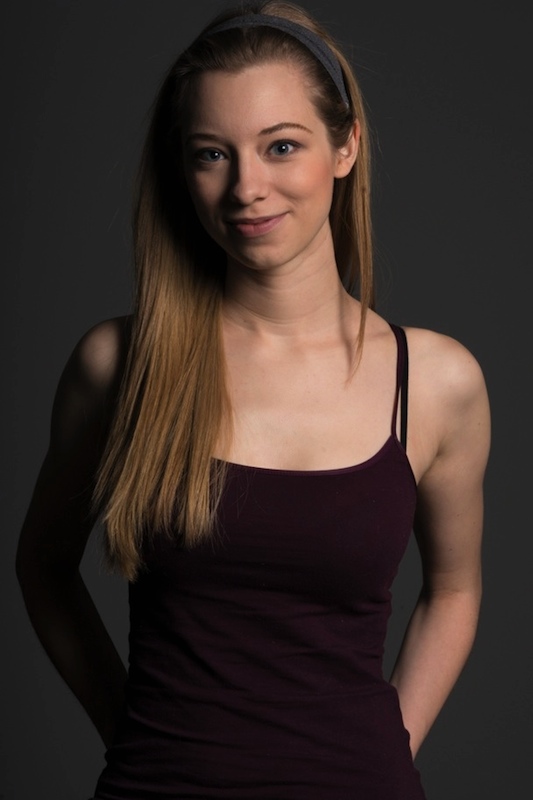
It’s an interesting combination of realities. Closer light sources are larger and therefore softer, but falloff is quicker. Further light sources are smaller and therefore harder, but the falloff is less quick. These factors are very significant when it comes to lighting, for example, groups of people situated in multiple rows. Ensuring that the light on your front row of subjects is similar to the back row of subjects requires you to move your lights further away to take advantage of the less rapid falloff of that light. Keep in mind that the further your move your lights away, the more powerful that light must be to illuminate your subject. As you can see with the two examples above, falloff is also a factor when lighting a single subject.
Direction Matters Too
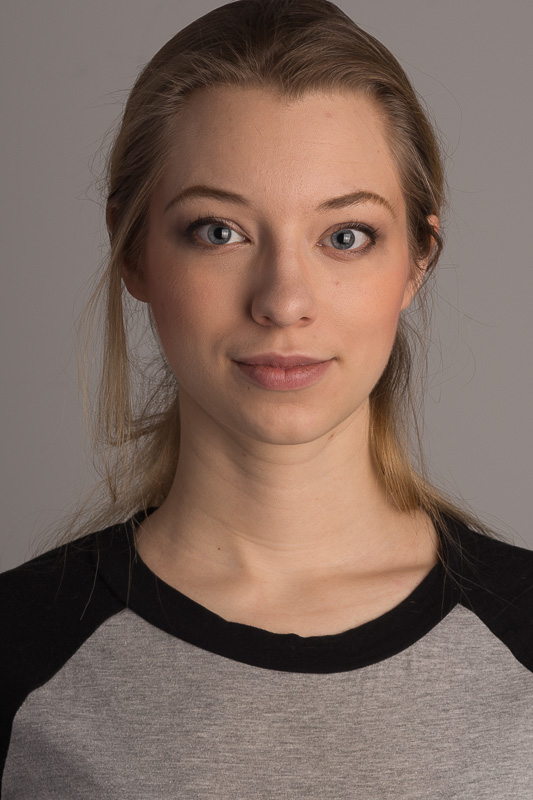
With size being a significant determining factor of quality of light, the direction of your light source plays a role in the outcome as well. You have the final say on the position of your lights, and from what angle they light your subject. If you choose to place your light source in front of your subject, the light striking the subject is more likely to ‘fill in’ texture on the face, such as skin pores, wrinkles and lines. If you set your light to be more angled, then each texture feature of the face will cast a shadow. A soft light source will cast a softer, lighter shadow and a hard light source will cast a dark shadow. This is pretty important to keep in mind when deciding if you wish to emphasize, or de-emphasize texture on a face.

Side light amplifies texture
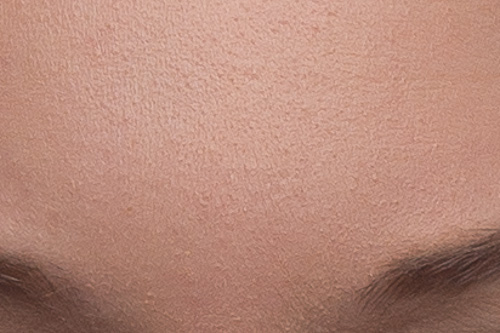
Frontal light fills in shadows, de-emphasizing texture
All the Factors Together
Considering all of these factors, there’s a lot to think about when choosing a light modifier to use, and the placement of your lights. There’s much more to it than just getting the light to strike your subject and strive for proper exposure. I highly recommend taking these core fundamental guidelines and practicing with them. Set up a single light, position it close, far, straight on or at an angle (and all combinations of these). Once you understand the effects of these decisions intuitively, it becomes much easier to make the transition to designing lighting with a very specific outcome or look that you wish to achieve.
Keep in mind that the light modifiers that you choose to use with your strobes play a key role in shaping the light and controlling quality. In the next blog entry, I’ll be showing you just some of the light modifiers I use and how I go about deciding why I choose them.