I recently went up to CFB Borden to photograph their Airshow held in conjunction with the 100th Anniversary of the establishment of the military base. It was a really great day and we as Canadians are lucky to have such amazing people in service. As I was walking the static area, making images and talking to pilots and flight mechanics, I overheard someone complaining that their pictures were too dark. They couldn’t see the planes properly but the sky was great. The individual saw me listening and asked if I knew how to fix it. I suspect the person asked because of the gear hanging off my shoulders and not because I looked all that smart.
I asked the person if he knew about exposure compensation. He indicated exactly where the control was on his camera, but said it was not clear how to use it, how to know what setting was right and when to use it. I thanked him for being honest and we spoke about using the function for less than five minutes. He made a couple of images right there and they worked out and made him happy. We talked a bit more and I offered some specific suggestions for shooting the planes in the sky. I did not see the fellow again and I expect his images worked out, because I used the same methods in my own.
Let’s clear up this whole exposure compensation thing. First we know by now that our built in light meters try to get the exposure settings to average to 18% grey. We also know that this can work well most of the time and we’ve talked about exceptions such as predominantly white or predominantly black subjects. In this article, I’m going to introduce you to becoming a human light meter, a light meter with smarts that can read a scene.
Look at your whole scene, and by this I mean whatever is in the frame, not just your subject. If the background or surroundings are brighter to your eye, than the principal subject, it’s likely to be too dark in your image if you don’t change things. If the background and surroundings are a lot darker than your principal subject, then the image will probably make your subject too light without you making a change. You absolutely do not need to be in manual mode to make these corrections, and in fact I would ask why you would give yourself the pain of doing so when you have something as simple as exposure compensation.
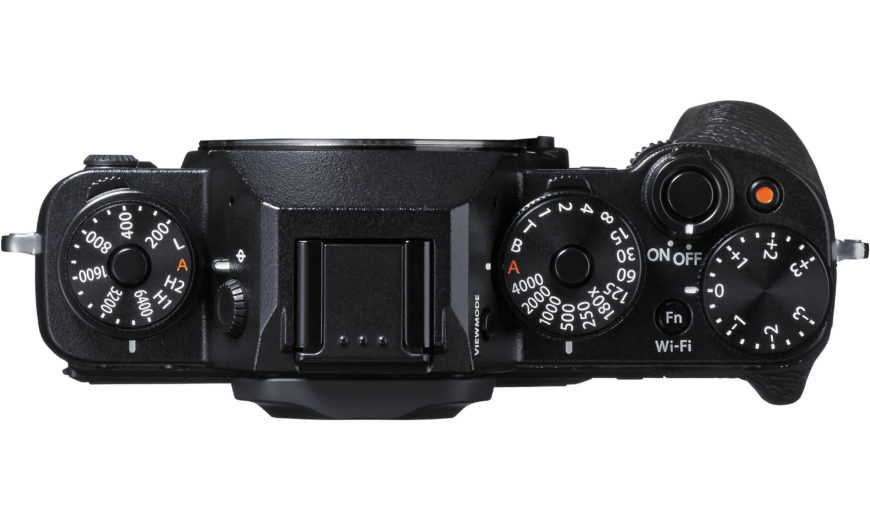
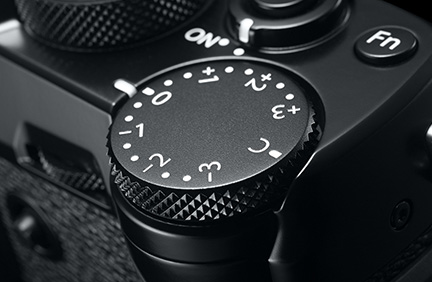
Exposure compensation is either a dedicated dial or a button/dial combination. Personally I prefer a dedicated dial, but since none of my current cameras have this, I have trained myself how to engage compensation without removing the camera from my eye. This works because most cameras that offer exposure compensation also offer an in viewfinder indicator. Check your manual for your camera.
Let’s use the example of an aircraft in flight. Even if the aircraft is white, it’s going to be backlit by the much brighter sky. You need to add exposure to make sure that the aircraft does not silhouette out. The sky was clear and the sun high at Borden so I added 1 and 1/3 stops of exposure compensation. This meant that the sky came out lighter in the image than my eye saw it, but the aircraft looked great without turning into a silhouette. Folks say you can raise the exposure in post processing and this is true, but when you lift exposure you reduce your signal to noise ratio and get a lot of noise added along with that exposure. Get it right in camera, and it’s one little adjustment.
Consider your kids on a roller coaster at a fun park. If the sun is bright and the sky is behind your kids, add some exposure compensation to the plus side, starting at 1 stop and you will get more detail in their faces. Let’s say that they are on a log flume ride coming out of a dark tunnel and they are being brightly lit while the rest of the scene is really dark. Dial in some negative exposure compensation to prevent their faces from being blown out which means horribly overexposed.
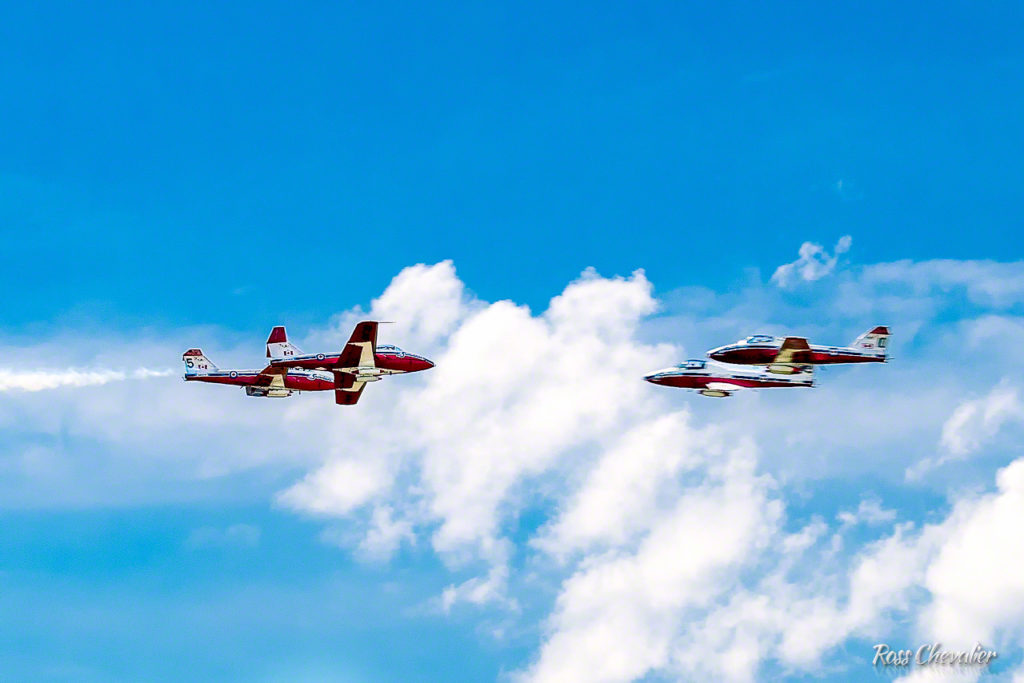
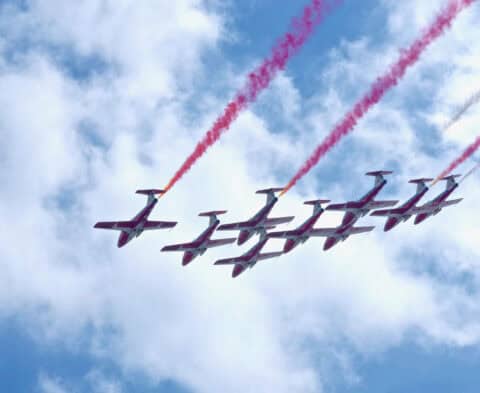
Figure 3: Canadian Forces Snowbirds in Crossover. Panning with the left pair puts nice motion blur in the right pair, exposure compensation +1 1/3, could really have gone +2
Exposure compensation is one of the easiest tools to use in your camera, so find it and get comfortable.
Deciding on a value is an experiment. If the subject is darker than the background add exposure. If the subject is lighter than the background by a fair bit, reduce exposure. Start at one stop and then check your LCD to see how it went. If you are shooting a mirrorless that has an electronic viewfinder, you will see the effect live in the viewfinder before you even take the shot, such is the real advantage of an electronic viewfinder. Now if you have only an LCD on the back of your mirrorless or you are shooting a DSLR and have to use the LCD to check your images, this is the road to frustration on a bright day. Do what I do. Carry a loupe that shields the LCD so you can see the image properly. Judging the exposure of the LCD on a bright day is really tough, and if you turn the LCD brightness all the way up, you will soon enough find that what you see on the back bears little resemblance to what is on the card.
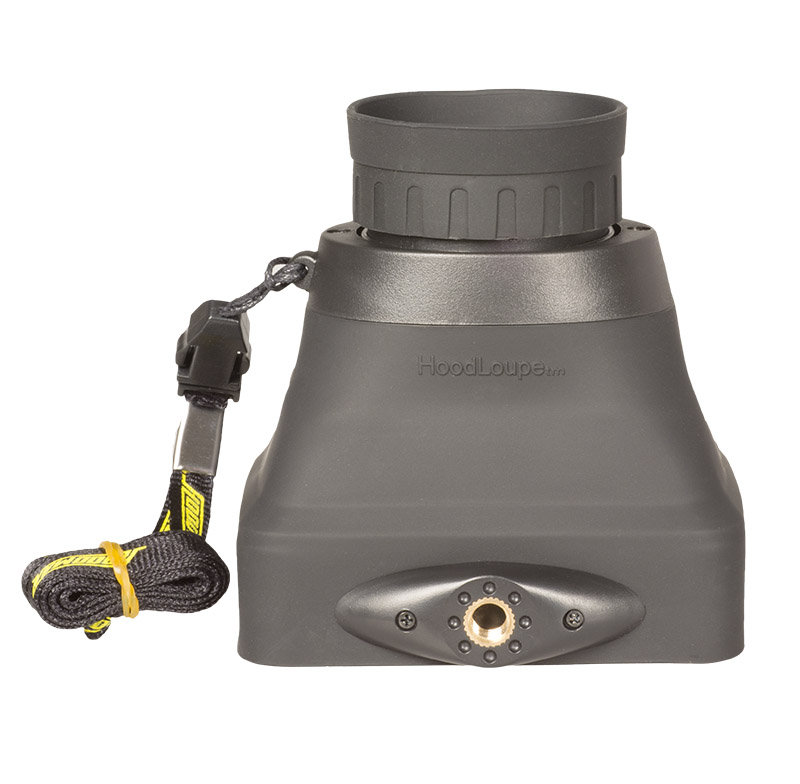
I highly recommend the loupe from Hoodman. I changed the eyepiece to the 3x magnifier because it makes checking focus easier. Since I don’t wear glasses when I photograph, I also added a shielding eyecup. I hang my loupe around my neck so it’s not in the way when I don’t need it. It even comes with a lanyard for that purpose.
When you start to make using exposure compensation part of your work process and build the understanding of when and why, you will get better images. This function can also help if you are shooting video in an automatic mode too, depending on your camera.
Many cameras also have a function called autoexposure bracketing. It’s most commonly used to make a series of images quickly to use to make a high dynamic range image, but it is also a really handy way to try a variety of exposure compensation settings.
Find the AEB setting on your camera, and choose a spacing between exposures that makes sense to you and the number of different variables you would like to try. Let’s say that you are doing some family pictures out at a picnic and the sun is really bright. You put the light behind the people so they aren’t squinting (that’s really the only place it should be) but you can see right away that the background is really bright compared to the faces. You don’t have a lot of time to make individual settings because your little nephew is very hard to keep still long enough for a picture. I would suggest a 5 stop bracket at a 2/3 stop interval, starting at even and going up. By positioning your darkest exposure at 0, you have a reference of what the meter wants to do and then you will have four images of increasing brightness at +2/3, +1 1/3, +2 and +2 2/3. One of them is going to be ideal, but you don’t spend a lot of time in this crush situation trying to sort it out. Then if you look at your EXIF information when you get to your computer, you will learn which option worked best for that kind of lighting situation and you will have made your life easier the next time you need to make and image in that kind of light.
Using a simple tool like exposure compensation will not only help you make better images, but it will also help you better understand when and why to use the tool. That’s a good thing, isn’t it?
Until next time, peace.

COMMENTS (10)
Allison Erhardt
()
Thank you for the awesome tips! I’m heading overseas with my new Olympus Mirrorless camera and it’s so different from my Nikon that I need to relearn a lot of this. Thanks for giving me ideas on how to adjust on the fly!
DR Chevalier
()
Hi Allison, glad that you found the article beneficial. Certainly whenever we get new cameras, it’s very important to practice making adjustments without taking our eye from the camera and risk missing shots. There is no real consistency from manufacturer to manufacturer or even within product lines from a single manufacturer. Thanks for reading and I am sure that you will bring back amazing images from your trip.
Anton4
()
I’d like to see how this relates to the dynamic range of the camera’s sensor as well. How much less fiddling and compensating do you have to do with a better camera?
DR Chevalier
()
Hi Anton, The sensor’s dynamic range is impactful to the issue of exposure latitude, although most all sensors built in the last five years deliver better than 8 stops of dynamic range, so even with a push or pull of exposure of two stops, these older sensors render very well. If the sensor is CCD there is less latitude in the shadows than on CMOS sensors, but some people find the colours richer. No matter what sensor you have, getting the exposure optimally in camera is always better than making an adjustment in post. Always remember for maximum latitude to shoot in RAW to avoid the massive data loss that comes from shooting in JPEG. There is a moderately advanced technique that I use most of the time called Expose to the Right (ETTR) that really benefits digital shooters because of how the math works in terms of tonal depth from black to white. This is less about the nature of the camera, than it is understanding how to leverage the sensor that you have.
Carl Lum
()
I’ve heard of the “Expose to the Right” concept, where you move your histogram as far to the right as possible without clipping. But doesn’t this just mean you end up with a bunch of slightly “overexposed” images that you then must pull back during post processing?
DR Chevalier
()
Hi Carl,
Your understanding of the initial outcome is absolutely right, but there is a very good reason to use this methodology. It has to do with the number of tonal steps available at differing levels of luminance. I will be providing an article specifically on ETTR for Henry’s to consider publishing.
Carl Lum
()
Hi DR, thanks for the reply. I understand that the purpose of this technique is to try to capture as much tonal range as possible on your camera sensor. But do you find it slows down your workflow much? Or is it as simply as creating a LR preset that subtracts a stop or so from every image? I’ve considered using this method, but was afraid of the extra time I’ll need to fiddle on each image.
Ross Chevalier
()
Hey Carl. I use the methodology most of the time. I do not use presets much at all for anything. I find that with a bit of practice I do not need to spend more than a couple of minutes on images that I choose to edit. Since each image has different content and different deliverables, I do not find presets of much value. It’s only my opinion, but I think that most presets are like taking a wide bore shotgun into surgery where a scalpel is a better tool.
Al_the_Fish
()
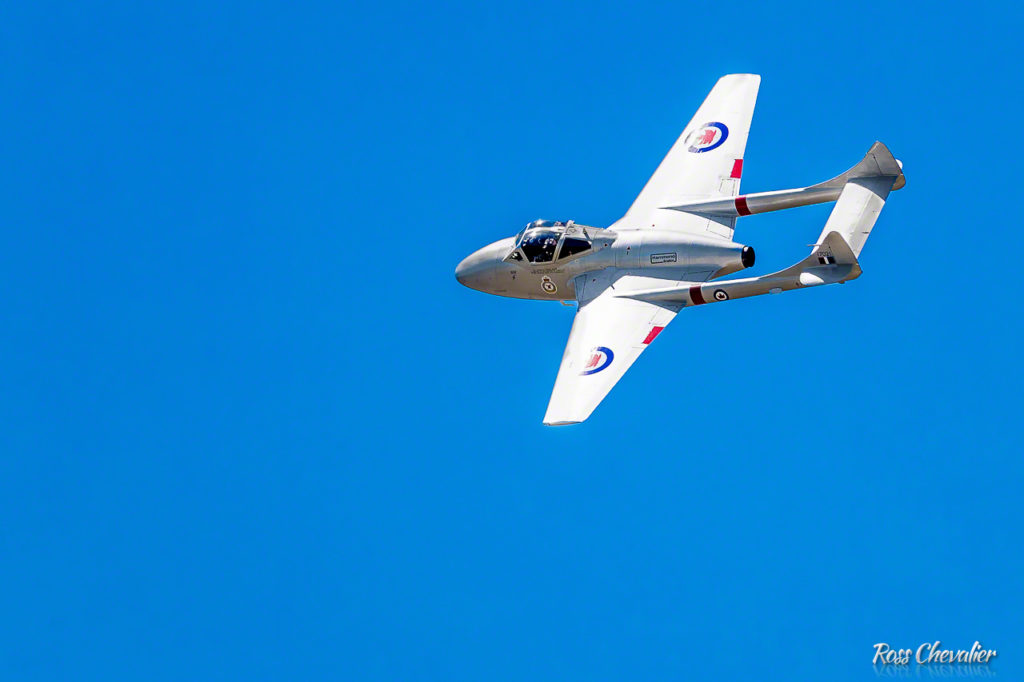
Great picture of the Vampire, you were fortunate to get to see such a rare plane.
DR Chevalier
()
Good fortune very much counts in what one can capture. We were all very lucky that the owner was able to have the very rare Vampire in the air for the Camp Borden 100th Anniversary.