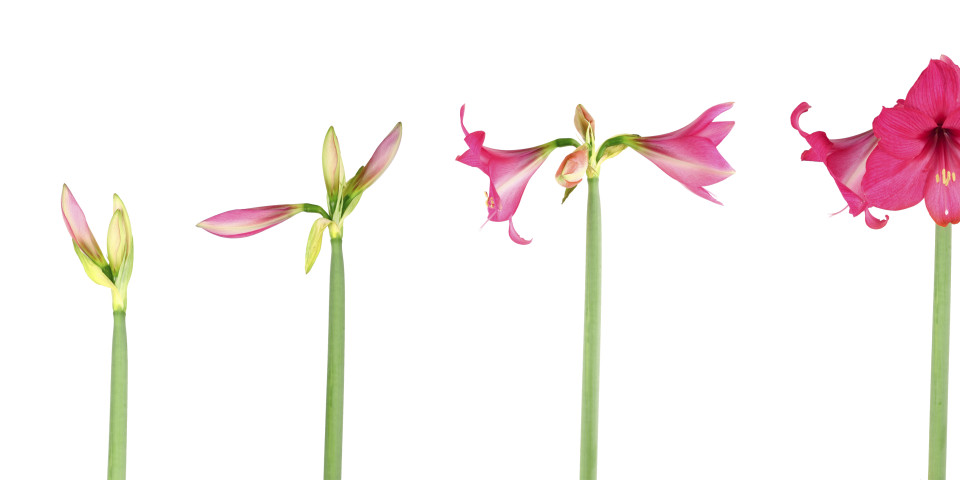
When the weather changes, the flowers start to bloom and this is the time where photographers become inspired to make images of the beautiful colours and shapes that announce an end to winter.
Unfortunately, many photos of flowers are lacking something. Flowers are challenging to shoot well, because they are naturally beautiful and to make the image special, we need to do more. Managing the light, and the angle are methods to make better flower images, amongst other practices. Let’s practice today so we are ready for when the real flowers start to bloom!
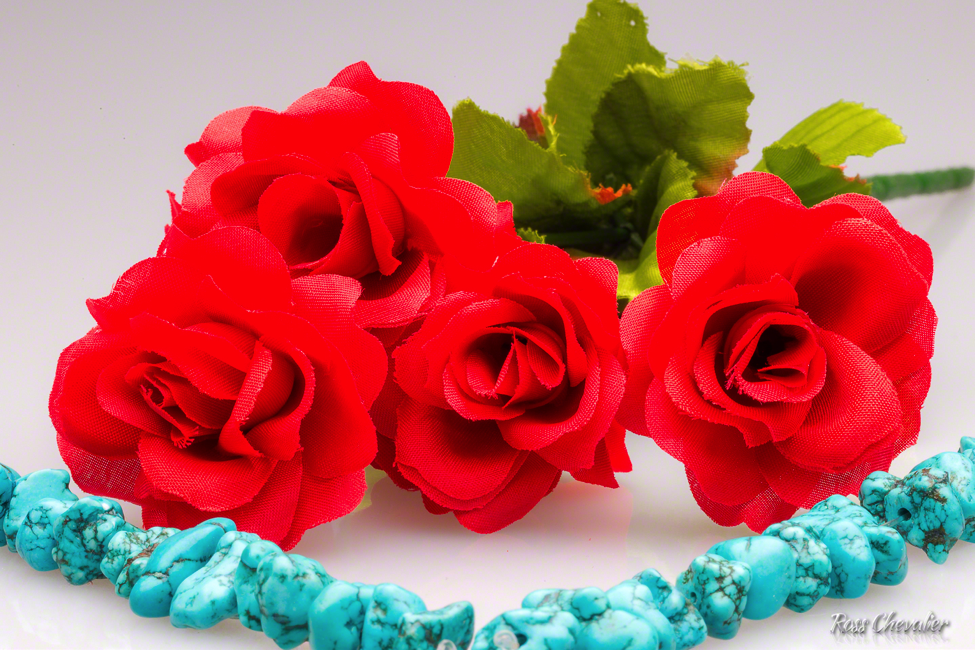
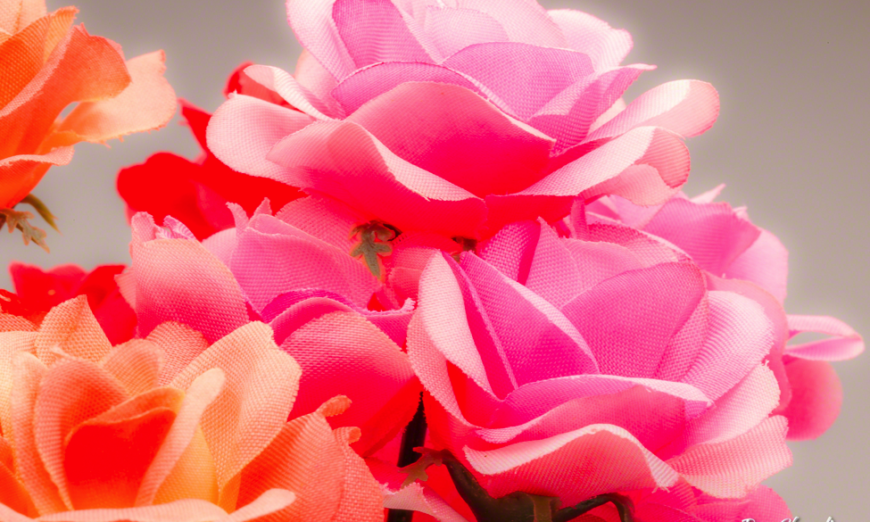
Figure 1 : Simple fabric flower on white background, continuous light
Repetition is the Mother of Skill
How do we get better? We practice. Real flowers have a limited lifetime once cut, and uncut flowers are not readily available to most of us at the time of writing. I recommend heading out to a craft store and purchasing some high-quality fabric flowers. We know that they aren’t real, but they are ideal stand-ins for the real thing and give us something to practice with at our own pace. We want this practice before getting to the real thing, so our confidence is high and we catch all the gotchas up front.
You’re Going to Need Some Light
We often get tricked into heading out to shoot flowers when the sun is bright and the sky cloudless. This is actually horrible light for flower photography. The source is a point source, the shadows are extra harsh and dense, and the light is unforgiving. What we really want is soft light, such as we will get on an overcast day, but those days are not the ones where most folks get excited to run outside. I have an easier route for you.
If you’ve already bought into a continuous lighting system, such as the highly-recommended Westcott Erin Manning kit, you are golden. If not, head out to a store that sells goose-necked desk lamps. You want to find one where the inside of the lamp bowl is white, not silver. Add the highest wattage Compact Fluorescent bulb that you can. Don’t worry a lot about colour temperature as this will be your light source and Automatic White Balance will do a good job for you. Some people like to use salt lamps because they fit aesthetically in their opinion, plus the warm glow apparently compliments the flowers they are photographing, but that is a matter of taste.
If you want to make the source bigger and even softer, use a diffusion popup. They come in lots of sizes and all decent reflector kits include a stand, several reflector covers, and inside the covers a white diffuser. The diffuser makes the source larger, and therefore softer.
The great thing about continuous light is that you can move it around and see in the viewfinder or on the LCD, exactly what the light is going to do. This gives you amazing control over the direction of the light. Experiment because different light positions will produce different results.
A Simple Background
Flowers are naturally beautiful, so we want the viewer’s eye drawn to them and not distract them with a cluttered background. For about $15, you can buy three sheets of white foamcore at the office supply store. Tape two together on the back edge of the long sides to make a tall V shape. This is the same practice that studio photographers use to make full length V-flats for fashion and portraiture. The third piece is your base. The white surfaces act as simple reflectors and create a nice simple and undistracting background. By changing the position of the light, the subject and the distance to the background, you can drive the mini V-flat from white through darker grey with no other accessories. The nice thing about these mini V-flats is that they store flat and out of the way. Plus, if they get damaged, they are cheap to replace.
If you are also going to be shooting larger subjects, whether with flash or continuous light a background stand kit and a roll of white background paper might be a worthwhile addition to your home studio. You don’t need several different coloured rolls, white is surprisingly viable, and you can always change the colour using a second light and some coloured gels.
The Camera and Lens
You have a camera. You have a lens. A macro lens lets you get closer and has more magnification, but most lenses will get you to between 1/5 and ¼ life-size on the sensor and that may be all you need for a nice flower image. I would strongly suggest mounting your camera to your tripod, because you will be using longer shutter speeds. I would also recommend a remote cable release, but if you do not have one, your self-timer will do the trick of isolating camera shake. Feel free trying different angles and heights with your camera placement. Check your focus regularly for sharpness where you want it. Either zoom in on the LCD image or use your loupe.
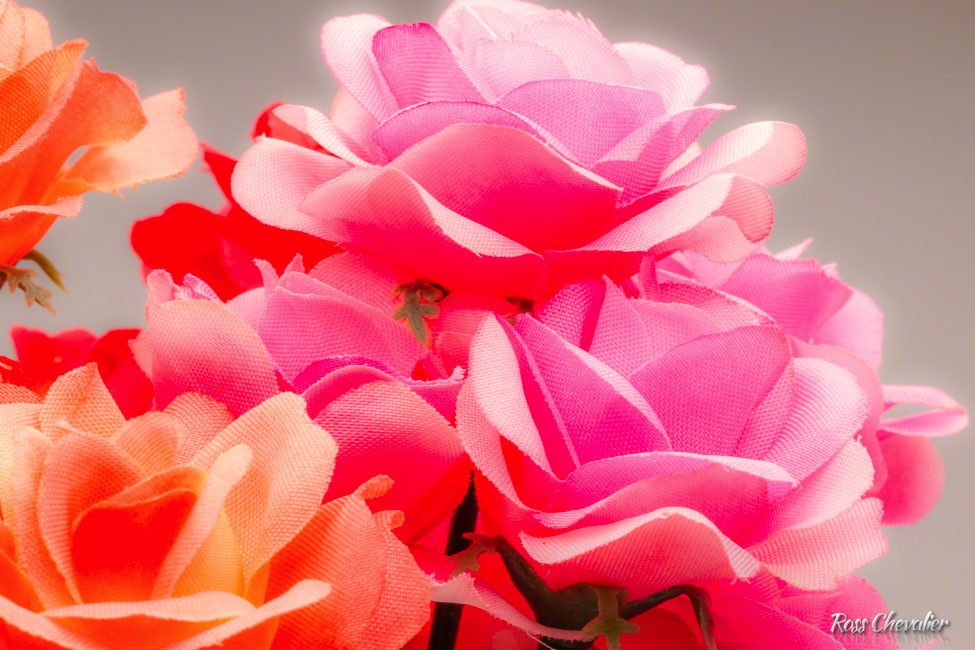
Figure 2 : I used a macro lens, but no more than 1/4 life-size and most lenses will let you do this. One continuous light overhead, plain white background.
The Exposure
I find that this shooting situation is well served by Aperture Preferred mode. Set the smallest aperture that your lens has. Set your camera to its lowest native ISO. The camera will now compute and set what it believes is the correct shutter speed. This could be a long time; 10 seconds is not unusual. Hence the tripod. If your flower is mostly white, add exposure using exposure compensation to prevent it rendering grey. If your flower is mostly dark, remove exposure using exposure compensation to prevent it from being overexposed. Try different compensation settings because this is a learning process, and we can learn a lot by experimentation. You can shoot in RAW or JPEG, your preference, depending on whether you will be post processing or not.
In Summary
Practice now will help you get better flower images when the flowers bloom. The things you learn in the practice will be useful for far more than just flowers. It’s a good way to spend an evening or three and by spending time with your camera, you will improve your use and your confidence.
