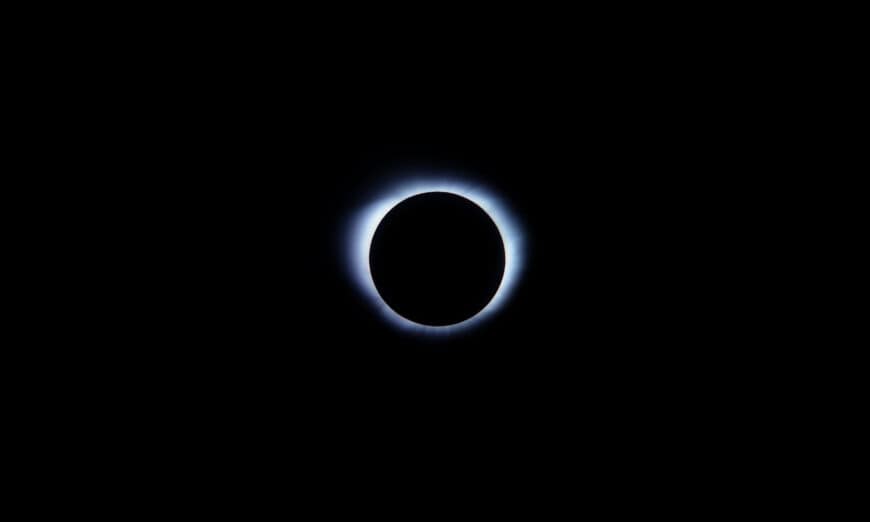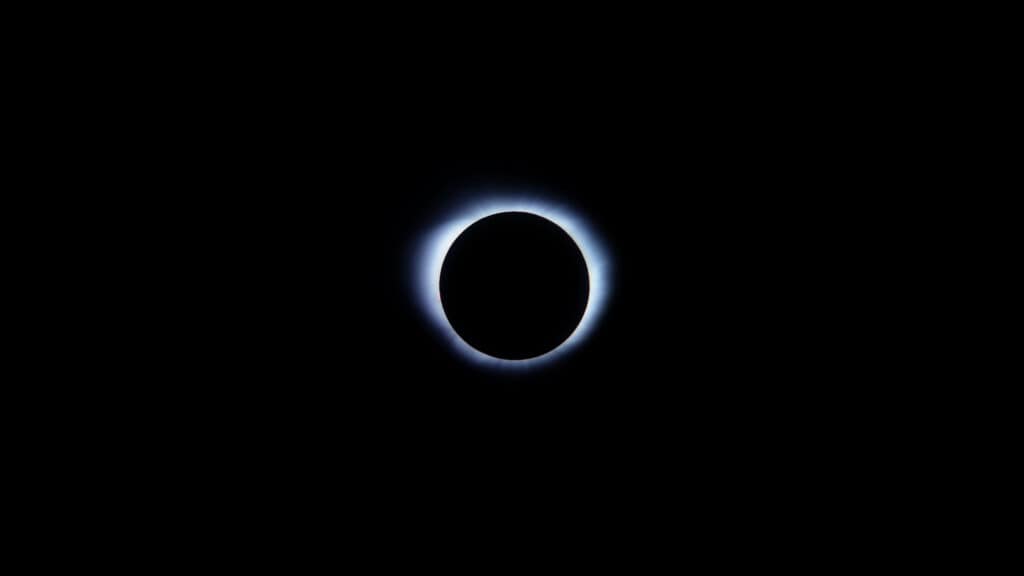
This is a supplement to our blog about “Capturing the Solar Eclipse – a Photographer’s Guide”.
Click the link below to read our full guide to Solar Eclipse Photography.
Solar Eclipse Photography Safety (First!)
Protect Your Eyes & Equipment
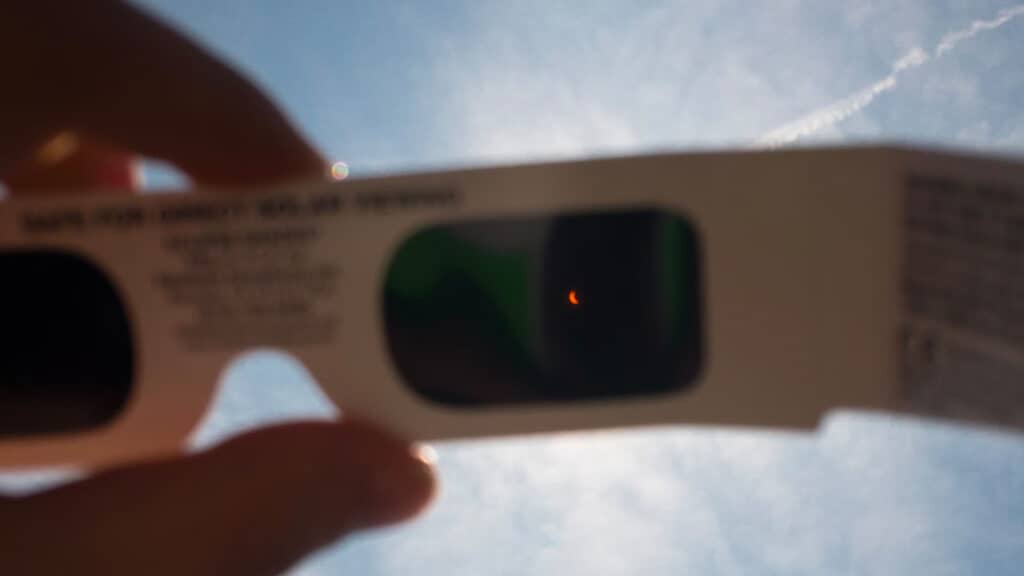
We have all glanced at the sun, but prolonged staring/exposure without proper eye protection will cause permanent damage to you and your gear. Make sure to wear certified solar viewing glasses.
Simply google “Solar Eclipse Safety Glasses” and you will find an abundance of options.
DO NOT point your camera directly at the sun unless your lens is fitted with a certified solar filter. The optics and glass inside your camera can magnify the intensity and brightness of sunlight, and this can cause damage to your gear and camera sensor permanently.
We offer a Solar Eclipse Lens Filter from Kenko Pro. Check it out here!
If you are using a dark ND filter, you should still not use the optical viewfinder of the camera, as it may still cause damage to your eyes. Use the live view function instead. For an eclipse,16 stops is the minimum strength recommended for an ND filter.
DO NOT look through the viewfinder of a rangefinder camera when it is pointed at or near the sun, because the optical viewfinder will not protect your eyes from the sun’s damaging light.
DO NOT point an unfiltered digital camera at the sun and use live view or an electronic viewfinder, due to the possibility of damaging the sensor with concentrated, unfiltered sunlight.
Protect Your Camera Gear
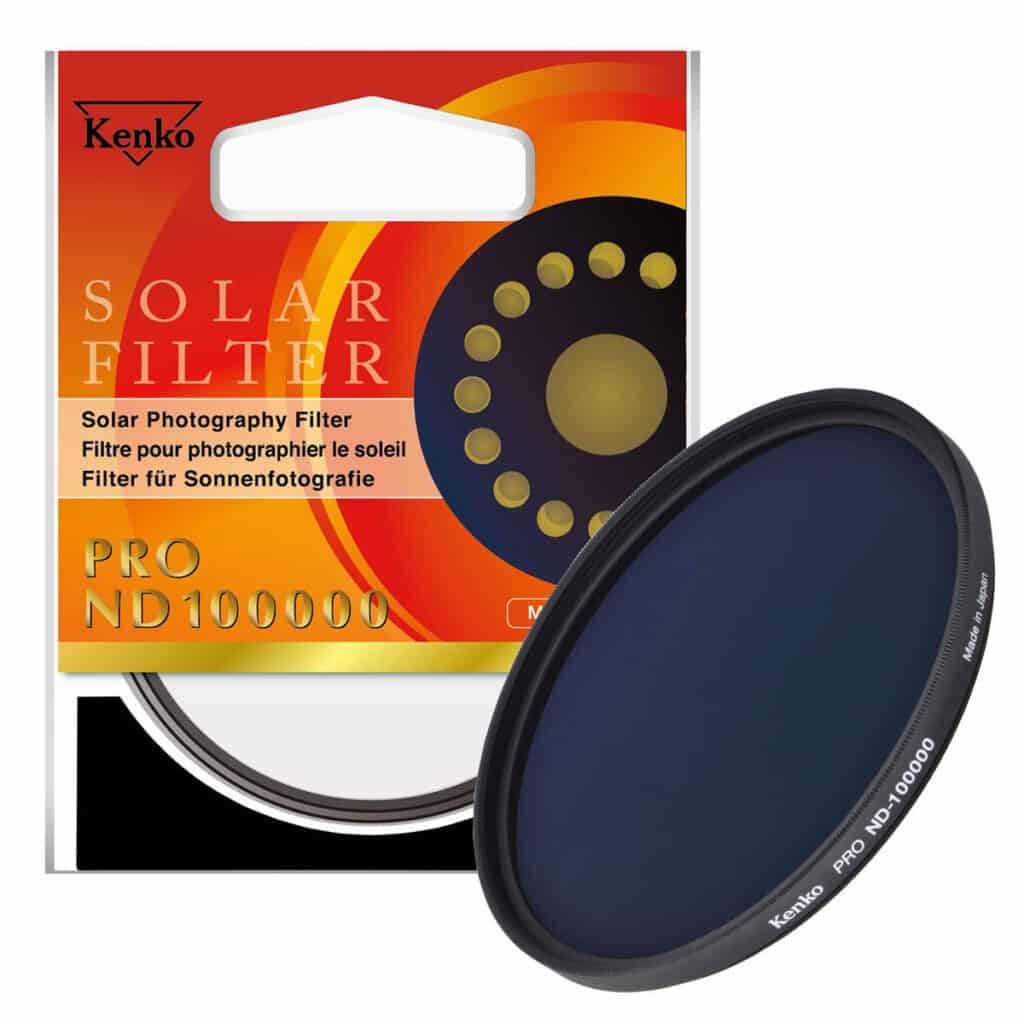
Solar Filters: Invest in a high-quality solar filter specifically designed for photography. These filters reduce the sun’s intensity to safe levels for your camera sensor. Attach the filter securely to your lens to prevent any light leaks.
Lens Hoods: Use a lens hood to shield your lens from stray light and lens flare, which can affect the quality of your images, especially during bright conditions like a solar eclipse.
Cooling Periods: Allow your camera gear to cool down periodically, especially if you’re shooting in direct sunlight for an extended period. Overheating can damage sensitive electronic components.
Camera Settings
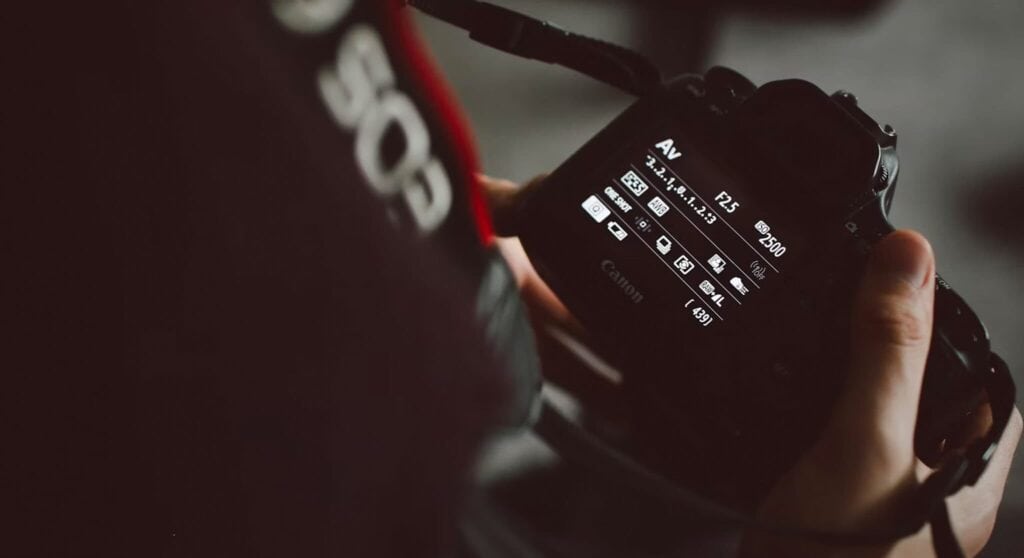
Manual Mode: Set your camera to manual mode to have full control over exposure settings. This allows you to adjust shutter speed, aperture, and ISO according to the changing light conditions during the eclipse.
Bracketing: Consider using exposure bracketing to capture a range of exposures, especially during the different phases of the eclipse. This ensures that you have properly exposed images to choose from later.
Focus: Pre-focus your camera before the eclipse begins. Use manual focus and focus on a distant object at infinity to ensure sharp images during totality.
Tripods and Stability
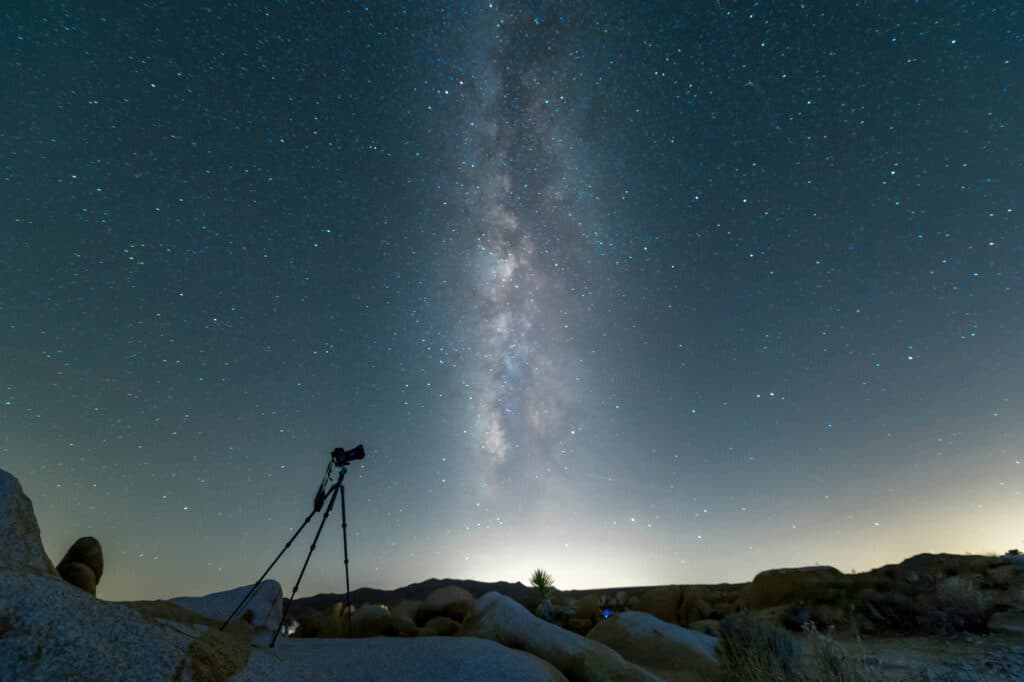
Sturdy Tripod: Use a sturdy tripod to stabilize your camera, especially if you’re using long exposures or telephoto lenses. This prevents camera shake and ensures sharp images.
Remote Shutter Release: Use a remote shutter release or the camera’s self-timer function to minimize camera shake when triggering the shutter.
Be Prepared
Practice: Familiarize yourself with your camera gear and settings before the eclipse day. Practice composing shots and adjusting settings to ensure you’re ready when the event occurs.
Backup Batteries and Memory Cards: Bring extra batteries and memory cards to avoid running out of power or storage space during the eclipse.
Weather and Location: Monitor weather forecasts and choose a location with clear skies for optimal viewing and photography conditions.
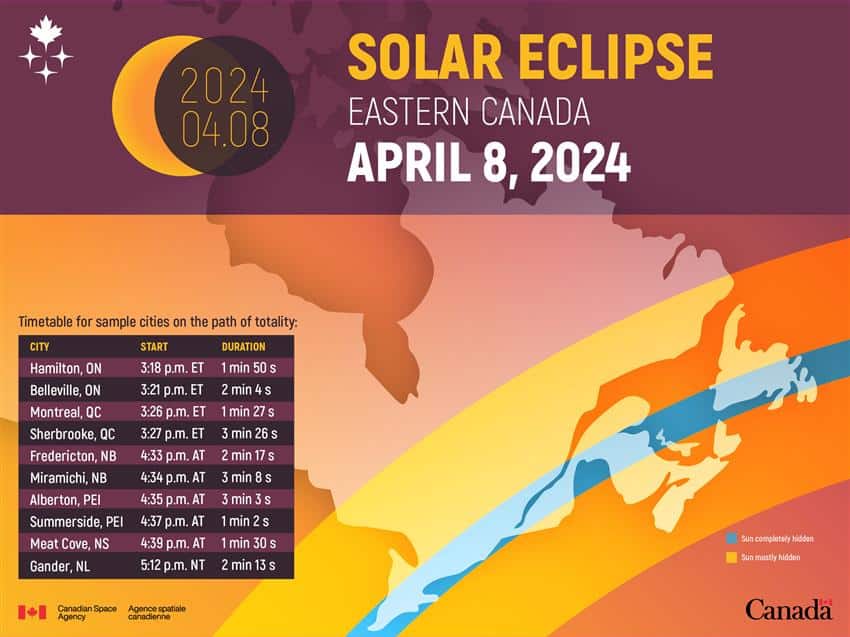
Bring a Map: There is a good chance that the geographic areas where there will be a 100% eclipse will be very busy. Cell signals could be slow – having a map could help you find a perfect spot to shoot from, and return home safely.
By following these safety guidelines and camera tips, you can capture breathtaking images of a total solar eclipse while protecting yourself and your equipment. Remember to enjoy the experience and take in the awe-inspiring beauty of this rare celestial event!
