Most of the entries in this blog focus on the strengths and applications for studio strobe lighting. It’s no secret to anyone who knows me that it’s my favourite type of lighting to use. Every once in a while however, it’s great to free yourself from that world and shoot with continuous lighting.
When I first began shooting in a studio setting about ten years ago, I started with what are commonly called ‘hot’ lights. Units like the Tota, Rifa and Redhead were all part of my kit. These lights were called ‘hot’ lights because they drew huge amounts of power to drive 500 watt (or higher) tungsten light tubes and generated tremendous heat. You couldn’t plug these into a simple electrical outlet, you needed to find something with increased amperage tolerance so as not to blow a fuse or trip a circuit breaker. If this does happen it is time to check your home warranty arizona (or wherever you live) plan so that you can get an electrician in quickly and cheaply as a result of the blown fuse and dangers this could cause.
These were specialized lights designed primarily for video work, but would provide ‘fair’ light for photography. I say fair because the illumination was not sufficient for high shutter speeds or deep depth of field without the use of a tripod and very still subjects. Raising the ISO in camera was a no-no because sensor technology for low noise high ISO simply didn’t exist.
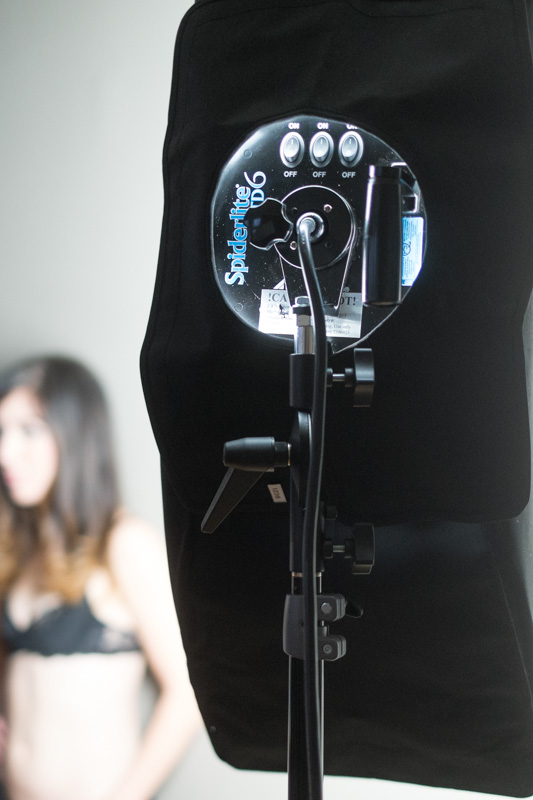
Fast forward to present day and you’ll find that continuous light sources have really evolved. First, the go-to lights for photography draw significantly less power than ‘hot’ lights, and they don’t generate anywhere near the heat. There are several low power high illumination options available from daylight balance fluorescent to LED. In recent years Westcott has been producing some very innovative and impressive continuous light options. I had the opportunity to lend a hand in a fantastic workshop this past weekend that used these light sources in addition to natural window light.
Jen Rozenbaum working her magic
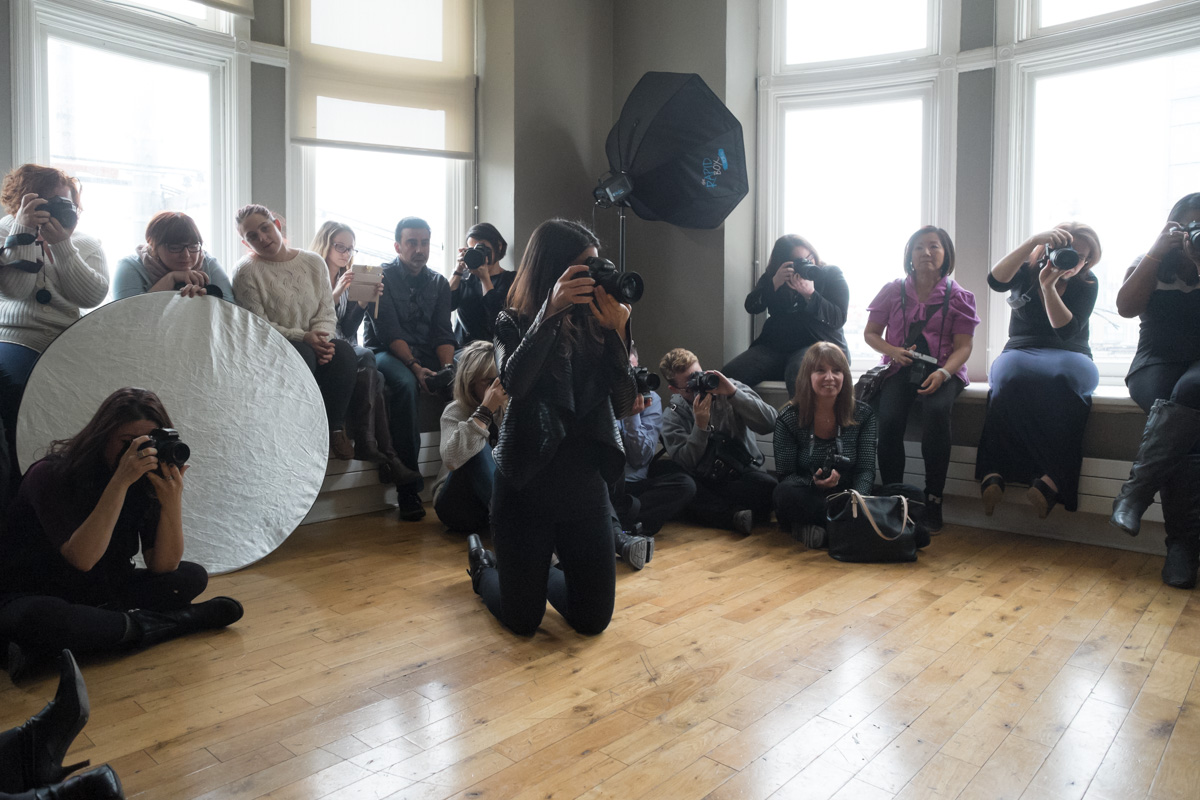
The workshop was a packed house boudoir photography session held by renowned boudoir photographer Jen Rozenbaum at the Gladstone Hotel in Toronto. You can see some of her fabulous work at http://www.jenerations.com. This was Jen’s first workshop in Canada, which was sponsored by Henry’s School of Imaging. For aspiring boudoir photographers, Jen is an absolute fountain of knowledge and experience. She has an engaging and thoroughly enjoyable teaching style. The bulk of the presentation in the morning focused on specific advice for posing and subject interaction. All of her advice and guidance in this area was enlightening and incredibly valuable.
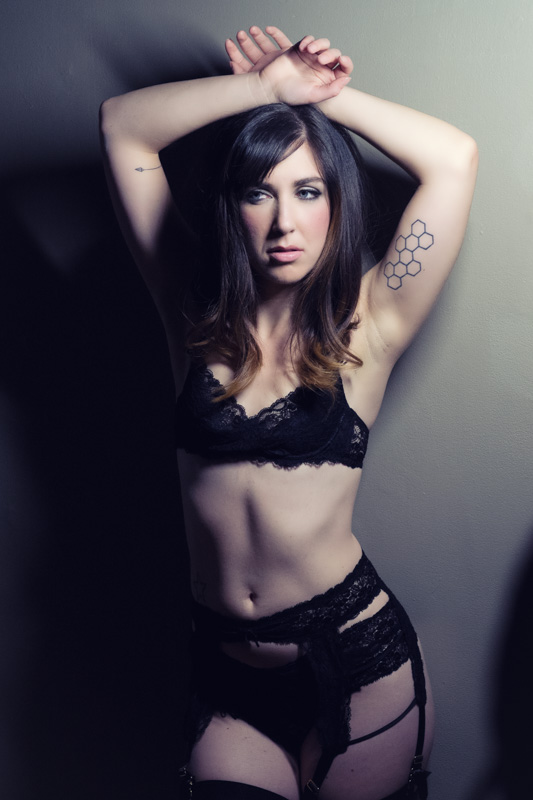
After her presentation in the morning, all in attendance were invited to photograph two models in two separate rooms using natural light and the Westcott lights that Henry’s provided for the event.
One of the huge advantages of continuous lighting versus a strobe system – you truly are seeing what your camera will see. The colour of the light, the placement for highlight and shadow are all revealed before you take the shot. Modern cameras allow for cleaner higher ISO settings, so using a continuous light source is much easier than it used to be. The simplicity of setup that continuous lighting affords means that a group can photograph the same subject at the same time without any worries of connecting to and controlling a flash system.
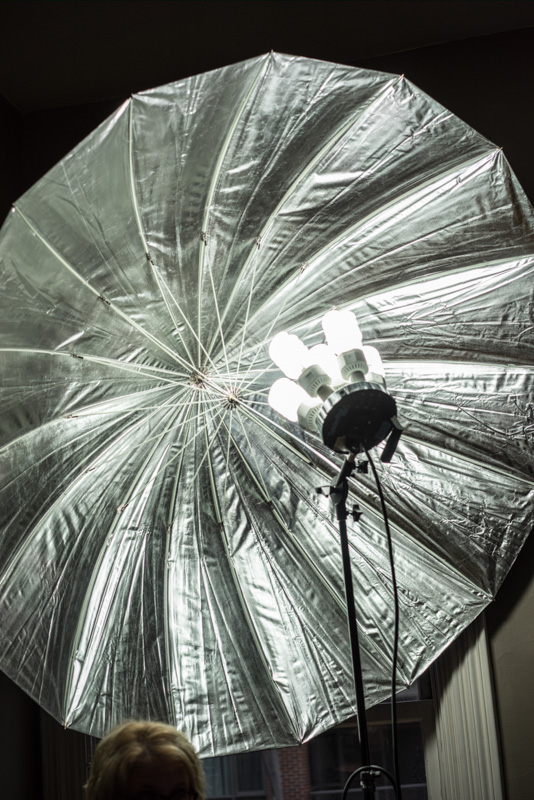
When photographing under a continuous light source, you do need to be aware that deep depth of field settings require a lot of light to make a proper exposure. Moving the light source closer to your subject affords greater flexibility in this regard, as the light becomes brighter as you move it closer to your subject. The lights we used all had adjustable power settings (not an easy feat with fluorescent type lighting). In total, four different light modifiers were used. A narrow stripbox for a very directional light, a large softbox and large 7 foot umbrella for large soft light sources, an octobox for something ‘in between’, and the very interesting handheld ‘ice lights’ which allow for some very interesting results.
Another great benefit for shooting in continuous light is the learning curve. With studio strobes there is a modest layer of knowledge needed to get everything hooked up and working just right. The manual shooting mode is the mode to use with studio strobes. Continuous light allows the use of any shooting mode because it’s the same concept as shooting in natural light. The only difference here is that you can position the continuous light source to your liking and shape the light as you please, shooting in your favourite mode on your camera’s mode dial.
Virtually all of the students at the workshop could shoot comfortably in this lighting with the gear they had, allowing them to focus on the task at hand which was learning how to work with their subjects to produce the very best results. If you’re considering continuous lights for your photography, here are some things to keep in mind.
- Fluorescent type lights for photography are not the same as the kind you buy at the supermarket. They are daylight balanced and do not produce an unflattering colour cast.
- A good continuous light system should have some modifiers available for it that allow you to shape the light, soften it, or direct it. This is the same as a good studio strobe system, you will always want to have good command over the ‘look’ that the light gives.
- Softboxes of various shapes and sizes and umbrellas are two of the most standard and flexible modifier types you should strive to own for continuous light.
- Lighting sets that use multiple bulbs in a cluster tend to provide the brightest light output, which inherently makes them more flexible and requires less compromise with your camera settings.
- These lights can be used for video as well as stills, should you wish to light a scene for video applications such as interviews.